How to Vacuum Tight Spots in Car
This guide teaches you how to vacuum tight spots in your car using the right tools and methods. You’ll learn to clean between seats, under pedals, and around vents with ease.
Keeping your car clean isn’t just about appearances—it’s about hygiene, comfort, and preserving your vehicle’s value. While wiping down surfaces and vacuuming the main floor areas might seem straightforward, the real challenge lies in tackling those hard-to-reach tight spots. From the narrow gaps between seats to the crevices around air vents and under pedals, these areas accumulate crumbs, dust, pet hair, and dirt that standard vacuuming often misses.
In this comprehensive guide, you’ll learn exactly how to vacuum tight spots in your car like a pro. We’ll walk you through the best tools, step-by-step techniques, and smart strategies to ensure every corner of your vehicle gets the attention it deserves. Whether you drive a compact sedan or a spacious SUV, these tips will help you maintain a cleaner, fresher interior with minimal effort.
Key Takeaways
- Use the right attachments: Crevice tools and brush nozzles are essential for reaching narrow spaces like seat gaps and air vents.
- Pre-clean before vacuuming: Loosen debris with a soft brush or toothbrush to improve suction effectiveness.
- Work in sections: Tackle one area at a time—like footwells, cup holders, or door pockets—for thorough cleaning.
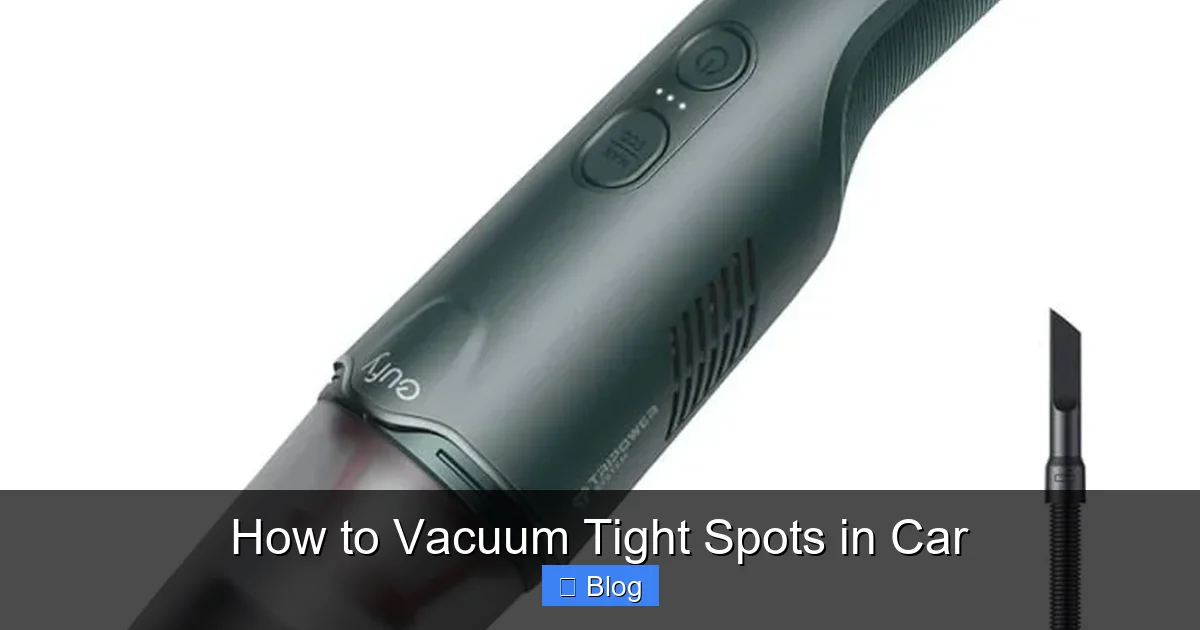
- Choose a portable or handheld vacuum: These offer better maneuverability in tight car interiors than full-sized models.
- Maintain your vacuum: Empty the dustbin and clean filters regularly to ensure strong suction power.
- Don’t forget hidden areas: Under seats, behind headrests, and inside seat belt slots collect dust and crumbs over time.
- Use compressed air for electronics: Safely dislodge debris from climate controls and audio systems before vacuuming.
Quick Answers to Common Questions
Tip/Question?
What’s the best vacuum for car tight spots? A handheld or portable vacuum with a crevice tool and brush nozzle is ideal. Look for models with strong suction and a long battery life or car adapter.
Tip/Question?
Can I use a regular household vacuum in my car? Yes, but only if it has the right attachments. Most home vacuums are too bulky and lack precision tools for tight automotive spaces.
Tip/Question?
How often should I vacuum tight spots? Aim for once a week. High-traffic areas like driver seats and footwells may need more frequent attention.
Tip/Question?
Is compressed air safe for car electronics? Yes, when used correctly. Hold the can upright and spray in short bursts to avoid moisture buildup.
Tip/Question?
What if my vacuum doesn’t have a crevice tool? You can buy universal attachments online or use a flexible hose with a narrow nozzle. A straw or small brush can also help dislodge debris.
Troubleshooting Common Issues
Even with the right tools, you might run into challenges. Here’s how to solve them.
Vacuum Loses Suction
Check if the dustbin is full or the filter is clogged. Empty the bin and rinse the filter (if washable) every few uses. Also, ensure all attachments are securely connected—loose fittings reduce suction power.
Debris Won’t Come Out of Crevices
If crumbs are stuck, use a toothpick or plastic trim tool to gently nudge them loose before vacuuming. Avoid metal tools that could scratch surfaces.
Pet Hair Clings to Upholstery
Use a rubber glove or lint roller to gather hair first, then vacuum. The mini turbo brush is especially effective for embedded pet hair.
Hard-to-Reach Areas Behind Seats
If your vacuum hose isn’t long enough, consider a cordless handheld model with a flexible wand. Some models come with extendable nozzles designed for car interiors.
Tips for Maintaining a Clean Car

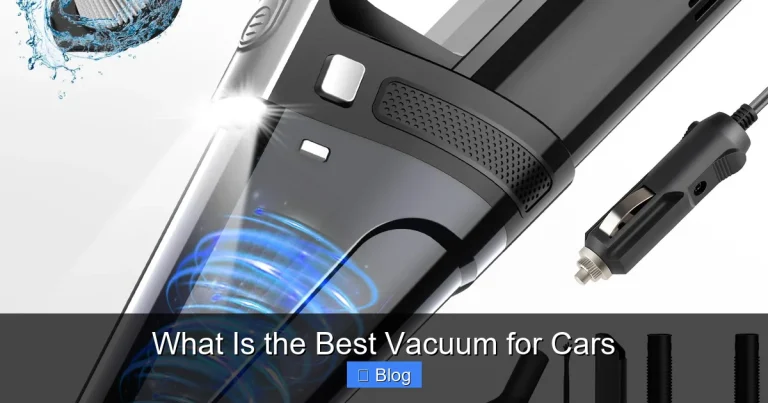
Visual guide about How to Vacuum Tight Spots in Car
Image source: media.printables.com
Why Tight Spots Are Hard to Clean

Visual guide about How to Vacuum Tight Spots in Car
Image source: media.printables.com
Tight spaces in cars are designed for function, not cleanliness. Seat tracks, door jambs, center consoles, and climate control vents are all built with narrow openings that trap debris. Over time, this buildup can lead to unpleasant odors, wear on materials, and even affect air quality inside the cabin.
Additionally, many drivers use standard household vacuums, which often lack the precision attachments needed for automotive detailing. Without the right tools or technique, you might end up pushing dirt deeper into crevices instead of removing it.
Tools and Materials You’ll Need
Before you start, gather the right equipment. Having the proper tools makes all the difference when cleaning tight spots.
Essential Vacuum Attachments
- Crevice tool: A long, narrow nozzle perfect for sliding into seat gaps, between console buttons, and along door panels.
- Brush nozzle: A small brush attachment that gently agitates fabric and upholstery without damaging surfaces.
- Flexible hose extension: Helps reach under seats and behind components.
- Mini turbo brush: Ideal for lifting pet hair from fabric seats and carpets.
Additional Helpful Items
- Soft-bristled toothbrush or detailing brush
- Microfiber cloths
- Compressed air canister (for electronics)
- Portable handheld vacuum or car-specific vacuum
- Small flashlight (to see into dark crevices)
- Vacuum with strong suction and washable filter
Step-by-Step Guide to Vacuuming Tight Spots
Follow these steps to clean even the most stubborn tight spots in your car.
Step 1: Remove Loose Debris
Start by removing large debris like wrappers, leaves, or gravel. Shake out floor mats and wipe down surfaces with a dry microfiber cloth. This prevents clogging your vacuum and makes the next steps more effective.
Step 2: Pre-Treat Stubborn Areas
Use a soft toothbrush or detailing brush to loosen dried crumbs, pet hair, or dust from crevices. Gently scrub areas like seat belt buckles, door handle grooves, and air vent slats. This step ensures the vacuum can pick up what’s been dislodged.
Step 3: Vacuum Seat Gaps and Tracks
Insert the crevice tool into the narrow space between the seat and center console. Move it slowly back and forth to extract hidden crumbs. For power seats, slide the seat forward and backward to access the full track length. Repeat on both driver and passenger sides.
Step 4: Clean Under and Around Seats
Use the flexible hose or a handheld vacuum to reach under seats. Tilt the seat forward if possible. Pay special attention to the area behind the front seats where items often fall. Vacuum along the edges of the seat base and around adjustment levers.
Step 5: Tackle Air Vents and Climate Controls
Hold the vacuum nozzle close to the vent slats and use the brush attachment to gently sweep across them. For deeper cleaning, use compressed air to blow debris out from behind the vents, then vacuum the expelled dust. Avoid spraying directly into electronic controls.
Step 6: Clean Cup Holders and Storage Compartments
Remove cup holders if possible and shake out debris. Use the crevice tool to clean around the edges and corners. Wipe with a damp cloth if needed, then dry thoroughly before reinserting.
Step 7: Address Door Pockets and Jambs
Open each door and vacuum the storage pockets, focusing on the bottom where dirt accumulates. Use the crevice tool to clean along the door jamb—the area where the door meets the frame—where mud and dust often collect.
Step 8: Finish with Floor Mats and Carpets
Lift out floor mats and vacuum both sides. Use the brush nozzle on carpeted mats to lift embedded dirt. For rubber mats, a quick rinse may be needed before vacuuming.
Quick Reference
| Cleaning Area | Best Tool | Estimated Time |
|---|---|---|
| Seat gaps and tracks | Crevice tool | 5–7 minutes per seat |
| Air vents and controls | Brush nozzle + compressed air | 3–5 minutes |
| Cup holders | Crevice tool + microfiber cloth | 2–3 minutes |
| Under seats | Handheld vacuum + hose | 4–6 minutes |
| Door pockets and jambs | Crevice tool + detailing brush | 3–4 minutes per door |
Regular maintenance prevents buildup in tight spots.
- Vacuum weekly: A quick 10-minute session keeps debris from accumulating.
- Use seat gap protectors: Silicone inserts prevent crumbs from falling into seat tracks.
- Keep a portable vacuum in your car: Ideal for on-the-go cleanups after snacks or trips.
- Wipe spills immediately: Prevents stains and sticky residue in crevices.
- Rotate cleaning focus: One week focus on seats, the next on doors and vents.
Conclusion
Mastering how to vacuum tight spots in your car doesn’t require professional equipment or hours of effort—just the right tools, a systematic approach, and a little patience. By following this guide, you’ll keep your vehicle’s interior looking and smelling fresh, while also extending the life of your upholstery and carpets.
Start with the right attachments, work in small sections, and don’t skip the pre-cleaning steps. Over time, these habits will become second nature, and your car will always feel like a clean, comfortable space—no matter how tight the spot.