How to Vacuum Ac Lines in Car
Vacuuming the AC lines in your car is essential for removing air and moisture before recharging refrigerant, ensuring your air conditioning works efficiently. This guide walks you through the process step by step, from gathering tools to troubleshooting issues, so you can handle it confidently at home. With proper care, you’ll restore cool air on hot days without a mechanic’s bill.
Key Takeaways
- Understand the purpose: Vacuuming AC lines removes air and moisture to prevent system damage and ensure efficient cooling.
- Gather the right tools: You’ll need a vacuum pump, manifold gauge set, and safety gear for a smooth process.
- Follow safety first: Wear protective equipment and work in a well-ventilated area to avoid refrigerant exposure.
- Evacuate properly: Run the vacuum for 30-60 minutes to achieve a deep vacuum, checking for leaks along the way.
- Troubleshoot leaks: If the vacuum doesn’t hold, use soapy water to detect and fix issues before recharging.
- DIY benefits: This maintenance saves money and extends AC system life when done correctly.
Quick Answers to Common Questions
What’s the ideal vacuum time?
For most cars, run the pump 30-60 minutes to remove moisture effectively. Extend to 90 minutes in humid conditions for best results.
Can I vacuum without a gauge set?
No, gauges are crucial for monitoring pressure and detecting leaks. Skipping them risks incomplete evacuation and system damage.
Tip: How to find AC ports easily?
Check your owner’s manual or search online for your model. Low-side ports are usually near the accumulator or firewall—look for capped fittings.
Should I add oil during vacuuming?
Only if you recovered refrigerant earlier and know the amount lost. Otherwise, add PAG or ester oil per specs during recharge to lubricate components.
Tip: Prevent future AC issues?
Run the AC weekly for 5-10 minutes, even in winter, to keep seals lubricated and prevent drying out.
Introduction
Hey there, fellow car enthusiast! If your car’s air conditioning isn’t blowing cold air like it used to, it might be time to learn how to vacuum AC lines in your car. Vacuuming the AC lines is a key step in servicing your vehicle’s cooling system. It removes air, moisture, and contaminants that can harm the compressor and reduce efficiency. In this guide, you’ll discover everything you need to know to do it yourself safely and effectively.
By the end, you’ll have the confidence to tackle this task without heading straight to the shop. We’ll cover why it’s important, the tools required, step-by-step instructions, tips to avoid mistakes, and how to troubleshoot problems. Whether you’re a DIY newbie or a seasoned tinkerer, this process can save you time and money while keeping your rides cool during summer heatwaves. Let’s dive in and get your AC back in top shape!
Why Vacuum AC Lines in Your Car?
Before jumping into the how-to, let’s talk about why vacuuming AC lines matters. Your car’s AC system is a sealed loop that circulates refrigerant to cool the cabin. Over time, air and moisture can sneak in through leaks or during repairs. This isn’t good news—moisture can freeze inside the lines, blocking flow, while air introduces non-condensable gases that make the compressor work harder.
Visual guide about How to Vacuum Ac Lines in Car
Image source: i.ytimg.com
Vacuuming creates a deep vacuum that pulls out these impurities, allowing the system to hold pure refrigerant. It’s like giving your AC a deep clean from the inside. Skipping this step when recharging can lead to poor cooling, higher fuel use, or even costly compressor failure. For example, I once helped a friend recharge his AC without vacuuming first—two weeks later, it was blowing warm again because of trapped moisture. Don’t make that mistake! Proper vacuuming ensures your system runs efficiently and lasts longer.
Plus, in hot climates, a well-vacuumed AC can drop cabin temps by 20-30 degrees faster. It’s a simple maintenance task that pays off big. Now that you see the value, let’s gather what you’ll need.
Tools and Materials Needed
To vacuum AC lines in your car successfully, you can’t wing it with household items. You’ll need specific tools designed for automotive AC work. These ensure a strong vacuum without damaging seals or components. Most are affordable and available at auto parts stores or online—expect to spend $100-300 for a basic setup if you don’t own them already.
Visual guide about How to Vacuum Ac Lines in Car
Image source: carfromjapan.com
Here’s a quick reference table to help you shop and prepare. It lists essential items, their purposes, and handy notes for each.
With these in hand, you’re set for success. Remember, quality matters—cheap pumps might not reach the required vacuum depth, leading to incomplete evacuation. If you’re renting tools, check for cleanliness to avoid contaminating your system.
Safety Precautions Before Starting
Safety comes first when working on your car’s AC, especially since refrigerants can be hazardous. Always park in a well-ventilated garage or outdoors to avoid inhaling fumes. Turn off the engine and let it cool down completely—hot components can cause burns.
| Tool/Item | Purpose | Notes |
|---|---|---|
| Vacuum Pump | Creates the deep vacuum to remove air and moisture | Choose a 2-stage pump for faster, deeper vacuum (at least 15 microns); CFM rating of 3-5 is ideal for cars |
| Manifold Gauge Set | Connects to AC ports and monitors vacuum pressure | Include low and high-side hoses; look for color-coded gauges for easy reading |
| AC Service Hoses | Links the pump and gauges to your car’s AC ports | Use refrigerant-rated hoses to handle vacuum without collapsing |
| Thermometer or Hygrometer | Checks system temperature and moisture levels post-vacuum | Digital versions are precise; optional but helpful for verification |
| Soapy Water Solution | Detects leaks during vacuum hold test | Mix dish soap and water in a spray bottle; eco-friendly and effective |
| Safety Gear (Gloves, Goggles) | Protects against refrigerant exposure and debris | Nitrile gloves and ANSI-rated goggles; always wear them |
| Owner’s Manual | Locates AC service ports specific to your vehicle | Download if lost; port locations vary by make and model |
Wear your protective gear: goggles to shield your eyes from splashes and gloves to handle oily parts. If your system still has refrigerant, recover it first using a professional machine or take it to a shop—releasing it into the air is illegal and bad for the environment. Double-check your workspace is free of sparks or open flames, as some refrigerants are flammable.
For example, a buddy of mine once skipped goggles and got a refrigerant splash—stung like crazy! Also, if you’re unsure about any step, consult a pro. Following these precautions keeps the job fun and injury-free. Now, let’s get to the main event.
Step-by-Step Guide: How to Vacuum AC Lines in Your Car
Ready to roll up your sleeves? This section breaks down how to vacuum AC lines in your car into clear, doable steps. The whole process takes 1-2 hours, depending on your setup. Work methodically, and take breaks if needed. We’ll assume you’ve recovered any old refrigerant and located the service ports (usually on the low-pressure line near the accumulator).
Step 1: Prepare Your Vehicle and Tools
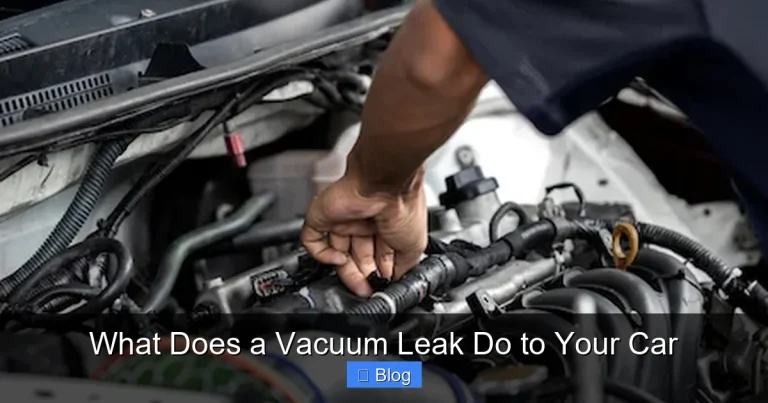
Start by ensuring everything’s ready. Park on a level surface and engage the parking brake. Open the hood and prop it securely. Locate the AC service ports using your owner’s manual—the low-side port is larger and often blue-capped, while the high-side is smaller and red.
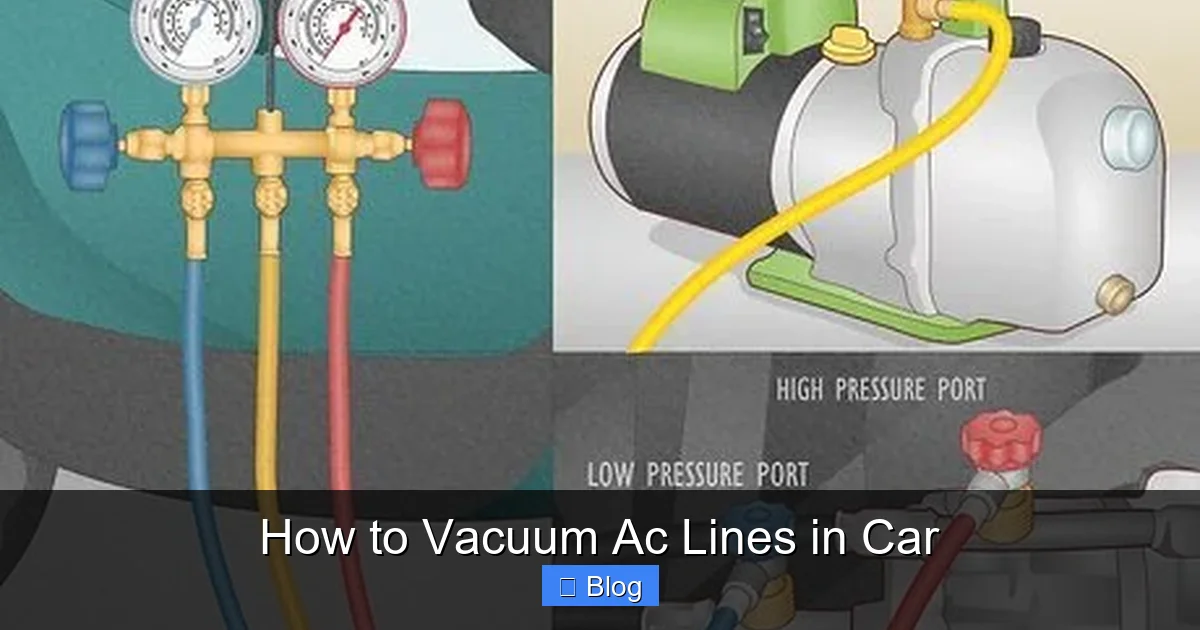
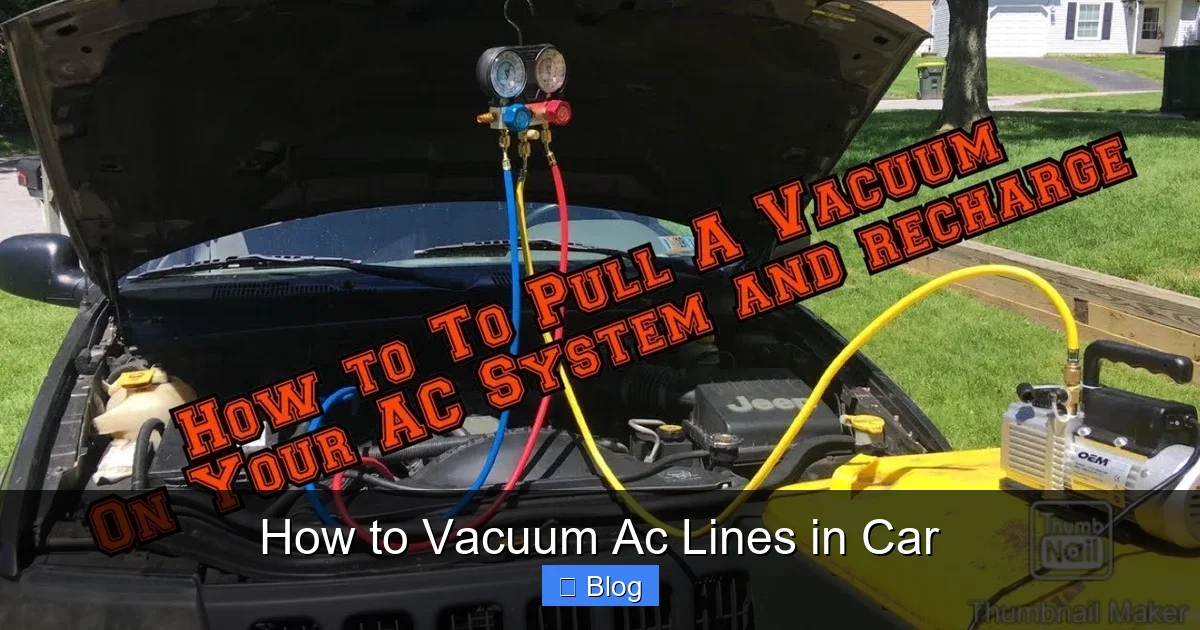
Assemble your manifold gauge set: Connect the blue hose to the low-side port gauge, red to high-side (though we’ll mainly use low-side for vacuuming), and yellow to the vacuum pump. Double-check all connections are tight to prevent leaks. Pro tip: Wipe ports clean with a rag to remove dirt that could enter the system.
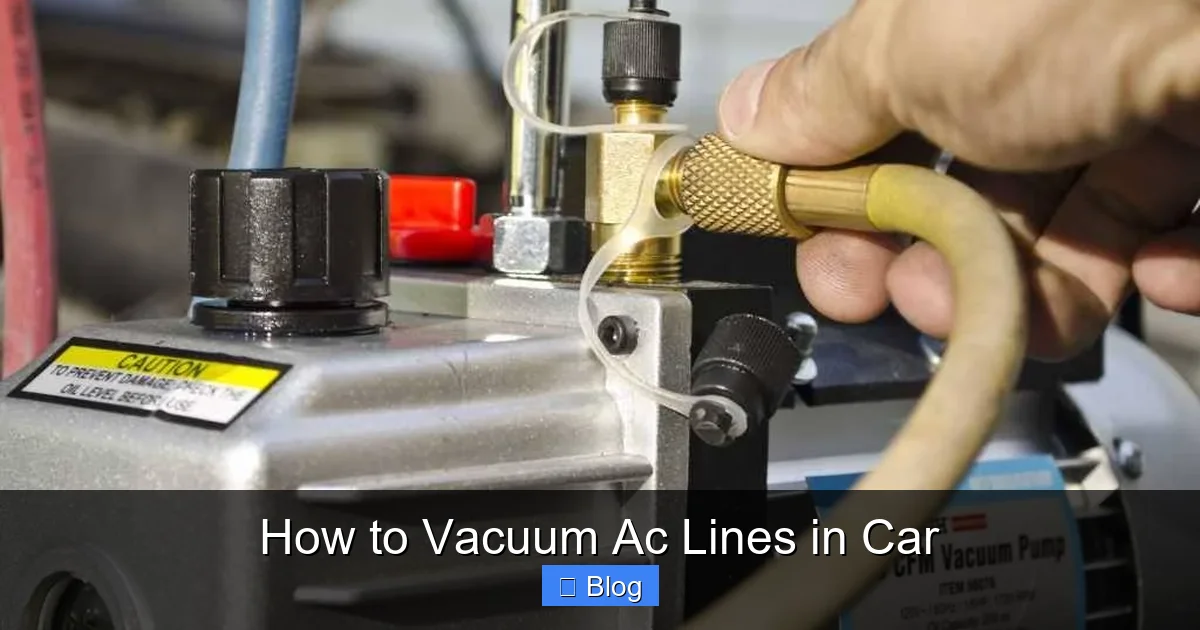
Turn on your vacuum pump and let it warm up for 5 minutes. This ensures oil circulates properly for a strong pull.
Step 2: Connect the Equipment
Now, hook everything up. Remove the protective caps from the AC ports—save them for later. Attach the blue hose from the manifold to the low-pressure port. If your system requires it, connect the red hose to the high-side port too, but for basic vacuuming, low-side is key.
Secure the yellow hose to the vacuum pump’s intake. Open the manifold valves slowly to avoid sudden pressure changes. Example: On my Ford, the low-side port is near the firewall—easy access, but watch for sharp edges that can nick hoses.
Close all valves on the manifold except the one leading to the pump. You’re now linked and ready to evacuate.
Step 3: Run the Vacuum Pump
Here’s the heart of the process. Start the vacuum pump—it should hum steadily. Open the low-side manifold valve fully to let the pump draw out air and moisture. Watch the gauge: It should drop quickly from atmospheric pressure (around 0 psi) to -25 to -30 inches of mercury (inHg) within minutes.
Let it run for at least 30 minutes, ideally 45-60 for a thorough job. Deeper vacuums (below 500 microns) remove more moisture—use your pump’s micron gauge if equipped. Keep an eye on the pump oil level; top it off if it dips.
Practical tip: If it’s a humid day, extend the time to 90 minutes. Moisture boils off slower in high humidity. You’ll hear the system gurgle as water evaporates— that’s a good sign!
Step 4: Monitor and Hold the Vacuum
Once the gauge stabilizes, close the manifold valve and turn off the pump. Now, observe the gauge for 10-15 minutes. It should hold steady without rising more than 2 inHg. This tests for leaks—if it climbs, you’ve got a problem (more on that in troubleshooting).
For extra assurance, leave it overnight if possible. A perfect hold means your seals are tight. Example: In one session on an older Honda, the vacuum held rock-solid, confirming no hidden leaks before I added refrigerant.
If all’s good, slowly release the vacuum by opening the valves briefly to equalize pressure, then disconnect hoses. Replace port caps immediately.
Step 5: Verify and Recharge
After vacuuming, check for moisture with a thermometer in the vents—post-recharge, it should cool evenly. Now, recharge with the correct refrigerant type and amount from your manual (e.g., R-134a for most cars). Connect the refrigerant can to the yellow hose and follow similar steps, monitoring gauges to avoid overfilling.
Start the engine, set AC to max, and watch pressures: Low-side 25-45 psi, high-side 150-250 psi at 80°F ambient. Pro example: I recharged a Chevy after vacuuming, and it blew ice-cold air instantly—night and day difference.
Drive test it: Run the AC for 20 minutes and feel for consistent cooling. If not, revisit troubleshooting.
Troubleshooting Common Issues
Even with careful work, things can go sideways when learning how to vacuum AC lines in your car. Don’t panic—most problems are fixable. Let’s cover frequent hiccups and fixes.
Problem: Vacuum won’t pull down past -10 inHg. This often means a restriction or weak pump. Check hoses for kinks or blockages. Clean ports again. If the pump’s old, its oil might be contaminated—flush and replace it. Solution: Test the pump alone; it should hit -29 inHg quickly.
Problem: Gauge rises during hold test. Leaks are the culprit. Spray soapy water on connections, lines, and the compressor—bubbles indicate the spot. Tighten fittings or replace O-rings (inexpensive at auto stores). For bigger leaks, like cracked lines, consult a pro to avoid refrigerant loss.
Problem: AC still not cooling after recharging. Double-check refrigerant amount—over or under can mimic issues. Ensure the cabin filter isn’t clogged, as it affects airflow. If the compressor clutch doesn’t engage, test the electrical relay. Example: A clogged orifice tube once fooled me; replacing it fixed the warm air.
Other tips: If moisture persists (frost on lines), re-vacuum longer. For electrical gremlins, use a multimeter on fuses. Always log pressures and times for patterns. If you’re stumped, a scan tool can reveal error codes. Patience pays off—rushing leads to repeats.
Remember, if your car uses R-1234yf (newer models), special tools are needed; stick to pros for those.
Conclusion
There you have it—a complete rundown on how to vacuum AC lines in your car. From prepping tools to holding that vacuum, you’ve got the know-how to refresh your AC system like a pro. It’s rewarding work that beats sweating through traffic or paying shop rates.
Regular maintenance like this keeps your ride reliable and comfortable year-round. If you followed along, pat yourself on the back—you just saved some cash and gained a valuable skill. Got questions or a success story? Share in the comments below. Stay cool, drive safe, and happy wrenching!