How to Test for Vacuum Leak in Car
A vacuum leak can cause serious drivability issues like rough idle, hesitation, or check engine light. Testing is easy with basic tools. This guide walks you through 5 proven methods—from visual inspection to professional smoke testing—so you can pinpoint leaks fast. No mechanic needed. Fixing a vacuum leak restores performance and saves fuel.
Key Takeaways
- Vacuum leaks disrupt air-fuel ratio—causing misfires, poor acceleration, and increased emissions.
- Common signs include rough idle, stalling, and high idle speed—especially when the engine warms up.
- Smoke testing is the most accurate method—ideal for finding small or hidden leaks.
- Propane enrichment helps locate intake leaks—but should be done carefully to avoid fire risk.
- Visual and listening checks are good starting points—for obvious hoses or cracks.
- Repair kits exist for common leaks—like throttle body gaskets or intake manifold seals.
- Ignoring vacuum leaks leads to catalytic converter damage—due to unburned fuel entering the exhaust.
Quick Answers to Common Questions
Tip/Question?
Answer: Yes! Most modern cars have dozens of small vacuum lines. Focus first on the big ones: brake booster, PCV valve, and EVAP canister. These account for 80% of common leaks.
Tip/Question?
Answer: Never spray soapy water on electrical connectors or sensors. Moisture can cause corrosion or short circuits. Use it only on mechanical seals and hoses.
Tip/Question?
Answer: If your car has a plastic intake manifold, handle it gently. Cracks here are expensive to replace and often require full intake replacement.
Tip/Question?
Answer: After fixing a vacuum leak, always clear the check engine light and take a 10-mile drive. The ECU needs time to relearn fuel trims.
Tip/Question?
Answer: Propane bottles are flammable. Store them upright, away from heat, and never expose them to direct sunlight or punctures.
How to Test for Vacuum Leak in Car: A Step-by-Step Guide
If your car feels sluggish, idles roughly, or suddenly runs out of gas faster than usual, a vacuum leak might be the culprit. You’ve probably heard mechanics talk about “sucking air where it shouldn’t”—that’s a vacuum leak. It happens when unmetered air sneaks into the engine’s intake system outside the mass airflow (MAF) sensor. This throws off the engine’s delicate air-fuel balance, leading to performance issues and higher emissions.
In this guide, you’ll learn five reliable ways to find a vacuum leak—from simple visual checks to advanced smoke testing. Whether you’re a beginner or a weekend mechanic, these methods will help you diagnose and fix the problem before it causes bigger trouble. By the end, you’ll know exactly where to look and what tools to use.
What Is a Vacuum Leak?
A vacuum leak occurs when air enters the engine through unintended paths—usually around gaskets, hoses, or connections that should be sealed. The engine control unit (ECU) expects a precise amount of air based on sensor readings. When extra air slips in undetected, the ECU can’t adjust fuel delivery properly. Result? Too much air, not enough fuel = lean condition. Over time, this causes misfires, poor fuel economy, and even engine damage.
Visual guide about how to test for vacuum leak in car
Image source: 77fkxu.com1.z0.glb.clouddn.com
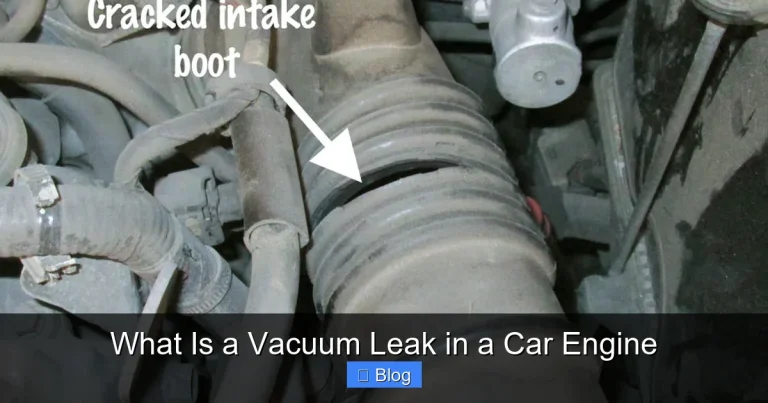
Most vacuum leaks happen near the intake manifold, throttle body, or vacuum lines connected to brakes, PCV systems, or HVAC controls. They’re often caused by cracked hoses, loose clamps, or worn-out gaskets due to heat and age.
Tools You’ll Need
You don’t need a full garage setup to test for vacuum leaks. Many methods use household or automotive store items. Here’s what you’ll typically need:
Visual guide about how to test for vacuum leak in car
Image source: down-id.img.susercontent.com
- Flashlight – To inspect hard-to-see areas
- Basic hand tools – Wrenches, screwdrivers, pliers
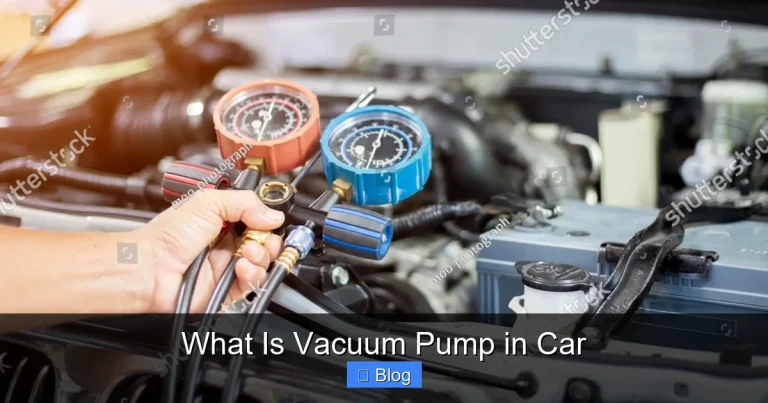
- Vaccum gauge (optional) – For measuring actual vacuum levels
- Propane torch or bottle with tip – For propane enrichment method
- Spray bottle with soapy water – For bubble leak detection
- Smoke machine (professional tool) – Most accurate but requires purchase or service
For safety, always work in a well-ventilated area and keep open flames away from fuel vapors. Never spray flammable liquids near hot engine parts unless instructed.
Quick Reference: Vacuum Leak Testing Methods
Here’s a comparison of popular testing approaches. Each has strengths depending on your skill level, budget, and leak severity.
| Method | Best For | Difficulty | Accuracy | Cost |
|---|---|---|---|---|
| Visual Inspection | Obvious cracks, loose hoses | Beginner-friendly | Low–Medium | Free |
| Soapy Water Spray | Small leaks around gaskets | Easy | Medium | $5–$10 |
| Propane Enrichment | Larger intake leaks | Intermediate | High | $15–$30 |
| Vaccum Gauge Test | Measuring baseline vacuum | Intermediate | Medium | $20–$60 |
| Smoke Testing | Hidden or tiny leaks | Advanced (or pro service) | Very High | $50–$200+ |
Step-by-Step: How to Test for Vacuum Leak in Car
Method 1: Visual Inspection
This is the simplest place to start. Turn off the engine and let it cool slightly. Then:
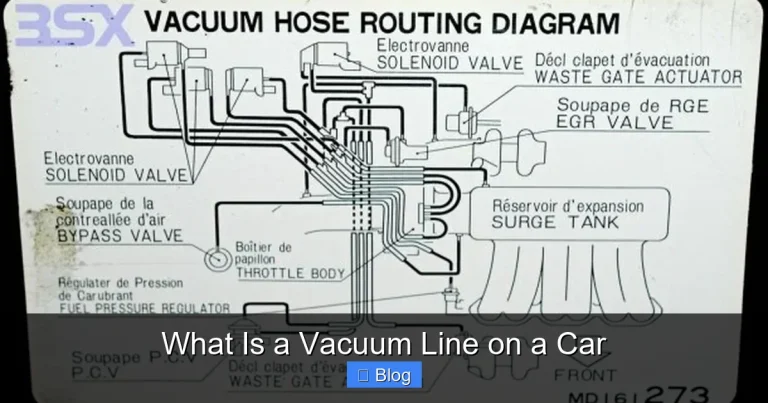
- Locate the intake manifold and all vacuum hoses—they run from the engine to components like brake booster, EVAP system, and PCV valve.
- Use a flashlight to examine every hose and connection. Look for:
- Cracks, splits, or dry-rot rubber
- Loose or missing clamps
- Disconnected hoses
- Burn marks (sign of overheating)
- Check the throttle body gasket—it’s a common failure point.
- Inspect the PCV valve hose and brake booster line.
If you spot anything suspicious, replace the hose or tighten the clamp. Recheck after a test drive.
Method 2: Soapy Water Bubble Test
This method works best for small leaks around sealed joints. Here’s how:
- Mix dish soap with water in a spray bottle.
- Start the engine and let it idle.
- Gently spray the soapy solution around suspected areas—intake manifold, throttle body, vacuum lines.
- Watch for bubbles forming. Bubbles mean air is escaping—a sign of a leak.
- Mark the location and shut off the engine.
Note: Don’t spray directly on electrical connectors or hot surfaces. Use sparingly to avoid slipping hazards.
Method 3: Propane Enrichment Method
This technique detects intake leaks by tricking the engine into “smelling” extra fuel. If the idle changes, there’s likely an unmetered air leak.
- Warm up the engine to normal operating temperature.
- Locate a propane source—a camping stove cylinder or refillable bottle with a tip.
- With the engine running at idle, slowly apply propane spray near the intake manifold, throttle body, or other potential leak points.
- If the RPMs increase sharply, you’ve found the leak! The ECU compensates for the added fuel, thinking there’s less air.
- Move methodically around the intake tract until you pinpoint the spot.
Safety first: Keep the propane nozzle moving—don’t hold it still. Avoid sparks or open flames nearby.
Method 4: Vacuum Gauge Test
A vacuum gauge gives you hard numbers instead of guesswork. Ideal for older engines with carburetors or those without sophisticated sensors.
- Connect the vacuum gauge to a port on the intake manifold (often via a T-fitting).
- Start the engine and let it warm up.
- Observe the needle:
- Steady 17–22 inHg = healthy vacuum
- Fluctuating or low reading = possible leak or timing issue
- Zero or near-zero = major leak or mechanical problem
- Compare results to factory specs in your repair manual.
This method won’t tell you *where* the leak is, only that one exists.
Method 5: Smoke Testing (Professional Grade)
The gold standard for leak detection. A smoke machine pressurizes the vacuum system with non-toxic smoke. Any leak will show visible smoke escaping.
- Have a technician connect the smoke machine to a vacuum source (e.g., brake booster line).
- Pump smoke into the system while it’s off.
- Turn the ignition on (engine off). Watch for smoke escaping from any joint.
- Some shops offer this as a diagnostic service—typically $100–$200.
While pricey, smoke testing catches microscopic leaks invisible to the human eye.
Troubleshooting Common Issues
Even experienced DIYers run into snags. Here’s how to solve them:
- Engine won’t start after disconnecting hoses: Reconnect everything securely. Missing vacuum lines can prevent startup.
- No change during propane test: Make sure the engine is warm and the MAF sensor isn’t contaminated. Also, ensure you’re spraying near the correct area.
- Bubbles form but no performance issue: Minor leaks may not affect driveability. Still, they waste fuel and increase emissions.
- Check engine light stays on: After fixing the leak, clear codes with an OBD2 scanner. Persistent DTCs may indicate secondary problems.
When to Call a Professional
If you’ve tried multiple methods and can’t find the leak—or if repairs require removing the intake manifold—it’s wise to consult a mechanic. Complex engines with plastic intakes or turbochargers demand care. Also, if you suspect internal engine damage (like blown head gasket), professional diagnostics are essential.