How to Vacuum a Car Without a Vacuum
Keeping your car clean doesn’t require a vacuum cleaner. In this guide, learn simple household items and DIY methods to remove dirt, crumbs, and pet hair effectively. Follow our step-by-step instructions to achieve a fresh interior without the hassle of bulky equipment.
Key Takeaways
- Prepare your space: Always start by parking in a shaded area and removing mats to make cleaning easier and prevent scratches.
- Use everyday tools: Items like lint rollers, compressed air cans, and soft brushes can mimic vacuum suction for dirt removal.
- Focus on crevices: Pay extra attention to tight spots with toothpicks or tape wrapped around fingers for thorough cleaning.
- Prevent future mess: Regular wipes and mats help maintain cleanliness, reducing the need for deep cleans.
- Safety first: Avoid water on electronics and let surfaces dry completely to prevent damage.
- Time saver: These methods take 30-60 minutes, ideal for busy schedules without investing in tools.
Quick Answers to Common Questions
Best time to clean?
Clean on a cool day to avoid heat trapping moisture. Early morning or evening works best for quick drying.
Pet hair nightmare?
Use a damp rubber glove for static cling. It pulls hair better than tape on fuzzy seats.
Odor quick fix?
Sprinkle baking soda and let it sit 15 minutes. Brush away for instant freshness without sprays.
Leather seat care?
Stick to dry methods like lint rollers. Follow with conditioner to prevent cracking from residue.
Prevent future mess?
Use seat covers and floor liners. They trap dirt for easy weekly shakes.
Step 3: Clean the Seats and Upholstery
Seats are prime spots for spills and hair. Learning how to vacuum a car without a vacuum means getting hands-on here. Lint rollers work wonders on fabric seats, while tape is ideal for leather to avoid scratches.
Lint Roller and Glove Method
Begin with the lint roller: Roll it systematically over cushions and backs. For stubborn pet hair, slip on a damp rubber glove and rub in circles—the static pulls hair right off. Follow up with a microfiber cloth to smooth everything down.
Example: After a long drive with shedding dogs, this combo removes fur without pulling at threads. If you spot a stain, dab (don’t rub) with soapy water on a cloth, then blot dry. Avoid soaking to prevent mold.
This step takes 10-15 minutes. For cloth seats, consider a fabric refresher spray post-cleaning for that new-car smell.
Step 4: Handle Crevices and Dashboard
Now, target those hard-to-reach areas where dust hides. Crevices around seat belts, console buttons, and dashboard vents can harbor allergens. Compressed air is your best friend here, mimicking a vacuum’s blow-out power.
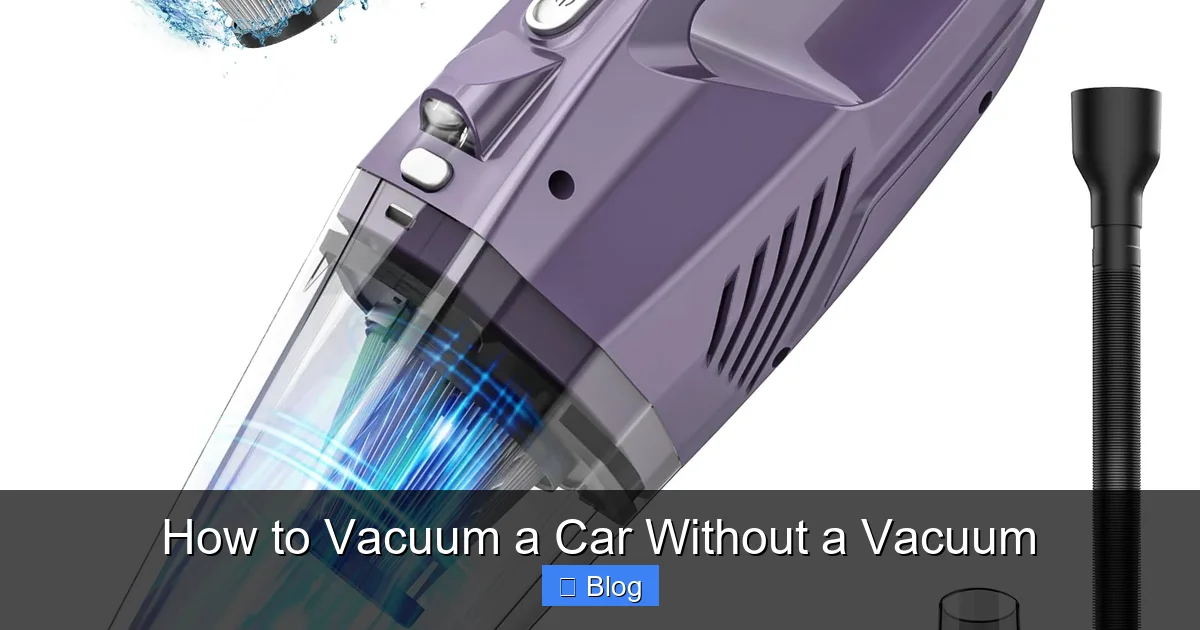
Visual guide about How to Vacuum a Car Without a Vacuum
Image source: images-na.ssl-images-amazon.com
Air and Tool Precision
- Insert a straw attachment on the compressed air can into vents and blow in short bursts.
- Use a toothpick or old toothbrush to dislodge stuck debris from seams.
- For cup holders, wrap tape around a stick and fish out crumbs.
Practical tip: Angle the air away from electronics to avoid pushing dirt deeper. Example: Dashboard dust after pollen season? A quick blast clears it fast, followed by a wipe. Spend 10 minutes here—precision pays off for a healthier cabin air.
Step 5: Final Wipes and Odor Control
Wrap up by wiping all surfaces. Use a damp microfiber cloth with a mild cleaner for dashboards and doors. For odors, open windows and sprinkle baking soda on seats, let it sit, then brush away.
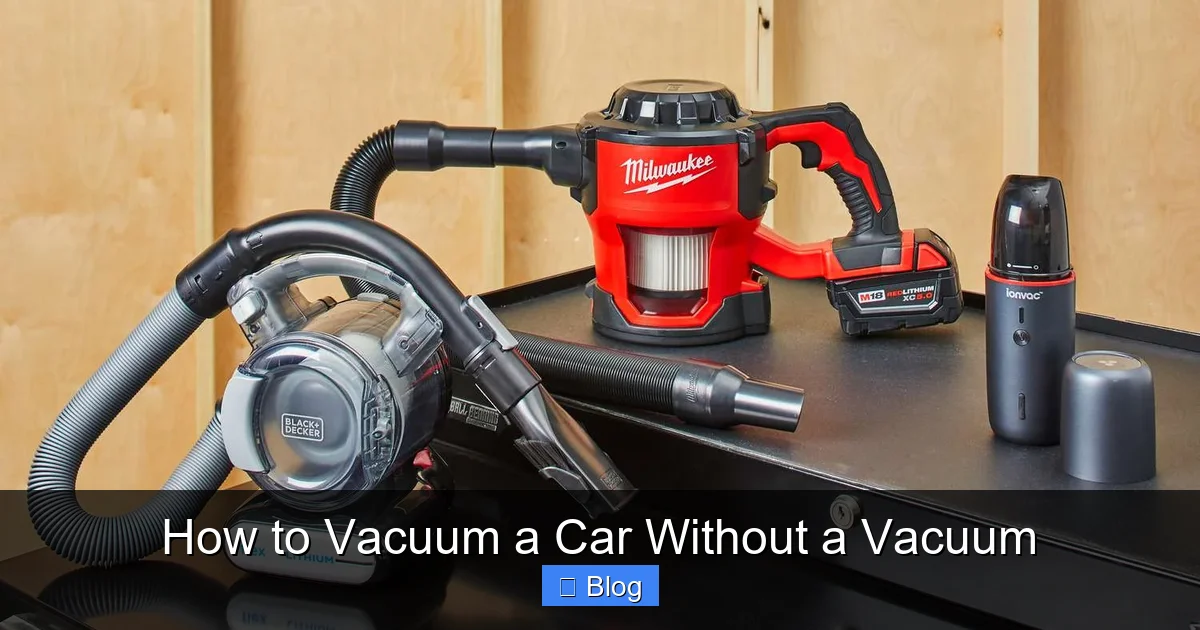
Visual guide about How to Vacuum a Car Without a Vacuum
Image source: thespruce.com
Introduction
Ever looked at your car’s interior and thought, “I need to vacuum this mess,” only to realize you don’t have a vacuum handy? You’re not alone. Whether you’re on a road trip, at a friend’s place, or just avoiding dragging out a heavy machine, knowing how to vacuum a car without a vacuum can save the day. This guide walks you through practical, no-fuss ways to tackle dirt, crumbs, pet hair, and dust using everyday items you likely already have at home.
By the end, you’ll have a spotless ride that feels fresh and inviting. We’ll cover preparation, step-by-step cleaning techniques, handy tips, and even troubleshooting common issues. No special skills required—just a bit of elbow grease and creativity. Let’s dive in and get your car looking showroom-ready without the vacuum hassle.
Gather Your Tools and Materials
Before you start cleaning, round up some simple supplies. The beauty of learning how to vacuum a car without a vacuum is that you can use household staples. Think lint rollers from the laundry room, a can of compressed air from your desk, or even duct tape from the garage. These alternatives create suction-like effects or pick up debris directly.
Park your car in a well-lit, shaded spot to avoid direct sunlight baking in any moisture. Open all doors for good airflow. This setup makes the process smoother and safer.
Essential Items List
- Lint roller or packing tape: Great for sticky surfaces like seats and upholstery.
- Compressed air canister: Blows dust from crevices without touching electronics.
- Soft-bristle brush or old toothbrush: Loosens dirt in tight spots.
- Microfiber cloths or paper towels: For wiping down surfaces after debris removal.
- Duct tape or painter’s tape: Wrapped around your hand for picking up small particles.
- Bucket of soapy water (mild dish soap): For damp wiping, but use sparingly on fabrics.
- Trash bags: To collect all the dirt you shake out.
Pro tip: If you’re dealing with pet hair, grab a rubber glove—it creates static that attracts fur like a magnet. With these in hand, you’re set for success.
Step 1: Remove Loose Debris
The first step in how to vacuum a car without a vacuum is to get rid of the big stuff. This prevents smaller particles from scattering everywhere. Start by taking out floor mats, seat covers, and any trash. Shake them vigorously outside the car to dislodge crumbs and leaves.
Shake and Sweep Method
Hold floor mats over a trash bag or grassy area and give them a good shake. For seats, lean them forward and use your hands to brush off loose dirt onto the floor. If you have a broom or a stiff brush, sweep the carpets gently toward the doors.
Example: Imagine after a family picnic—crumbs from sandwiches everywhere. Shaking the mats first catches 80% of the mess, making later steps easier. Work from top to bottom: roofliner first, then seats, and floors last. This way, dirt falls naturally without re-contaminating cleaned areas.
Time estimate: 5-10 minutes. Be thorough but gentle to avoid scratching leather or vinyl.
Step 2: Tackle the Floors and Carpets
Floors collect the most grime, so focus here next. Without a vacuum, you’ll rely on brushing and picking methods to simulate suction. Use a soft brush to loosen embedded dirt, then collect it with tape or a lint roller.
Brushing and Tape Technique
- Start at the edges near the door sills. Brush dirt toward the center of the floor mat area.
- Wrap duct tape sticky-side out around your hand (like a mitt). Pat it over the brushed areas to pick up loosened particles.
- For deeper cleaning, sprinkle baking soda on carpets, let it sit for 15 minutes to absorb odors, then brush and tape it away.
Practical example: If you’ve got sandy beach trips in your history, this method shines. The tape grabs fine grains that brushes alone miss. Roll slowly to avoid tearing—multiple passes might be needed for heavy soiling.
Tip: In humid areas, add a dash of vinegar to your baking soda mix for extra freshness. This step should take about 15 minutes per row of seats.
Tools and Materials Quick Reference
| Tool | Purpose | Tips for Use |
|---|---|---|
| Lint Roller | Picks up pet hair and lint from upholstery | Roll in one direction; replace sheets frequently for sticky grip |
| Compressed Air | Blows dust from vents and crevices | Hold can upright; short bursts prevent moisture buildup |
| Soft Brush | Loosens dirt on carpets and mats | Use gentle strokes; avoid on delicate fabrics |
| Duct Tape Mitt | Collects small debris like crumbs | Wrap 2-3 layers; pat lightly to avoid residue |
| Baking Soda | Absorbs odors and freshens interiors | Sprinkle, wait 15 mins, then brush off |
| Microfiber Cloth | Wipes surfaces after debris removal | Dampen slightly for stains; dry immediately |
| Rubber Glove | Attracts pet hair via static | Wet glove slightly; rub in circular motions |
Polishing Touches
Focus on high-touch areas like steering wheels. A leather conditioner keeps vinyl supple. Let everything air dry for 10 minutes before closing up.
Example: Post-gym clothes left in the car? The baking soda neutralizes smells naturally. This final pass ensures no residue lingers.
Troubleshooting Common Issues
Sometimes, things don’t go perfectly when figuring out how to vacuum a car without a vacuum. Here’s how to fix hiccups.
Stubborn Stains
If tape misses spots, try a vinegar-water mix (1:1) on a cloth. Blot gently and dry immediately. For grease, sprinkle cornstarch first to absorb, then wipe.
Pet Hair Clumps
When rollers fill up fast, switch to the rubber glove. If hair sticks to leather, a dryer sheet rubbed over smooths it away without damage.
Static or Residue from Tape
Tape can leave stickiness—wipe with rubbing alcohol on a cloth. To reduce static, mist seats lightly with water before brushing.
Pro advice: If electronics get dusty, never use water nearby. A dry cloth or air suffices. These fixes keep your efforts effective without frustration.
Conclusion
Cleaning your car without a vacuum is simpler than you think. With these steps—from shaking out mats to blasting crevices—you’ve mastered how to vacuum a car without a vacuum. Your interior will feel refreshed, and you’ll save time and space. Make it a weekly habit for easier maintenance. Next time dirt builds up, grab your tape and brush—you’ve got this. Drive on, confidently clean!