How to Test Car for Vacuum Leak
Testing your car for a vacuum leak helps prevent rough idling, poor fuel economy, and engine damage. This guide covers easy DIY methods like visual checks, spray tests, and gauge readings. Follow the steps to identify and fix problems quickly at home.
A vacuum leak lets extra air into your engine without passing through the mass airflow sensor. This guide shows exactly how to test car for vacuum leak using safe, effective techniques anyone can try. You will learn the signs, gather the right tools, and follow clear steps to pinpoint the problem.
Key Takeaways
- Point 1: Vacuum leaks often cause rough idle and check engine lights due to unmetered air entering the engine.
- Point 2: Start with a visual inspection of hoses and gaskets before moving to advanced tests.
- Point 3: The carb cleaner spray method is a quick, low-cost way to confirm leaks by watching engine RPM changes.
- Point 4: A vacuum gauge provides precise readings to measure overall system health in minutes.
- Point 5: Smoke testing offers the most accurate results for hidden leaks in complex intake systems.
- Point 6: Always work in a well-ventilated area and wear safety gear during any test.
- Point 7: Fixing leaks early improves fuel efficiency and prevents costly repairs later.
Quick Answers to Common Questions
Can I test for a vacuum leak without special tools?
Yes, a simple visual check and the carb cleaner spray method work well for most drivers using items already in the garage.
How long does a full vacuum leak test take?
Most home tests finish in 30 to 60 minutes depending on how many methods you try and how accessible the hoses are.
Is the smoke test safe for all cars?
Yes, when performed correctly with low-pressure smoke it will not harm sensors or seals on modern vehicles.
Should I replace all hoses at once?
No, replace only the damaged sections you locate to avoid unnecessary work and expense.
What if the check engine light stays on after fixing the leak?
Clear the code with an OBD scanner and take a short drive to let the system relearn before checking again.
Signs Your Car Has a Vacuum Leak
Listen for a hissing sound near the engine bay while the car idles. Notice if the engine runs rough or stalls at stoplights. Check if your fuel economy has dropped suddenly or the check engine light appears.
Tools and Materials
Having the correct items ready makes the entire process faster and safer. Gather everything before you begin so you can move smoothly from one test to the next.
Visual guide about how to test car for vacuum leak
Image source: files.cults3d.com
Step 1: Perform a Visual Inspection
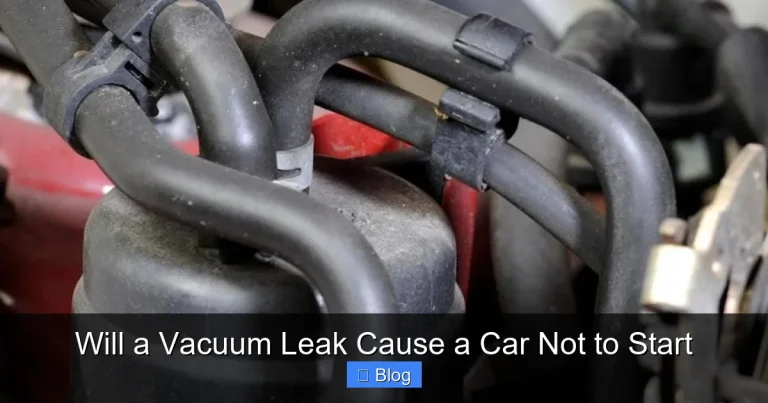
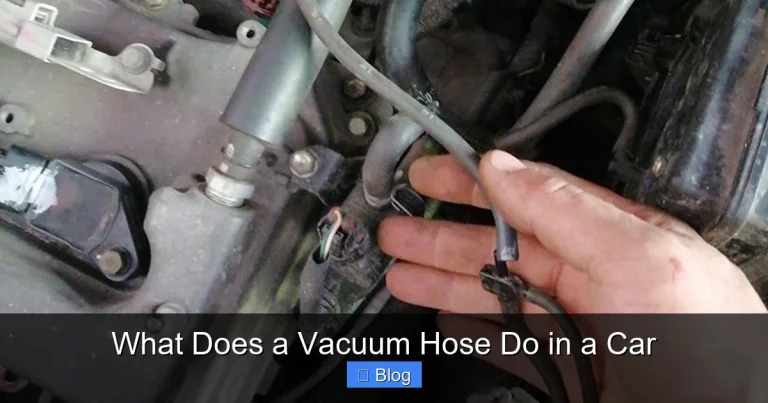
Park on a level surface and let the engine cool completely. Pop the hood and examine every vacuum hose for cracks, splits, or loose clamps. Squeeze each hose gently to feel for soft spots that indicate damage.
Check common leak spots
Focus on the intake manifold gasket, PCV valve hose, and brake booster line. Look around the throttle body and any plastic intake tubes for brittleness from age or heat.
Step 2: Use the Carb Cleaner Spray Test
Start the engine and let it reach normal idle. Spray short bursts of carb cleaner around suspected areas while listening to the engine sound. A sudden rise in RPM means you found the leak because the cleaner is being sucked in as extra fuel.
| Tool | Purpose | Best Used For |
|---|---|---|
| Flashlight | Spot cracks and loose connections | Visual inspection |
| Carburetor cleaner | Detect RPM changes when sprayed | Quick spray test |
| Vacuum gauge | Measure manifold vacuum levels | Precise system checks |
| Smoke machine | Reveal hidden leaks with visible smoke | Professional diagnosis |
| Shop rags | Clean surfaces and wipe spills | All steps |
Safety during the spray test
Work outside or in a garage with open doors. Keep the spray away from hot exhaust parts and never smoke nearby. If the RPM changes, mark the spot with tape for later repair.
Step 3: Read a Vacuum Gauge
Connect the gauge to a manifold vacuum port and start the engine. A steady reading around 18-22 inches of mercury at idle shows normal conditions. Fluctuating or low numbers point to a leak somewhere in the system.
Interpret the gauge results
Steady low vacuum often means a large leak. Rapid needle movement can indicate a leaking valve or gasket. Compare your reading to the vehicle’s service manual for exact specs.
Troubleshooting Common Problems
If the spray test shows no change, move to the smoke test next. Persistent low vacuum after hose replacement may require checking the intake manifold for warping. Always retest after any repair to confirm the fix worked.
Conclusion
Knowing how to test car for vacuum leak saves time and money on repairs. Start simple with visual checks and the spray method, then use a gauge or smoke machine for tougher cases. Regular testing keeps your engine efficient and reliable for years.