How to Vacuum Under Car Seats
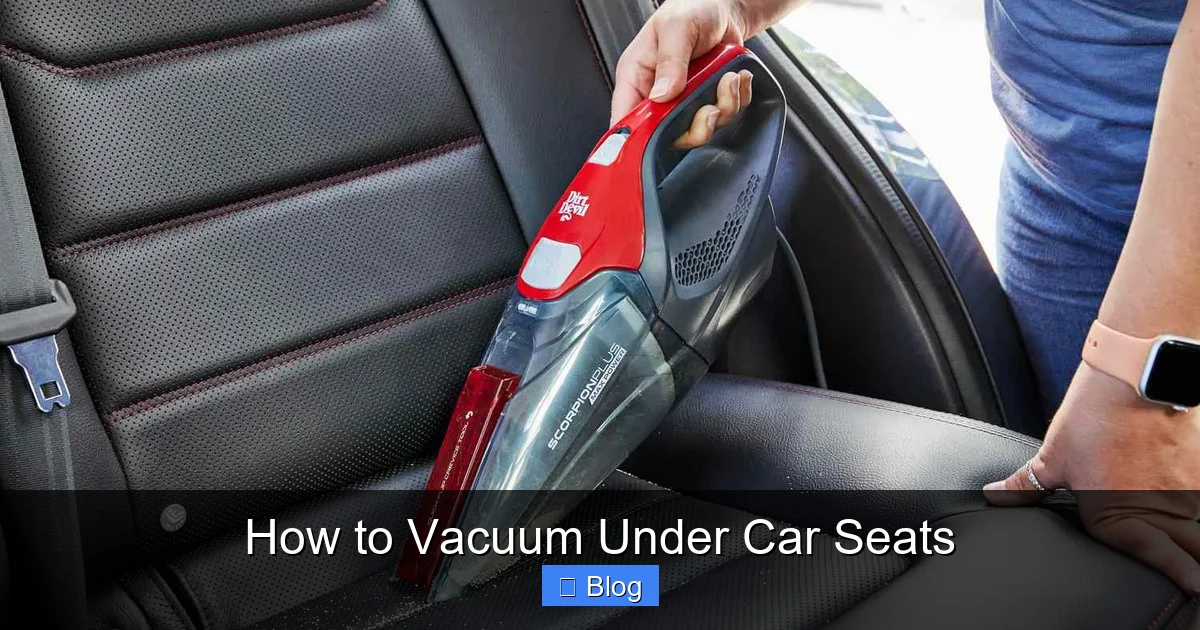
Vacuuming under car seats can be tricky, but with the right tools and techniques, it’s easy to remove hidden dirt, crumbs, and allergens. This guide walks you through a complete process to clean hard-to-reach areas and maintain a spotless interior.
Keeping your car’s interior clean isn’t just about appearances—it’s about comfort, hygiene, and long-term maintenance. One of the most overlooked areas during a car clean is under the seats. Over time, food crumbs, pet hair, dust, and even small debris can accumulate beneath the front and rear seats, creating unpleasant odors and potential allergens. Fortunately, learning how to vacuum under car seats is simpler than you might think. With a few smart techniques and the right tools, you can keep your vehicle’s cabin fresh and spotless.
In this guide, we’ll walk you through a complete, step-by-step process to vacuum under car seats effectively. Whether you’re dealing with a compact sedan or a spacious SUV, these tips will help you reach every corner. We’ll cover everything from preparing your vehicle to choosing the best vacuum attachments and troubleshooting common challenges. By the end, you’ll have a cleaner car and a routine you can repeat easily.
Key Takeaways
- Use the right attachments: A crevice tool and brush nozzle help reach tight spaces and loosen debris without scratching surfaces.
- Remove floor mats first: This gives you better access and prevents dirt from falling back under the seats.
- Adjust seat position: Slide seats forward or backward to expose more of the floor area for thorough cleaning.
- Work in sections: Focus on one footwell at a time to avoid missing spots and ensure even coverage.
- Vacuum regularly: Aim for every 2–4 weeks to prevent buildup and maintain air quality inside your vehicle.
- Check under seat rails: Dirt often accumulates in narrow gaps—use a flexible hose or thin tool to clean these areas.
- Finish with a wipe-down: Use a microfiber cloth to remove dust stirred up during vacuuming for a truly clean finish.
Quick Answers to Common Questions
Tip/Question?
Can I use a regular household vacuum for my car?
Yes, but a portable car vacuum is more convenient. Household vacuums can work if they have a hose and attachments, but they’re often bulky and hard to maneuver in tight spaces.
Tip/Question?
How often should I vacuum under car seats?
Every 2–4 weeks is ideal, especially if you drive with kids, pets, or frequently eat in the car. Regular cleaning prevents odors and buildup.
Tip/Question?
What if my seats don’t move or fold?
Use a flexible hose or crevice tool to reach as far as possible. Focus on accessible areas and consider professional detailing for deep cleaning.
Tip/Question?
Is it safe to use water or cleaners under the seats?
Avoid excess moisture. Use only damp cloths for spot cleaning, and never soak the floor. Moisture can damage wiring or cause mold.
Tip/Question?
Can I remove the seats to clean underneath?
Yes, but only if you’re confident and your vehicle allows it. Consult your owner’s manual and disconnect the battery if needed to avoid airbag issues.
Step 1: Prepare Your Vehicle
Before you start vacuuming, take a few minutes to prepare your car. This ensures you can work efficiently and avoid recontaminating cleaned areas.
Remove floor mats and clutter
Start by taking out all floor mats—both front and rear. Shake them outside or vacuum them separately. Next, clear any loose items from the footwells: toys, wrappers, shoes, or personal belongings. This gives you unobstructed access to the floor and prevents dirt from falling back under the seats during cleaning.
Open doors and windows
Open all doors and, if weather permits, crack the windows. Good airflow helps reduce dust and makes it easier to see what you’re cleaning. It also prevents the interior from feeling stuffy while you work.
Check seat adjustability
Most modern car seats can slide forward or backward. Check your owner’s manual if you’re unsure how to adjust them. Being able to move the seats is crucial for accessing the full floor area.
Step 2: Choose the Right Vacuum and Attachments
Visual guide about How to Vacuum Under Car Seats
Image source: m.media-amazon.com
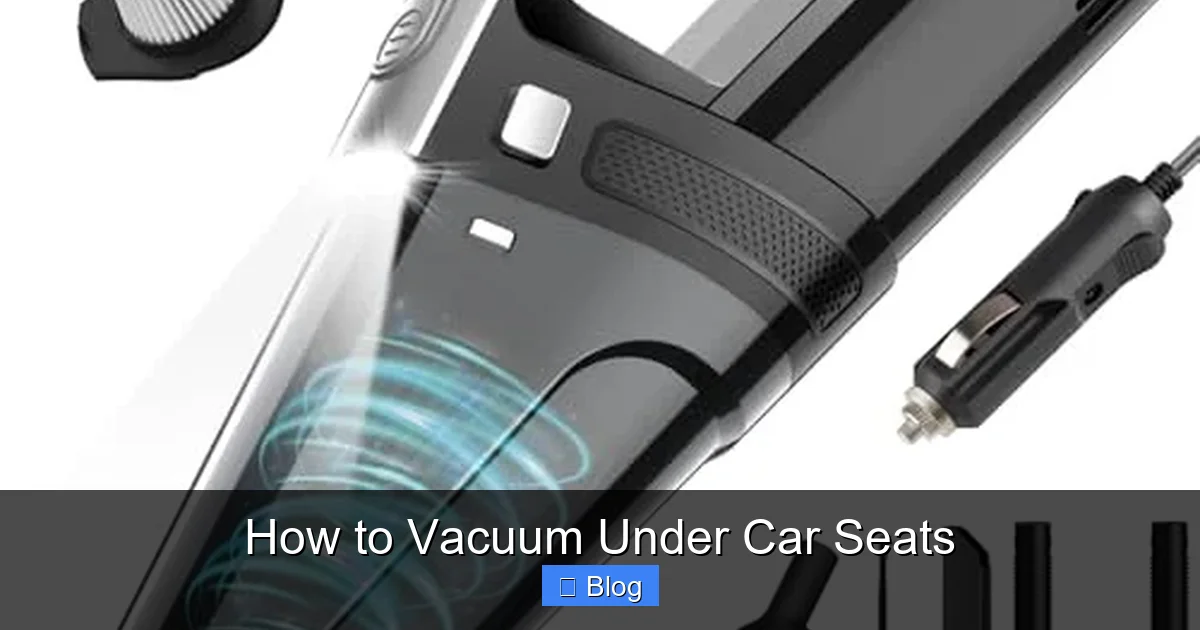
Not all vacuums are created equal—especially when it comes to car cleaning. A powerful, portable vacuum with the right attachments makes all the difference.
Portable car vacuums vs. household vacuums
While you can use a standard household vacuum with a hose, a dedicated car vacuum is often more convenient. Car vacuums are compact, lightweight, and designed for tight spaces. Many come with built-in crevice tools and rechargeable batteries, making them ideal for on-the-go cleaning.
Essential attachments
Look for these key tools:
– Crevice tool: Narrow and angled, perfect for sliding under seats and along edges.
– Brush nozzle: Soft bristles gently lift dust and pet hair without scratching upholstery or plastic.
– Flexible hose: Extends reach and bends around obstacles.
If your vacuum doesn’t include these, you can often purchase them separately or use universal attachments.
Step 3: Adjust the Seats for Maximum Access
Visual guide about How to Vacuum Under Car Seats
Image source: thumbs.dreamstime.com
Now that your car is prepped and your vacuum is ready, it’s time to position the seats.
Slide front seats forward and backward
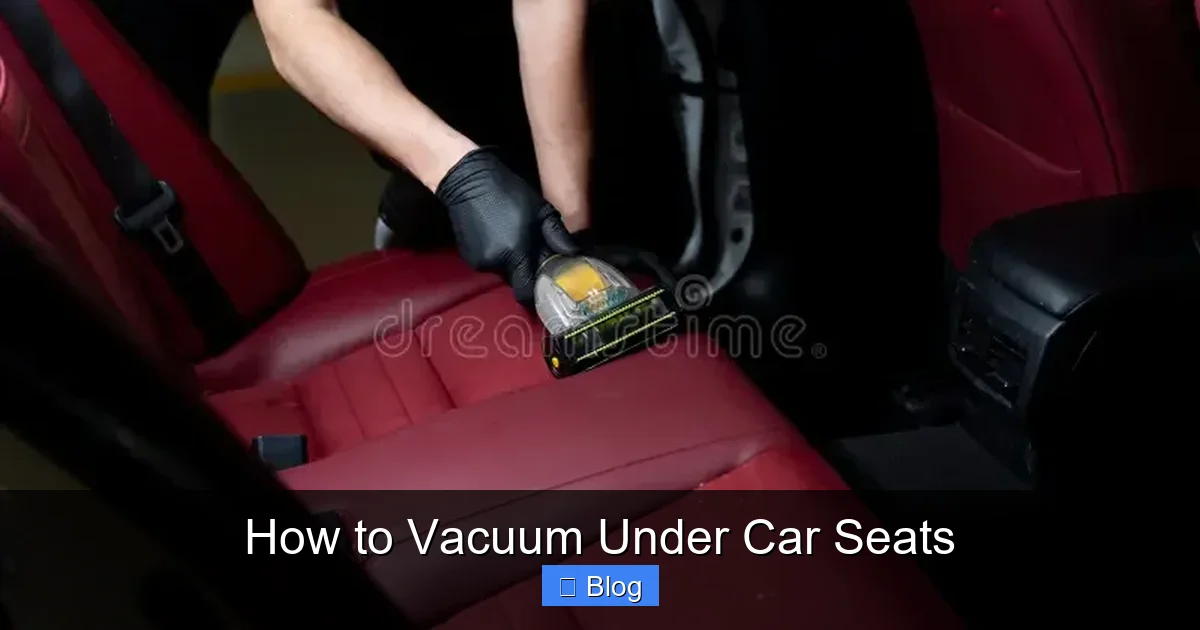
Start with the driver’s seat. Slide it all the way forward to expose the rear footwell. Vacuum that area thoroughly. Then, slide the seat all the way back to clean the space behind it. Repeat with the passenger seat.
Tilt or recline if possible
Some seats allow you to tilt the backrest forward. If yours do, gently recline them to create more space between the seat base and the floor. This helps you reach deeper under the seat cushion.
Access rear seats
For rear seats, fold them down if your vehicle allows. In sedans, this may require pulling a release lever. In SUVs or hatchbacks, the rear seats often fold flat. This opens up the entire cargo area and makes it easier to vacuum the rear footwells and under-seat compartments.
Step 4: Vacuum Under the Front Seats
With the seats adjusted, begin vacuuming the front footwells.
Start with the crevice tool
Insert the crevice tool under the seat, aiming for the corners and along the seat rails. Move it slowly to dislodge embedded dirt. Pay special attention to the area directly beneath the seat base—this is where debris tends to collect.
Use the brush nozzle for wider areas
Switch to the brush nozzle for flat sections of the floor. The bristles help lift fine dust and pet hair that the crevice tool might miss. Move in slow, overlapping strokes to ensure full coverage.
Don’t forget the seat tracks
Dirt and grit often build up in the metal seat tracks. Use the crevice tool to slide along the grooves. If debris is stuck, gently wiggle the tool or use a soft brush to loosen it before vacuuming.
Step 5: Clean Under Rear Seats
| Tool/Material | Purpose | Estimated Time |
|---|---|---|
| Portable vacuum | Main cleaning tool for suction | 10–15 minutes |
| Crevice tool | Reach narrow gaps under seats | 5–8 minutes |
| Brush nozzle | Lift dust and pet hair from flat surfaces | 5–7 minutes |
| Flexible hose | Access tight or curved spaces | 3–5 minutes |
| Microfiber cloth | Wipe down surfaces after vacuuming | 2–3 minutes |
| Gloves (optional) | Keep hands clean during cleaning | 1 minute |
Rear seats can be trickier due to limited space, but the same principles apply.
Fold down rear seats if possible
If your rear seats fold, do so now. This gives you full access to the floor behind them. Vacuum the exposed area thoroughly.
Use a flexible hose for tight spaces
If the seats don’t fold or space is limited, attach the flexible hose to your vacuum. Its bendable design lets you snake it under the seat from the side or rear. Work in sections, moving the hose slowly to avoid missing spots.
Check under seat cushions
Some rear seats have removable cushions. If yours do, lift them carefully and vacuum the area beneath. This is especially important in vehicles used for kids or pets, where spills and crumbs are common.
Tools and Materials
Here’s a quick reference table of the tools and materials you’ll need, along with their purposes and estimated time per step.
Step 6: Address Stubborn Debris and Pet Hair
Sometimes, regular vacuuming isn’t enough—especially if you have pets or frequently eat in the car.
Use a rubber glove or pet hair roller
For embedded pet hair, try rubbing a damp rubber glove over the floor. The friction helps lift hair so the vacuum can suck it up. Alternatively, use a dedicated pet hair roller or brush.
Try a detailing brush
A soft-bristled detailing brush can loosen crumbs and dust from textured flooring. Gently brush the area before vacuuming for better results.
Spot-clean spills if needed
If you find old spills or sticky residue, use a damp microfiber cloth with a mild cleaner. Let it dry completely before vacuuming to avoid moisture buildup.
Step 7: Finish with a Wipe-Down
After vacuuming, dust may have settled on nearby surfaces.
Wipe footwells and seat bases
Use a dry or slightly damp microfiber cloth to wipe the floor around the cleaned areas. This removes any fine dust stirred up during vacuuming.
Clean seat rails and tracks
Wipe down the metal seat rails with a cloth to remove grease and grime. This prevents corrosion and keeps seats moving smoothly.
Troubleshooting Common Issues
Even with the best plan, you might run into challenges. Here’s how to handle them.
Vacuum won’t reach under the seat
If your vacuum hose is too short, try using an extension or switching to a handheld model. Alternatively, remove the seat entirely (if you’re comfortable doing so and your vehicle allows it).
Seats won’t move or fold
Check for locking mechanisms or child safety locks. Consult your owner’s manual for instructions. Never force a seat—this can damage mechanisms.
Dirt keeps falling back under the seat
Work from the back of the footwell toward the front. This pushes debris out rather than under the seat. Use slow, controlled movements.
Strong odors remain after cleaning
Vacuuming removes debris but not odors. Use a car-safe odor eliminator or sprinkle baking soda under the seats, let it sit for 15 minutes, then vacuum it up.
Conclusion
Learning how to vacuum under car seats doesn’t have to be a chore. With the right preparation, tools, and technique, you can keep your vehicle’s interior clean, fresh, and healthy. Regular maintenance—aim for every few weeks—prevents buildup and makes each cleaning session quicker and easier. By following this guide, you’ll not only improve your car’s appearance but also extend the life of your upholstery and flooring. A clean car is a comfortable car, and now you know exactly how to achieve it.