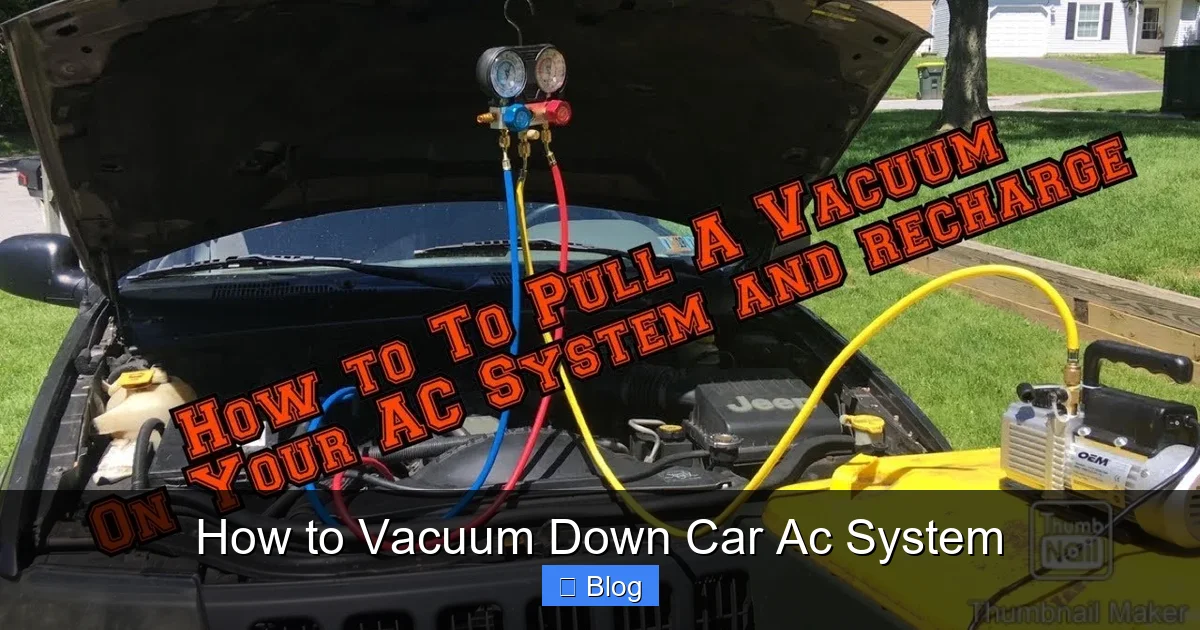
How to Vacuum Down Car Ac System
Vacuuming down your car’s AC system removes moisture and air, ensuring optimal cooling performance and protecting components from damage. This process improves efficiency and extends the life of your AC system. With the right tools and careful steps, you can do it yourself or understand what a mechanic does.
Key Takeaways
- Moisture harms AC performance: Water vapor in the system causes corrosion and reduces refrigerant effectiveness.
- Proper vacuuming prevents contamination: A deep vacuum removes air and moisture that can freeze or block refrigerant flow.
- Use the right equipment: You’ll need an AC vacuum pump, manifold gauge set, hoses, and refrigerant.
- Follow time guidelines: Most systems require 30 minutes to 1 hour under vacuum to meet standards.
- Check for leaks after vacuuming: A stable vacuum reading confirms the system is sealed and dry.
- Never skip the vacuum step: It’s essential before recharging with new or recovered refrigerant.
- Safety comes first: Wear eye protection and work in a well-ventilated area when handling refrigerants.
Quick Answers to Common Questions
Tip/Question?
Can I skip vacuuming if my AC was working fine before?
Answer: No—even if your AC seems fine, residual moisture can cause problems later. Vacuuming is essential before adding new refrigerant to prevent internal corrosion and blockages.
Tip/Question?
How long should I run the vacuum?
Answer: At least 30 minutes is standard, but some systems need up to an hour. The goal is to reach and hold 29+ inches of vacuum without dropping.
Tip/Question?
Do I need special training to do this?
Answer: Basic knowledge of automotive systems is helpful, but no certification is required. Just follow safety rules and use the right tools.
Tip/Question?
What happens if I don’t evacuate the system?
Answer: Moisture freezes inside the AC, causing poor airflow, loud rattling sounds, and potential compressor seizure due to liquid slugging.
Tip/Question?
Is it okay to vacuum without recovering old refrigerant first?
Answer: Only if the system is empty and depressurized. Otherwise, mixing old and new refrigerant harms performance and violates environmental regulations.
Introduction: Why Vacuum Your Car’s AC System?
Your car’s air conditioning system relies on clean, dry refrigerant to cool the cabin efficiently. Over time, moisture and air can enter the system—especially if the compressor has been removed or the system has been opened for repairs. This buildup reduces cooling power and can damage internal components like the compressor or expansion valve.
Vacuuming the AC system removes this unwanted moisture and air. It prepares the system for a proper recharge and ensures long-term reliability. Whether you’re restoring a vintage car, fixing a leak, or simply refreshing your AC after years of use, vacuuming is a critical step most people skip.
In this guide, you’ll learn exactly how to vacuum down your car’s AC system using common tools and safe practices. By the end, you’ll know when to vacuum, how long to run the process, and what to watch for during each step. No fancy equipment? We’ll cover affordable options too.
—
What Is Vacuuming and Why Is It Important?
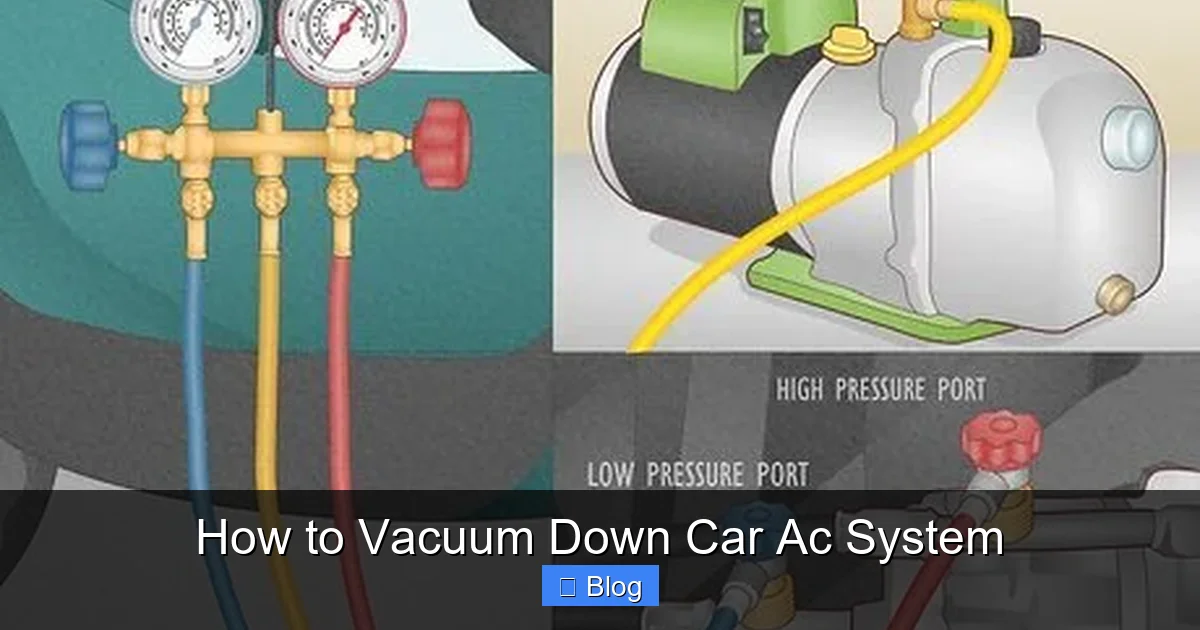
Visual guide about How to Vacuum Down Car Ac System
Image source: wikihow.com
When technicians say “vacuum down,” they mean pulling a deep vacuum on the entire AC system. This isn’t just sucking out a little air—it’s removing nearly all moisture and gas from the lines, evaporator, condenser, and compressor.
Water in the system is dangerous. Even a tiny amount (less than one ounce) can freeze at low temperatures, blocking refrigerant flow. This leads to poor cooling, loud noises, and potential compressor failure.
Vacuuming also helps detect leaks. If the vacuum holds steady after removal, it means no significant holes exist in the system.
—
Tools and Materials You’ll Need
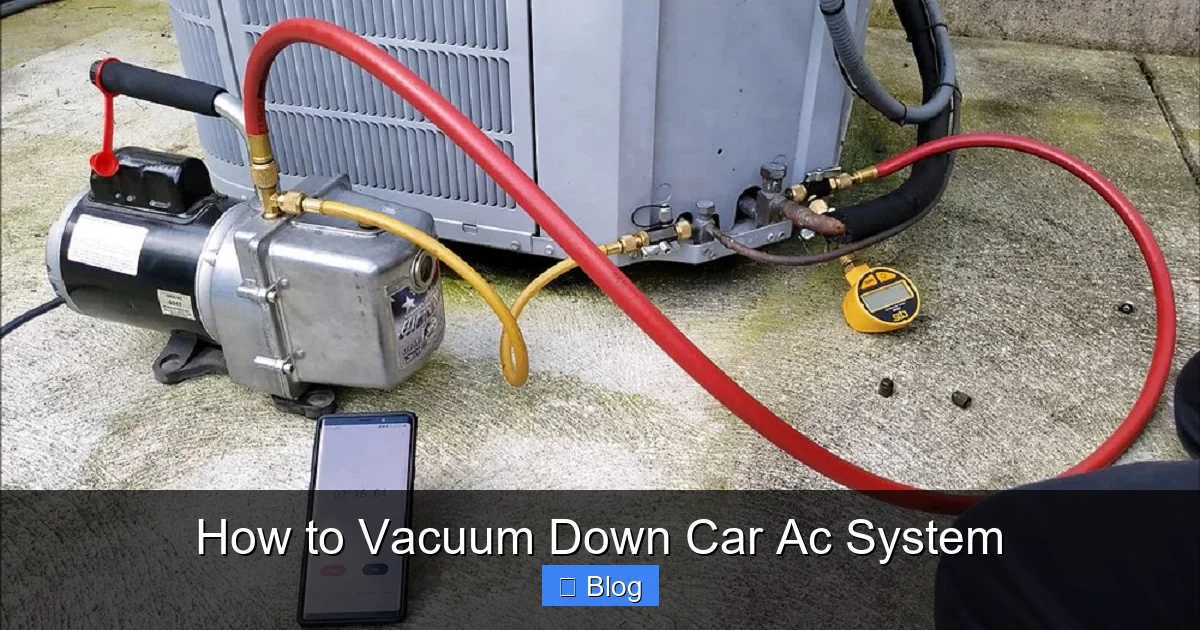
Visual guide about How to Vacuum Down Car Ac System
Image source: storables.com
Before starting, gather these items:
Essential Tools
- AC vacuum pump (hand-operated or electric)
- Manifold gauge set (blue low-pressure hose, red high-pressure hose, yellow recovery hose)
- Service hoses with quick-connect fittings
- Refrigerant (R-134a or R-1234yf, depending on your vehicle)
- Thermometer (optional but helpful)
- Digital multimeter (for checking compressor clutch voltage)
Optional but Useful
- UV dye kit (to trace future leaks)
- Electronic leak detector
- AC system flush kit (if replacing old refrigerant)
- Work light and flashlight
You don’t need professional-grade gear to get started. A basic vacuum pump and manifold set cost around $50–$100 and work well for most cars.
—
Quick Reference: Vacuum Process Overview
| Step | Description | Time Estimate |
|---|---|---|
| 1. Prepare System | Recover old refrigerant (if present), connect hoses | 5–10 min |
| 2. Connect Vacuum Pump | Attach manifold to service ports and pump | 3–5 min |
| 3. Pull Initial Vacuum | Run pump until vacuum reaches 29+ inches Hg | 10–15 min |
| 4. Hold Vacuum (Stabilization) | Close valves and wait for reading to stabilize | 15–30 min |
| 5. Check Leaks & Final Vacuum | Monitor for drops; ensure no movement | 5–10 min |
| 6. Shut Down & Disconnect | Turn off pump, open valves slowly | 3–5 min |
Below is a summary of the key steps and time estimates for vacuuming your car’s AC system:
This table gives you a clear roadmap. Each step builds on the last, so follow them in order.
—
Step-by-Step: How to Vacuum Down Your Car’s AC System
Step 1: Recover Old Refrigerant (If Necessary)
Start by connecting the manifold gauge set to the AC service ports—usually labeled “L” (low) and “H” (high). The blue hose goes to the low side, red to the high side.
If your system still has refrigerant, use a recovery machine or take it to a certified shop to extract it. Never vent refrigerant into the atmosphere—it’s illegal and harmful to the environment.
Once recovered, leave the system open to equalize pressure.
Step 2: Connect the Vacuum Pump
Attach the yellow hose from the manifold center port to the vacuum pump’s intake. Make sure all connections are tight to avoid leaks.
Double-check that both manifold valves are closed before turning on the pump. This prevents oil from being sucked back into the pump.
Step 3: Start the Vacuum and Monitor Pressure
Turn on the vacuum pump and let it run. Watch the vacuum gauge—it should drop below 29 inches Hg (or -30 inHg absolute). This indicates a strong vacuum.
It may take 10–15 minutes to reach full vacuum, depending on system size and tool quality.
Step 4: Close Valves and Stabilize
Once the desired vacuum is reached, close both the low and high-side valves on the manifold. Then turn off the vacuum pump.
Now comes the waiting game. Let the system sit for 15–30 minutes. During this time, the vacuum should remain stable. If it drops quickly, there’s likely a leak.
Step 5: Check for Leaks and Confirm Vacuum Hold
After stabilization, observe the gauge. A good vacuum will hold steady or drop only slightly (less than 1 inch Hg over 30 minutes).
If the vacuum drops significantly, inspect all connections and joints for leaks. Use soapy water to bubble-test fittings if needed.
If everything looks good, proceed to shut down the system.
Step 6: Turn Off Pump and Open Valves Slowly
Turn off the vacuum pump first. Wait about 10 seconds, then slowly open both manifold valves. Doing this prevents sudden pressure surges.
Disconnect the hoses and store them properly.
Step 7: Recharge the System (Next Step)
Now your system is dry and ready for a fresh charge. Add the correct amount of refrigerant according to your vehicle’s specifications—check the owner’s manual or under the hood sticker.
Use a scale for accuracy, especially for R-134a systems. Too much or too little refrigerant hurts performance.
—
Troubleshooting Common Issues
The Vacuum Won’t Drop Below 20 Inches Hg
This usually means there’s still moisture or air trapped in the system. Try running the vacuum longer. If it never reaches 29 inHg, check for loose hoses or a faulty pump seal.
Vacuum Drops Rapidly After Closing Valves
A fast drop indicates a leak. Inspect every connection, including the service ports themselves. Tighten fittings or replace O-rings if necessary.
Pump Runs But No Vacuum Forms
Ensure the manifold valves are fully closed before starting. Also verify the yellow vacuum hose is securely attached to the pump inlet.
System Still Doesn’t Cool After Recharge
Even with a good vacuum, poor cooling can stem from clogged filters, electrical issues (like a bad clutch relay), or incorrect refrigerant type.
—
Conclusion: Keep Your AC Running Strong
Vacuuming your car’s AC system might seem technical, but it’s one of the most important maintenance tasks for preserving performance and preventing costly repairs. By removing moisture and air, you protect the compressor, improve cooling efficiency, and ensure a comfortable drive every summer.
Remember: a proper vacuum takes time—don’t rush it. Follow the steps above, use quality tools, and always prioritize safety. If you’re unsure about any part of the process, consult a professional.
With regular care and attention, your car’s AC will stay cool, quiet, and reliable for years to come.
—