Vacuum Leak Tester for Car
A vacuum leak tester for car engines is a simple yet powerful diagnostic tool that helps identify air leaks in the intake system. These leaks can cause poor engine performance, reduced fuel efficiency, and increased emissions—but catching them early saves time and money.
If your car is idling rough, stalling at stoplights, or getting worse gas mileage than usual, you might be dealing with a vacuum leak. These sneaky issues often go unnoticed because they don’t always trigger a check engine light—yet they can seriously affect how your vehicle runs. That’s where a vacuum leak tester for car engines comes in. This handy tool helps you find leaks in the intake system quickly and accurately, so you can fix the problem before it leads to bigger, more expensive repairs.
Vacuum leaks happen when unmetered air sneaks into the engine through cracked hoses, loose connections, or worn gaskets. Since your engine relies on a precise mix of air and fuel, even a small leak can throw everything off. The result? Hesitation during acceleration, a fluctuating idle, or even a failed emissions test. Fortunately, diagnosing these leaks doesn’t require a trip to the mechanic. With a vacuum leak tester, you can check your system yourself in under 30 minutes.
Key Takeaways
- Detects hidden air leaks: A vacuum leak tester pinpoints unmetered air entering the engine, which disrupts the air-fuel ratio.
- Improves engine performance: Fixing leaks restores smooth idling, better throttle response, and consistent power delivery.
- Saves on fuel costs: A well-sealed intake system ensures optimal combustion, improving miles per gallon.
- Easy to use: Most testers require no special training—just connect to a vacuum source and observe the gauge.
- Prevents costly repairs: Early detection avoids damage to sensors, catalytic converters, and other engine components.
- Works on most vehicles: Compatible with gasoline engines, including older models and modern fuel-injected systems.
- Affordable diagnostic solution: Priced under $50, it’s a smart investment for DIYers and mechanics alike.
Quick Answers to Common Questions
What does a vacuum leak tester do?
A vacuum leak tester checks for air leaks in a car’s intake system by creating vacuum and measuring pressure drop, helping identify unmetered air entering the engine.
Can I use a vacuum leak tester on any car?
Yes, most vacuum leak testers work on gasoline-powered vehicles, including older carbureted engines and modern fuel-injected models.
How much does a vacuum leak tester cost?
Basic analog models start around $20–$30, while digital or professional kits range from $40–$80.
Do I need special training to use one?
No—most testers are designed for DIY use. Just follow the instructions and take basic safety precautions.
Will a vacuum leak always trigger a check engine light?
Not always. Small leaks may not set off the light but can still cause performance issues like rough idle or poor fuel economy.
📑 Table of Contents
What Is a Vacuum Leak Tester?
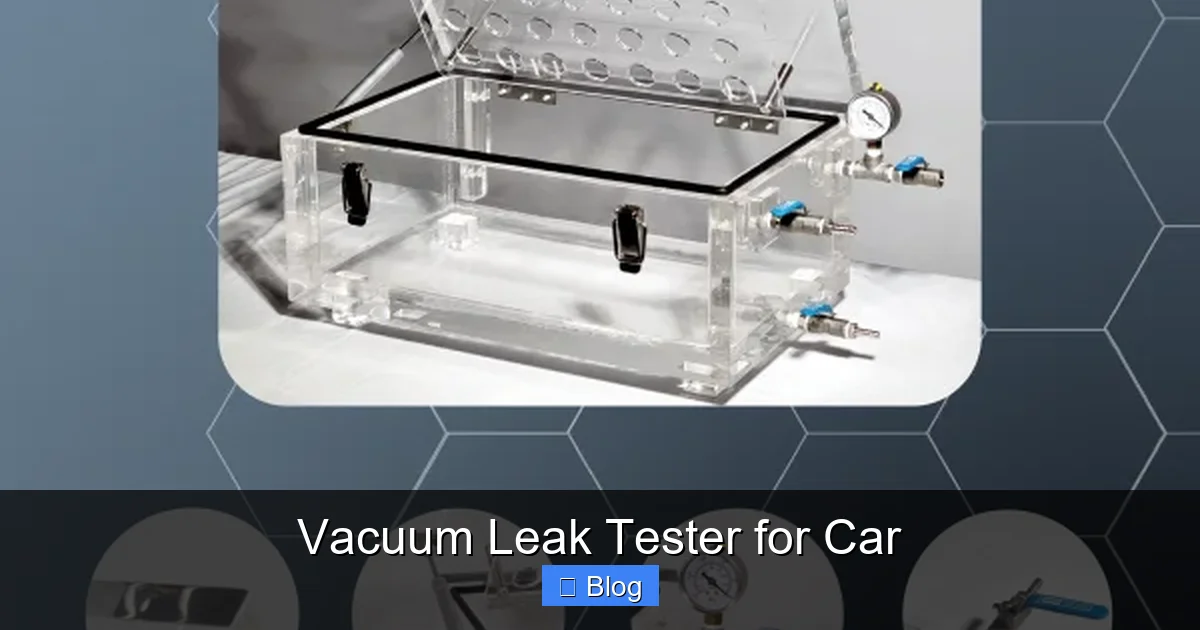
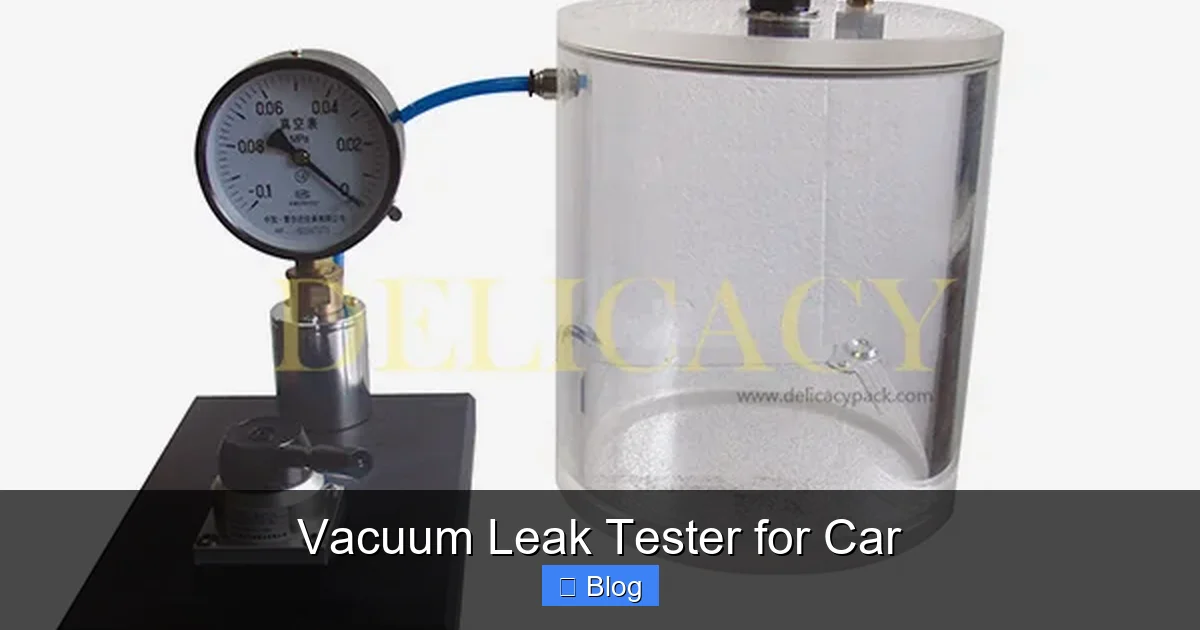
A vacuum leak tester is a diagnostic device designed to measure and detect leaks in a vehicle’s intake manifold and vacuum system. It typically consists of a hand pump, a pressure/vacuum gauge, and a set of adapters that connect to various vacuum lines and ports on the engine. When you create a vacuum using the pump, the gauge shows whether pressure holds steady or drops—indicating a leak.
These testers come in different styles, from basic mechanical models to more advanced digital versions. The most common type uses a simple U-tube or Bourdon tube gauge that responds to changes in vacuum pressure. Some kits also include smoke machines or spray bottles with soapy water for visual confirmation, but the core function remains the same: isolate the system and monitor for pressure loss.
How It Works
The principle behind a vacuum leak tester is straightforward. Your engine naturally creates vacuum when running, which pulls air through the intake system. If there’s a leak, extra air enters without passing through the mass airflow (MAF) sensor, confusing the engine computer. The tester simulates this condition by applying vacuum to a sealed section of the system. If the gauge holds steady, the system is tight. If it drops, there’s a leak somewhere.
For example, imagine you’re testing the brake booster line. You disconnect the hose, plug one end, and attach the tester to the other. Pump the handle to create vacuum, then watch the gauge. A steady reading means no leak. A slow drop suggests a small crack or loose clamp. A rapid fall points to a major breach—like a split hose or cracked manifold gasket.
Why Vacuum Leaks Are a Big Deal
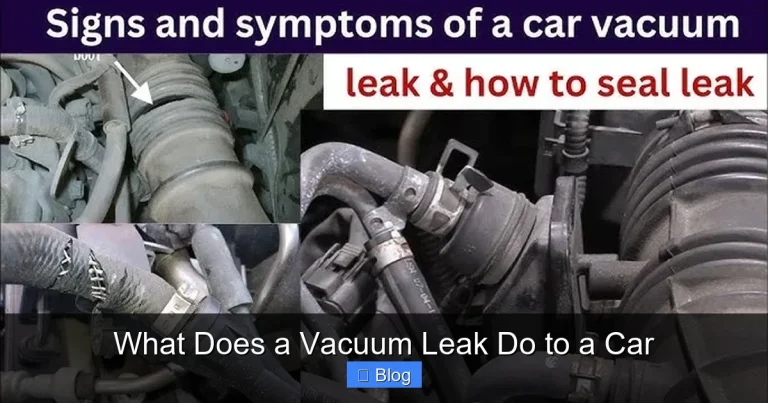
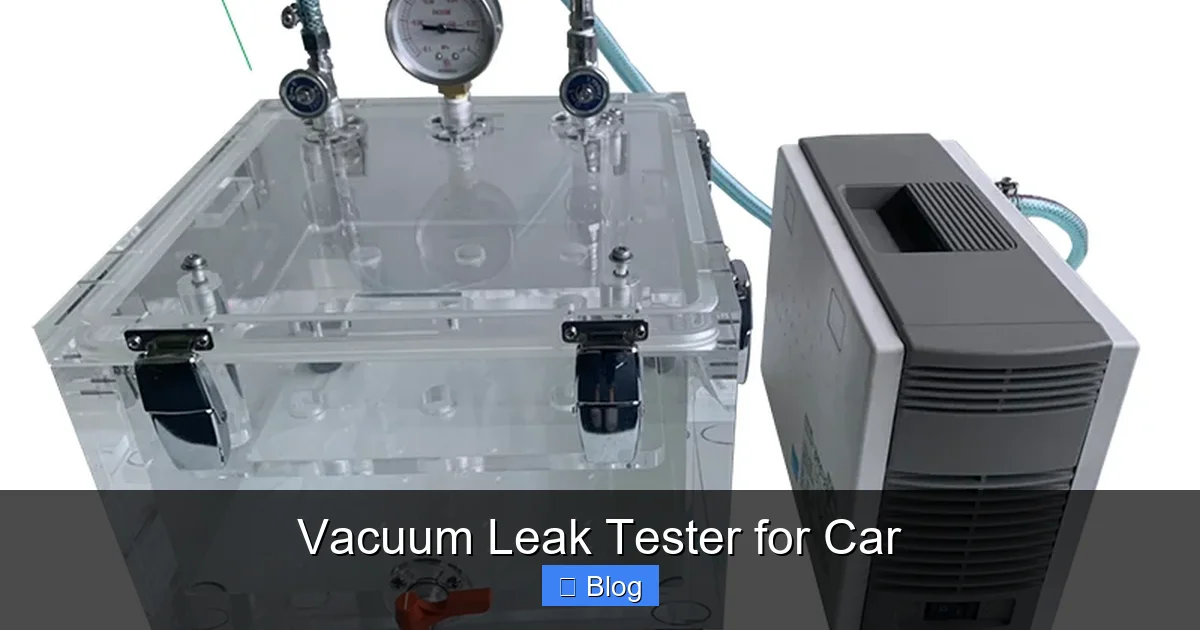
Visual guide about Vacuum Leak Tester for Car
Image source: delicacypack.com
You might wonder: “How bad can a little air leak really be?” The answer is: surprisingly bad. Even a tiny hole—no bigger than a pinprick—can disrupt the carefully calibrated air-fuel mixture your engine needs to run efficiently. Modern engines rely on sensors and computers to maintain this balance, and any unmetered air throws off the calculations.
Common Symptoms of a Vacuum Leak
- Rough or erratic idle: The engine may surge, stumble, or even stall when stopped.
- Hesitation or stumbling during acceleration: The car feels sluggish or bogs down when you press the gas.
- High idle speed: The engine revs higher than normal (e.g., 1,500 RPM instead of 800).
- Poor fuel economy: The engine compensates for the lean condition by injecting more fuel, wasting gas.
- Check engine light: Codes like P0171 (system too lean) often point to vacuum leaks.
These symptoms can mimic other issues, like a bad oxygen sensor or clogged fuel injector. That’s why using a vacuum leak tester is so valuable—it helps you confirm the root cause before replacing parts unnecessarily.
How to Use a Vacuum Leak Tester
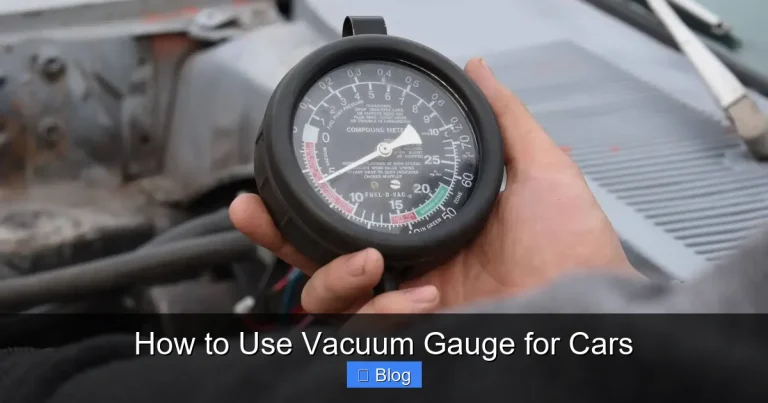
Visual guide about Vacuum Leak Tester for Car
Image source: itogroupthai.com
Using a vacuum leak tester is easier than you might think. You don’t need to be a professional mechanic—just follow these steps:
Step 1: Gather Your Tools
You’ll need:
– A vacuum leak tester kit
– Safety glasses
– A flashlight
– Basic hand tools (screwdrivers, pliers)
– A repair manual for your vehicle (optional but helpful)
Step 2: Locate Vacuum Lines and Components
Pop the hood and look for rubber hoses connected to the intake manifold. Common sources of leaks include:
– Brake booster hose
– PCV (positive crankcase ventilation) valve and hose
– Vacuum advance line (on older distributors)
– EGR valve vacuum line
– Intake manifold gaskets
Use your flashlight to inspect for visible cracks, brittleness, or loose connections. Rubber hoses dry out over time and can develop hairline fractures that are hard to see.
Step 3: Isolate and Test Each Section
Start with one line at a time. Disconnect the hose, plug the engine-side port with a rubber cap (often included in the kit), and attach the tester to the hose. Pump the handle to create vacuum—usually around 15–20 inches of mercury (inHg). Watch the gauge:
– If it holds steady for 30–60 seconds, that section is leak-free.
– If it drops slowly, there’s a small leak.
– If it drops quickly, there’s a major leak.
Repeat this process for each vacuum line and component. Don’t forget to test the intake manifold itself by applying vacuum to a port and checking for pressure loss.
Step 4: Confirm and Repair
Once you’ve identified a leak, trace it back to the source. Replace cracked hoses, tighten loose clamps, or reseal gaskets as needed. After repairs, retest to ensure the system holds vacuum.
Pro tip: Use carburetor cleaner or brake cleaner spray to help locate leaks. Spray around suspected areas while the engine is running. If the idle changes (rpm increases), you’ve found the leak—because the engine is sucking in the flammable spray.
Best Practices and Safety Tips
While vacuum leak testing is generally safe, it’s important to follow a few guidelines:
– Always work in a well-ventilated area. Fumes from cleaners and fuel can be hazardous.
– Let the engine cool before starting. Hot components can cause burns.
– Never spray flammable liquids near open flames, sparks, or hot exhaust parts.
– Use the correct adapters. Forcing connections can damage hoses or ports.
– Label hoses as you disconnect them. This prevents confusion during reassembly.
Also, remember that some modern vehicles have complex vacuum systems with solenoids and electronic controls. If you’re unsure, consult your vehicle’s service manual or seek professional help.
Choosing the Right Vacuum Leak Tester
Not all testers are created equal. Here’s what to look for when buying one:
Type of Gauge
– Analog (mechanical): Affordable and reliable. Uses a needle to show vacuum levels. Great for most DIYers.
– Digital: More precise and easier to read. Often includes memory functions and alarms. Better for professionals.
Included Accessories
Look for kits that come with multiple adapters, plugs, and hoses. This ensures compatibility with different engine configurations.
Build Quality
Choose a tester with a durable pump and a sealed gauge. Cheap plastic parts can crack under pressure.
Popular brands like OTC, Lisle, and Innova offer reliable options under $50. For occasional use, a basic analog kit is perfect. If you work on cars regularly, consider investing in a digital model with enhanced features.
Real-World Example: Fixing a Rough Idle
Let’s say your 2008 Honda Civic has been idling rough for weeks. You’ve already replaced the spark plugs and cleaned the throttle body, but the problem persists. You decide to test for vacuum leaks.
Using your vacuum leak tester, you start with the brake booster hose. After pumping the gauge, it holds steady. Next, you test the PCV valve hose—again, no drop. Finally, you check the intake manifold gasket by applying vacuum to a port. The gauge drops from 18 inHg to 5 inHg in under 10 seconds.
You inspect the gasket and find it’s cracked near the rear cylinder. After replacing it and retesting, the vacuum holds perfectly. Start the engine—and the idle is smooth as silk. Problem solved, without replacing unnecessary parts.
Conclusion
A vacuum leak tester for car engines is one of the most underrated tools in any garage. It’s affordable, easy to use, and can save you hundreds in diagnostic fees and unnecessary repairs. Whether you’re a weekend warrior or a seasoned mechanic, this tool helps you keep your engine running at its best.
By catching leaks early, you improve performance, boost fuel economy, and extend the life of your vehicle. So the next time your car feels off, don’t guess—test. With a vacuum leak tester in your toolbox, you’ll have the confidence to diagnose and fix issues like a pro.
Frequently Asked Questions
How do I know if my car has a vacuum leak?
Common signs include rough idling, hesitation during acceleration, high idle speed, and decreased fuel efficiency. A vacuum leak tester can confirm the issue.
Can a vacuum leak cause engine damage?
While rare, severe leaks can lead to overly lean combustion, which may damage oxygen sensors or the catalytic converter over time.
Is it safe to drive with a vacuum leak?
You can drive short distances, but it’s not recommended. The engine may run poorly, and long-term exposure can harm emissions components.
Can I fix a vacuum leak myself?
Yes, if it’s a simple issue like a cracked hose or loose clamp. More complex problems, like a warped intake manifold, may require professional help.
How often should I test for vacuum leaks?
There’s no set schedule, but it’s a good idea to check whenever you notice performance issues or during routine maintenance.
What’s the difference between a vacuum tester and a smoke machine?
A vacuum tester checks for leaks using pressure, while a smoke machine fills the system with smoke to visually reveal leaks. Both are effective, but testers are more affordable.