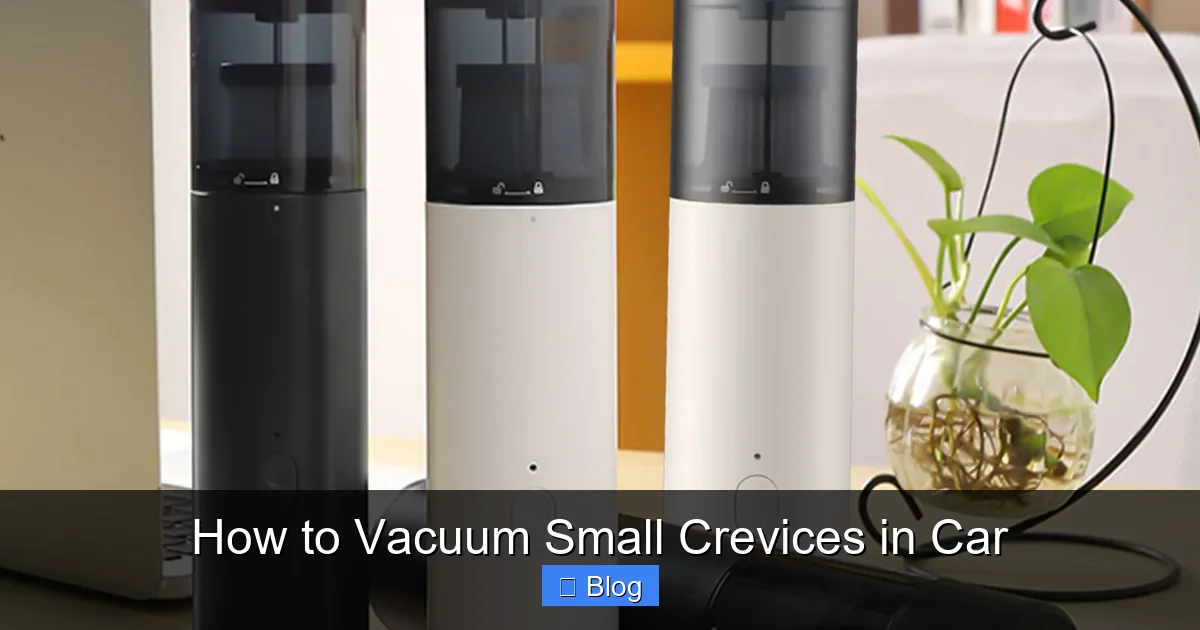
How to Vacuum Small Crevices in Car
Struggling with crumbs, dust, and debris stuck in tight car crevices? This guide shows you the best tools and step-by-step methods to clean hard-to-reach spots like seat gaps, vents, and cup holders. Keep your car looking fresh and hygienic with these practical tips.
Keeping your car’s interior clean isn’t just about appearances—it’s about comfort, hygiene, and long-term maintenance. While wiping down surfaces and vacuuming floors are common habits, many drivers overlook the tiny crevices where dirt, crumbs, pet hair, and dust love to hide. These hard-to-reach spots—like between seats, around cup holders, inside air vents, and beneath seat rails—can quickly become breeding grounds for bacteria and unpleasant odors if left unchecked.
In this comprehensive guide, you’ll learn exactly how to vacuum small crevices in your car using the right tools, techniques, and a little know-how. Whether you’re dealing with snack crumbs from road trips or sand tracked in from the beach, we’ll walk you through every step to ensure a thorough, efficient clean. By the end, you’ll have a spotless interior that feels as good as it looks—and you’ll know how to maintain it with minimal effort.
Key Takeaways
- Use a crevice tool attachment: Most vacuum cleaners come with a narrow nozzle designed specifically for tight spaces—this is your best friend for car detailing.
- Compressed air helps loosen debris: Blowing air into crevices before vacuuming dislodges stubborn particles, making cleanup faster and more effective.
- Microfiber cloths trap fine dust: Wipe down surfaces after vacuuming to capture any remaining dust or allergens that the vacuum missed.
- Regular maintenance prevents buildup: Vacuuming small crevices weekly stops grime from accumulating and becoming harder to remove over time.
- Choose the right vacuum: Cordless handheld vacuums offer better maneuverability and convenience for car interiors than bulky upright models.
- Don’t forget hidden areas: Seat belt buckles, door pockets, and under seats often collect hidden dirt—include them in your routine.
- Use a soft brush for delicate surfaces: A gentle brush attachment prevents scratching on leather, plastic, or fabric while dislodging debris.
Quick Answers to Common Questions
Tip/Question?
Can I use a regular household vacuum for car crevices?
Yes, but only if it has the right attachments. A crevice tool is essential—without it, you’ll struggle to reach tight spots. Cordless models are often more practical for car use.
Tip/Question?
How often should I vacuum my car’s crevices?
Aim for once a week for light maintenance. If you eat in the car, have pets, or drive on dirt roads, increase frequency to 2–3 times per week.
Tip/Question?
Is compressed air safe for car electronics?
Yes, when used correctly. Hold the can upright, use short bursts, and avoid spraying directly into ports or speakers. It’s great for loosening dust without touching sensitive parts.
Tip/Question?
What if my vacuum doesn’t have a crevice tool?
You can buy universal attachments online or use alternatives like a straw wrapped with a rubber band (for grip) or a silicone detailing brush.
Tip/Question?
Can I vacuum wet spills in crevices?
Only if your vacuum is rated for wet/dry use. Never use a standard dry vacuum on liquids—it can damage the motor and pose an electrical hazard.
Troubleshooting Common Issues
Even with the right tools, you might run into challenges. Here’s how to handle them:
Vacuum Loses Suction in Tight Spaces
This often happens when the nozzle gets clogged or the filter is dirty. Check for blockages and clean or replace the filter as needed. Also, ensure the crevice tool is fully attached.
Debris Gets Pushed Deeper Instead of Pulled Out
You’re likely using too much force or the wrong angle. Gently guide the tool in and out while maintaining steady suction. Pre-treating with compressed air helps prevent this.
Scratches Appear on Dashboard or Trim
You’re probably using a hard-bristled brush or metal tool. Switch to a soft-bristled brush attachment and avoid abrasive cleaners.
Pet Hair Won’t Come Out
Pet hair clings tightly to fabric. Use a rubber glove or silicone brush to loosen it before vacuuming, or try a vacuum with a motorized brush roll.
Maintaining a Clean Interior
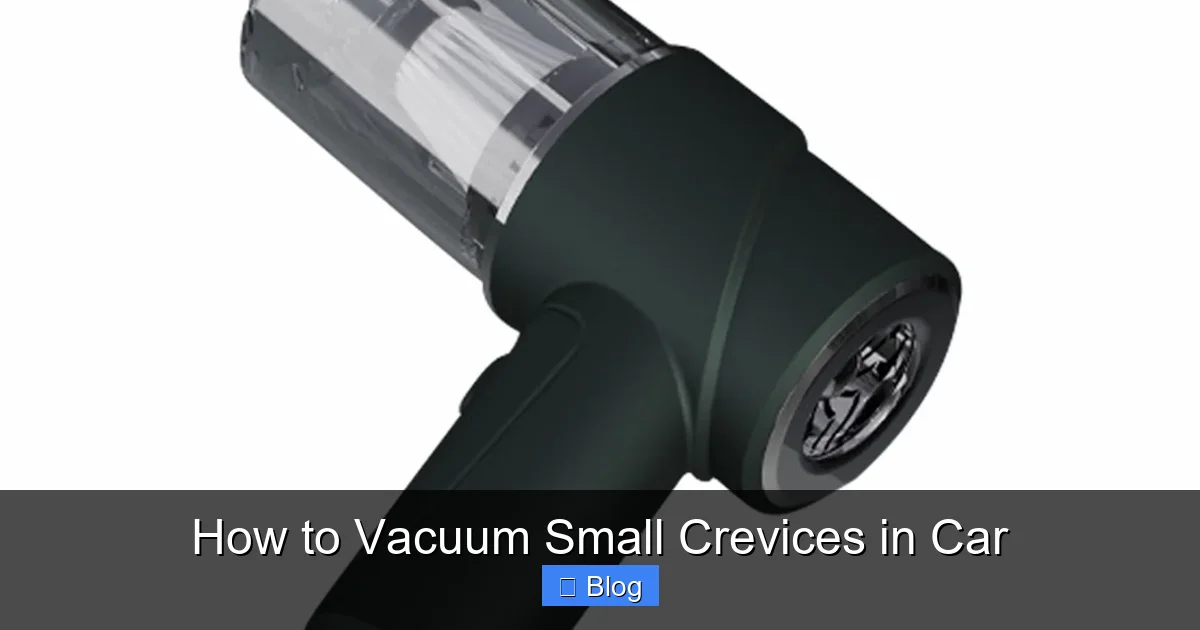
Visual guide about How to Vacuum Small Crevices in Car
Image source: i5.walmartimages.com
Why Cleaning Car Crevices Matters
It’s easy to ignore the narrow gaps in your car, but neglecting them can lead to bigger problems. Over time, debris trapped in crevices can:
- Attract pests like ants or rodents
- Cause unpleasant smells due to mold or food decay
- Damage mechanical parts (e.g., seat adjustment mechanisms)
- Reduce resale value by making the interior look worn
Regular cleaning not only improves air quality and hygiene but also extends the life of your car’s interior materials. Plus, a clean car simply feels better to drive.
Tools and Materials You’ll Need
Before you start, gather the right equipment. Having the proper tools makes all the difference in efficiency and results.
Essential Vacuum Attachments
- Crevice tool: A long, narrow nozzle that fits into tight spaces. Most vacuums include one—check your user manual if you can’t find it.
- Soft brush attachment: Ideal for delicate surfaces like dashboards, vents, and leather seats. Prevents scratching while loosening dust.
- Upholstery tool: Great for fabric seats and carpets, especially when combined with the crevice tool for edge cleaning.
Additional Helpful Tools
- Compressed air canister: Blows out stubborn debris from deep crevices before vacuuming.
- Microfiber cloths: For wiping down surfaces after vacuuming to catch residual dust.
- Toothbrush or detailing brush: Useful for scrubbing sticky residues in cup holders or around buttons.
- Flashlight: Helps you see into dark corners and under seats.
- Small container or bag: To collect loose items like coins, paper clips, or wrappers during cleaning.
Choosing the Right Vacuum
Not all vacuums are created equal for car cleaning. Consider these options:
- Cordless handheld vacuums: Lightweight, portable, and perfect for quick touch-ups. Models like the Black+Decker Dustbuster or Dyson V7 Car+Boat are popular choices.
- Car-specific vacuums: Designed with 12V cigarette lighter plugs or USB power for in-car use.
- Wet/dry vacuums: More powerful but bulkier—best for deep cleans or large vehicles.
For most drivers, a cordless handheld vacuum with multiple attachments offers the best balance of power and convenience.
Step-by-Step Guide to Vacuuming Car Crevices
Now that you’re equipped, let’s dive into the cleaning process. Follow these steps in order for the best results.
Step 1: Remove Loose Items
Start by taking out everything from your car’s interior:
- Trash (wrappers, receipts, tissues)
- Personal items (sunglasses, chargers, books)
- Floor mats (shake them out or vacuum separately)
This gives you full access to all surfaces and prevents items from blocking your vacuum nozzle.
Step 2: Pre-Treat Stubborn Debris
Some grime won’t budge with suction alone. Use these methods to loosen it:
- Spray compressed air into seat gaps, cup holders, and vent slats to blow out hidden crumbs.
- Use a toothbrush dipped in mild soapy water to scrub sticky residues in cup holders or around gear shifts.
- Let dried spills soften with a damp microfiber cloth before vacuuming.
Always test cleaning solutions on a small, hidden area first to avoid discoloration.
Step 3: Vacuum Seat Crevices and Gaps
This is where the crevice tool shines.
- Insert the nozzle into the gap between the seat and center console.
- Move slowly back and forth to lift embedded debris.
- Angle the tool to reach under seat edges and along the sides.
- For fabric seats, follow up with the upholstery tool to lift surface dust.
Pro tip: If your seats are leather, use the soft brush attachment to avoid scratching.
Step 4: Clean Around Controls and Vents
Dashboard controls, air vents, and gear shifters collect fine dust that’s hard to see.
- Use the crevice tool to slide into vent slats—don’t force it; gentle pressure works best.
- Switch to the soft brush to sweep dust off buttons and knobs.
- Vacuum around the steering column and behind the glove compartment.
Be careful not to push debris deeper into electronic components.
Step 5: Tackle Cup Holders and Door Pockets
These areas often harbor sticky residues and crumbs.
- Empty cup holders completely.
- Use compressed air to blow out debris from the bottom.
- Vacuum with the crevice tool, then wipe with a damp microfiber cloth.
- For deep cup holders, wrap tape around a pencil (sticky side out) to pull out tiny particles.
Step 6: Clean Under Seats and Floor Areas
Don’t forget the hidden zones!
- Slide the crevice tool under front and rear seats.
- Use a flashlight to spot hidden items or buildup.
- Vacuum along floor edges where dirt accumulates.
If your car has adjustable seats, move them forward and backward to access all areas.
Step 7: Final Wipe-Down
After vacuuming, go over all surfaces with a clean microfiber cloth to remove any remaining dust or allergens. This step ensures a truly polished finish.
Quick Reference
| Car Area | Best Tool | Time Estimate | Pro Tip |
|---|---|---|---|
| Seat gaps | Crevice tool | 3–5 minutes | Use compressed air first to loosen debris |
| Air vents | Soft brush + crevice tool | 2–3 minutes | Vacuum with vents closed to avoid pushing dust inside |
| Cup holders | Crevice tool + toothbrush | 2 minutes each | Wipe with damp cloth after vacuuming |
| Under seats | Crevice tool + flashlight | 4–6 minutes | Move seats forward/backward for full access |
| Door pockets | Crevice tool | 1–2 minutes per door | Check for loose change or small items |
Consistency is key. To keep crevices clean:
- Vacuum small areas weekly—even 10 minutes helps.
- Use seat gap protectors or inserts to reduce debris buildup.
- Keep a small handheld vacuum in your car for quick cleanups.
- Wipe down surfaces after spills or meals.
A little effort goes a long way in preserving your car’s value and your driving experience.
Conclusion
Vacuuming small crevices in your car doesn’t have to be a chore. With the right tools—like a crevice tool, compressed air, and a quality handheld vacuum—and a systematic approach, you can tackle even the tiniest spaces with ease. Regular maintenance prevents buildup, improves air quality, and keeps your car looking and smelling fresh. Remember: it’s not about doing a perfect deep clean once a year—it’s about consistent, mindful care. So grab your vacuum, follow these steps, and enjoy a cleaner, more comfortable ride every day.