How to Vacuum Out a Car Ac System
Vacuuming your car’s AC system removes moisture and air, ensuring efficient cooling and preventing compressor damage. This guide walks you through the entire process—from gathering tools to testing the system—using simple, safe steps.
Key Takeaways
- Safety first: Always wear safety glasses and gloves when working with refrigerants and high-pressure systems.
- Use a vacuum pump: A quality vacuum pump removes air and moisture, which are critical to AC performance.
- Check for leaks: Before vacuuming, inspect hoses and connections to avoid pulling a vacuum on a leaking system.
- Pull a deep vacuum: Aim for 500 microns or lower and hold it for at least 30 minutes to ensure all moisture is removed.
- Recharge carefully: After vacuuming, recharge the system with the correct type and amount of refrigerant as specified by your vehicle.
- Use a manifold gauge set: This tool lets you monitor pressure and connect the vacuum pump safely.
- Never skip the vacuum step: Skipping vacuuming can lead to poor cooling, compressor failure, and costly repairs.
Quick Answers to Common Questions
Tip/Question?
Can I use a household vacuum cleaner instead of an AC vacuum pump?
No. Household vacuums aren’t designed for AC systems and can’t reach the deep vacuum (500 microns) needed to remove moisture. Always use a dedicated AC vacuum pump.
Tip/Question?
How long should I vacuum the system?
Pull a vacuum until you reach 500 microns, then hold it for 10–15 minutes to check for leaks. Total time is usually 30–45 minutes.
Tip/Question?
What if my system won’t hold a vacuum?
This indicates a leak. Recheck all connections, hoses, and components. Use a leak detector or soapy water to locate the source.
Tip/Question?
Do I need to vacuum if I’m just adding refrigerant?
Yes. Any time the system is opened or loses charge, moisture can enter. Vacuuming ensures the system is dry and ready for refrigerant.
Tip/Question?
Can I reuse refrigerant I removed from the system?
No. Recovered refrigerant must be processed by certified equipment. Always use fresh, properly labeled refrigerant.
Step 5: Break the Vacuum and Recharge (If Needed)
After confirming the system holds a vacuum, it’s time to break the vacuum and recharge with refrigerant—if that’s your goal.
Break the Vacuum
Close both valves on the manifold gauge. Disconnect the yellow hose from the vacuum pump and connect it to a refrigerant can using the can tap valve. Open the can valve slightly to let refrigerant flow into the system, breaking the vacuum.
Recharge the System
With the engine running and AC set to max cool, slowly open the low-side valve. This allows refrigerant to enter the system. Monitor the pressure and add refrigerant until the system reaches the recommended charge level (check your vehicle’s specs).
Troubleshooting Common Issues
Even with careful preparation, problems can arise. Here’s how to handle the most common issues.
Visual guide about How to Vacuum Out a Car Ac System
Image source: cdn-fastly.upgradedhome.com
Introduction: Why Vacuuming Your Car AC System Matters
If your car’s air conditioning isn’t blowing cold air, one of the most overlooked fixes is properly vacuuming the AC system. Over time, moisture and air can enter the system—especially after repairs or if there’s a leak. These contaminants reduce cooling efficiency and can damage the compressor. Vacuuming removes air and moisture, creating a clean, dry environment for refrigerant to work effectively.
Visual guide about How to Vacuum Out a Car Ac System
Image source: wikihow.com
This guide will walk you through the entire process of vacuuming out your car’s AC system. Whether you’re recharging after a repair, replacing a component, or doing routine maintenance, vacuuming is a critical step. You’ll learn what tools you need, how to set up the equipment, how long to run the pump, and how to verify the system is ready for refrigerant. By the end, you’ll be able to do this job safely and confidently—even if you’re not a mechanic.
Tools and Materials You’ll Need
Before starting, gather all the necessary tools and materials. Having everything ready saves time and prevents mistakes.
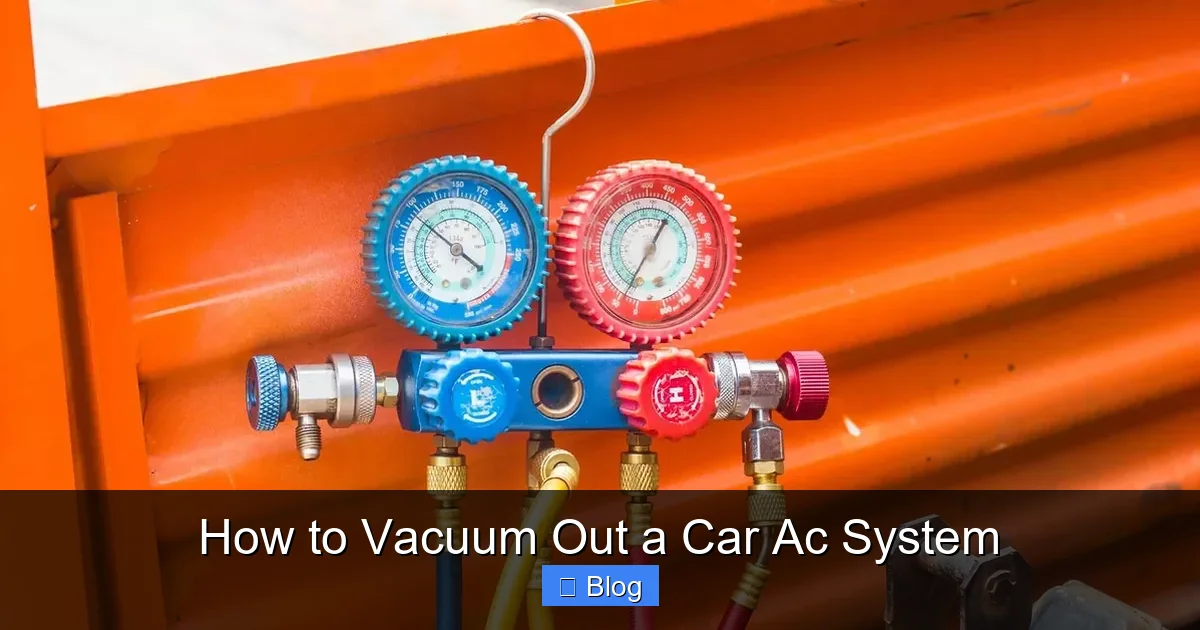
- Manifold gauge set: Connects to the low and high-pressure service ports and allows you to monitor system pressure.
- Vacuum pump: A dedicated AC vacuum pump (at least 5 CFM rating) pulls air and moisture out of the system.
- Refrigerant (if recharging): Use the correct type (usually R-134a for modern cars) and amount specified in your owner’s manual.
- Refrigerant can tap valve: Attaches to refrigerant cans for safe charging.
- Safety gear: Safety glasses and nitrile gloves protect against refrigerant exposure.
- Wrench set: For removing service port caps and accessing fittings.
- Leak detection kit (optional): Helps identify leaks before vacuuming.
- Clean rags and isopropyl alcohol: For cleaning service ports and connections.
Step 1: Prepare Your Vehicle and Work Area
Start by parking your car on a level surface and turning off the engine. Make sure the AC system has been off for at least 30 minutes to allow pressure to equalize. This prevents accidental refrigerant release when opening ports.
Locate the Service Ports
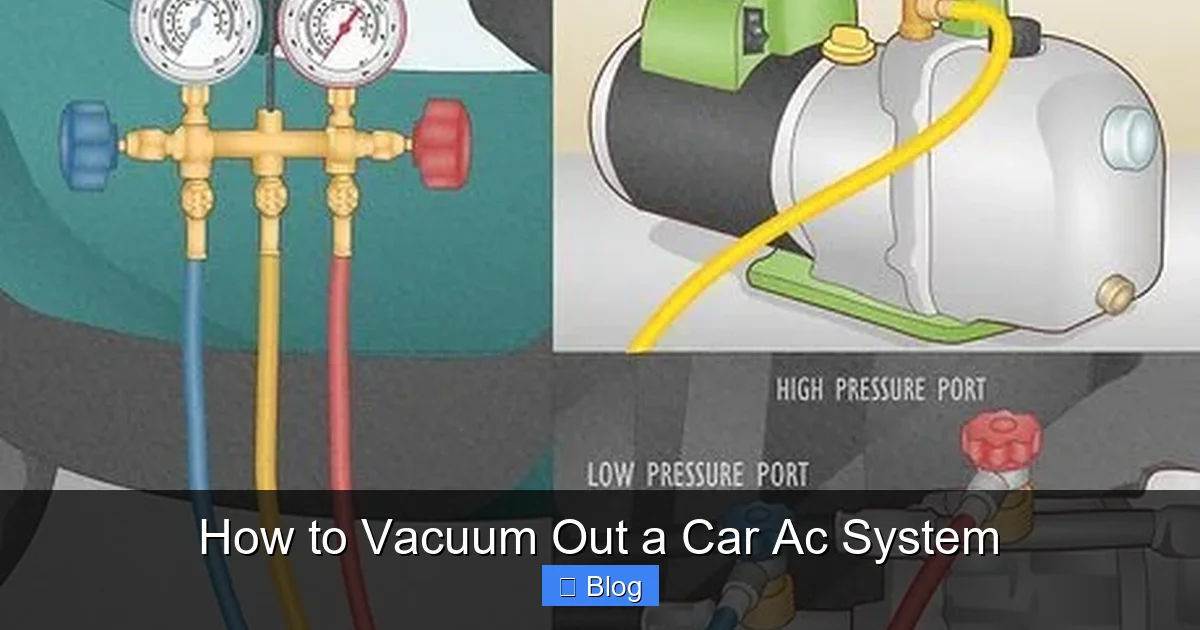
Open the hood and find the low and high-pressure service ports. The low-pressure port is usually on the larger aluminum tubing near the firewall or accumulator. It has a blue or black cap labeled “L.” The high-pressure port is smaller, often near the compressor, with a red cap labeled “H.”
Clean the Ports
Use a clean rag and isopropyl alcohol to wipe both ports. Dirt or debris can enter the system when connecting gauges, so cleanliness is essential.
Step 2: Connect the Manifold Gauge Set
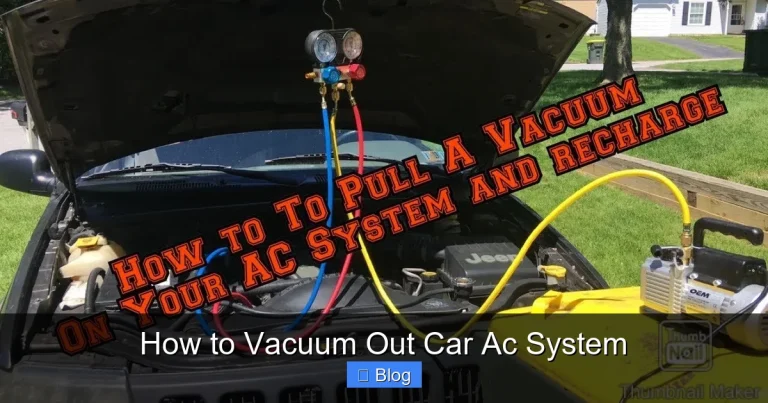
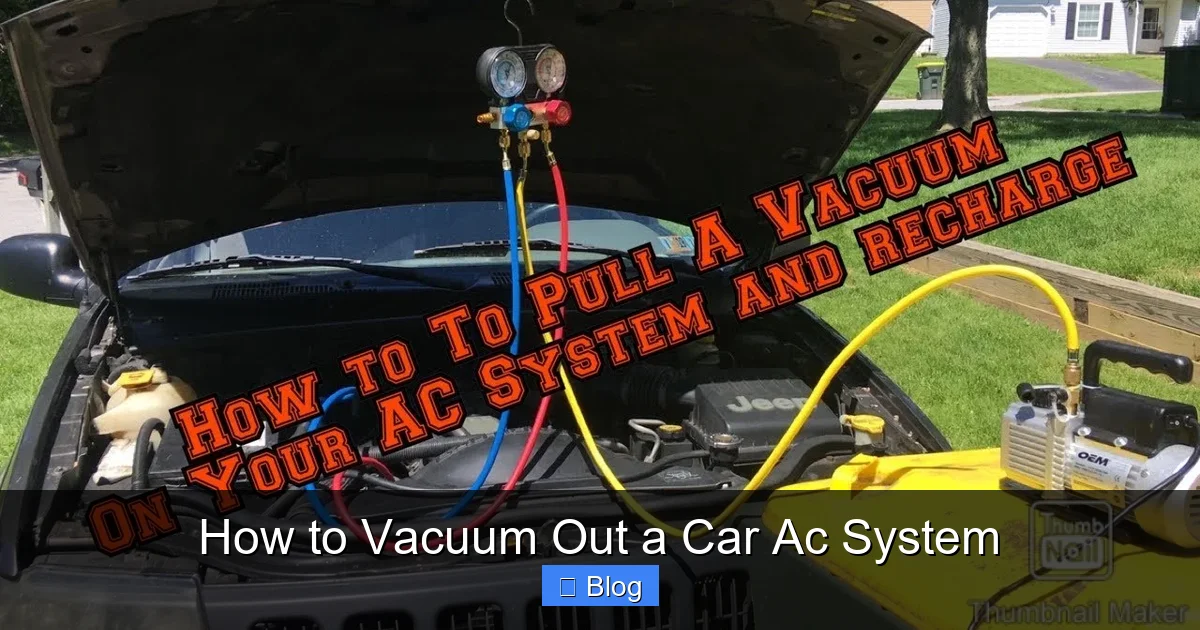
The manifold gauge set is your control center during this process. It connects to both service ports and links to the vacuum pump and refrigerant can.
Attach the Hoses
Connect the blue hose to the low-pressure port and the red hose to the high-pressure port. Tighten the fittings by hand, then give them a slight turn with a wrench—don’t overtighten. The yellow hose connects to the vacuum pump (or refrigerant can during charging).
Open the Valves
Make sure both the low and high-side valves on the manifold gauge are closed (turned clockwise). This prevents refrigerant from escaping when you connect the hoses.
Step 3: Set Up the Vacuum Pump
Your vacuum pump is the heart of the vacuuming process. It pulls air and moisture out of the AC system, creating a vacuum that boils off trapped water.
Connect the Pump
Attach the yellow hose from the manifold gauge to the inlet port on the vacuum pump. Ensure all connections are tight to prevent air leaks.
Check Oil Level
Most vacuum pumps require oil. Check the oil sight glass—it should be between the min and max lines. Add oil if needed, using the type recommended by the manufacturer.
Step 4: Pull a Deep Vacuum
Now it’s time to start the vacuum pump and remove air and moisture from the system.
Start the Pump
Turn on the vacuum pump. Slowly open both the low and high-side valves on the manifold gauge. This allows the pump to pull a vacuum on the entire system.
Monitor the Gauge
Watch the low-pressure gauge. It should drop quickly to around 29–30 inches of mercury (inHg) and continue down to 500 microns or lower. Most quality pumps can reach 500 microns (0.5 inHg) in 15–30 minutes.
Hold the Vacuum
Once you reach 500 microns, close the valves and turn off the pump. Wait 10–15 minutes and watch the gauge. If the pressure rises significantly, there’s likely a leak. Recheck connections and components.
Quick reference
| Step | Target | Time Estimate |
|---|---|---|
| Reach 500 microns | 500 microns or lower | 15–30 minutes |
| Hold vacuum | No pressure rise | 10–15 minutes |
| System dry-out | Moisture removed | 30–45 minutes total |
Vacuum Won’t Hold
If the pressure rises after turning off the pump, there’s a leak. Check all hose connections, service ports, and components like the compressor, condenser, and evaporator. Use a leak detector or soapy water to find bubbles.
Pump Takes Too Long to Reach 500 Microns
This could mean a large leak or excessive moisture. Ensure all valves are open and connections are tight. If the system was open for a long time, it may need longer vacuuming—up to 60 minutes.
Oil in the Pump Sight Glass
If you see oil mist or droplets, the pump may be pulling oil into the system. This happens if the pump isn’t level or is run too long. Turn off the pump, drain and refill oil, and ensure the pump is on a flat surface.
Refrigerant Won’t Flow During Recharge
Make sure the engine is running and the AC is on. Also, check that the can is upright and not empty. If the system is still under vacuum, refrigerant won’t flow until the vacuum is broken.
Safety Tips and Best Practices
Working with AC systems involves refrigerants under pressure. Always prioritize safety.
- Never open the high-pressure side without proper gauges.
- Wear safety glasses and gloves to protect against refrigerant burns.
- Work in a well-ventilated area—refrigerant is heavier than air and can displace oxygen.
- Dispose of used refrigerant and oil according to local regulations.
- Never mix refrigerants—use only the type specified for your vehicle.
Conclusion: A Cooler, More Efficient AC System
Vacuuming your car’s AC system is a simple but essential step for maintaining cold air and protecting your compressor. By removing air and moisture, you ensure the refrigerant can do its job efficiently. With the right tools and careful attention to detail, this process takes less than an hour and can save you hundreds in repairs.
Remember: Never skip the vacuum step. Even if you’re just topping off refrigerant, a proper vacuum ensures long-term performance. Follow this guide, stay safe, and enjoy a cooler drive all summer long.