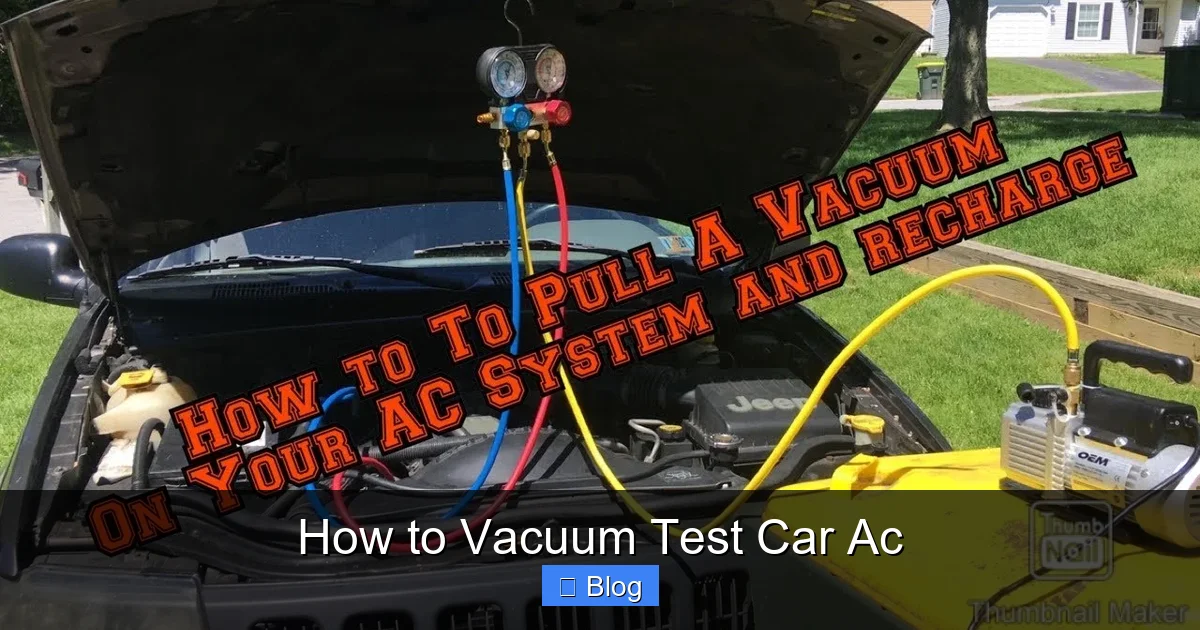
How to Vacuum Test Car Ac? Expert Guide
To understand how to vacuum test car AC, you need to connect a vacuum pump and manifold gauge set to the AC system, then remove air and moisture while checking if the system holds pressure. If the vacuum holds steady, the system is leak-free; if it drops, there may be a leak that needs fixing before recharging the refrigerant.
Vacuum testing is an important step after repairing or opening your car’s AC system. It ensures there is no trapped air or moisture, which can damage components and reduce cooling efficiency. A proper vacuum also helps the refrigerant flow correctly for optimal performance.
By learning how to vacuum test car AC, you can prevent costly repairs and extend the life of your AC system. It also improves cooling performance and ensures your vehicle stays comfortable, especially during hot weather.
Key Takeaways
- Vacuum testing removes moisture and air from the AC system, preventing ice formation and compressor damage.
- A vacuum pump and manifold gauge set are essential tools for performing an accurate test.
- Pull a vacuum to at least 29 inHg and hold it for 15–30 minutes to confirm system integrity.
- Watch for pressure creep—if the vacuum drops, there’s likely a leak or moisture issue.
- Always wear safety goggles and gloves when working with AC systems and refrigerants.
- Never skip the vacuum test before recharging your AC—it ensures long-term performance and efficiency.
- Use a digital vacuum gauge for more precise readings than analog models.
Quick Answers to Common Questions
Tip/Question?
Can I use a regular shop vacuum for AC testing?
No—shop vacuums are not designed for deep vacuum and can’t reach the 29 inHg needed. Always use a dedicated AC vacuum pump.
Tip/Question?
How long should I run the vacuum pump?
Run it for at least 15–30 minutes to ensure all moisture is removed and the system holds vacuum.
Tip/Question?
What if my vacuum gauge doesn’t go below 25 inHg?
This suggests a leak or blockage. Check connections, valves, and components for damage or contamination.
Tip/Question?
Can I vacuum test without recharging?
Yes—vacuum testing can be done independently to check for leaks, even if you’re not adding refrigerant yet.
Tip/Question?
Is it safe to reuse old refrigerant?
Only if it’s been properly recovered and tested. Contaminated refrigerant can damage your system.
Why Vacuum Testing Your Car AC Matters
If your car’s air conditioning isn’t blowing cold air, a vacuum test might be the missing piece of the puzzle. Vacuum testing is a diagnostic and preparation step that ensures your AC system is free of air, moisture, and leaks before adding refrigerant. Skipping this step can lead to poor cooling, compressor failure, and costly repairs down the road.
When you recharge your AC without vacuuming, you risk trapping moisture inside the system. That moisture can mix with refrigerant and form acidic compounds that corrode internal components. Air in the system also reduces efficiency and prevents proper pressure balance. A proper vacuum test removes these contaminants and confirms that your system can hold pressure—meaning it’s sealed and ready to perform.
Whether you’re fixing a leak, replacing a component, or simply recharging your AC, vacuum testing should be a non-negotiable step. It’s not just for mechanics—DIYers can do it safely with the right tools and knowledge. This guide will walk you through the entire process, from gathering tools to interpreting results, so you can get your AC running cool and quiet.
Tools and Materials You’ll Need
Before starting, make sure you have the right equipment. Using quality tools ensures accurate results and prevents damage to your vehicle’s AC system. Here’s what you’ll need:
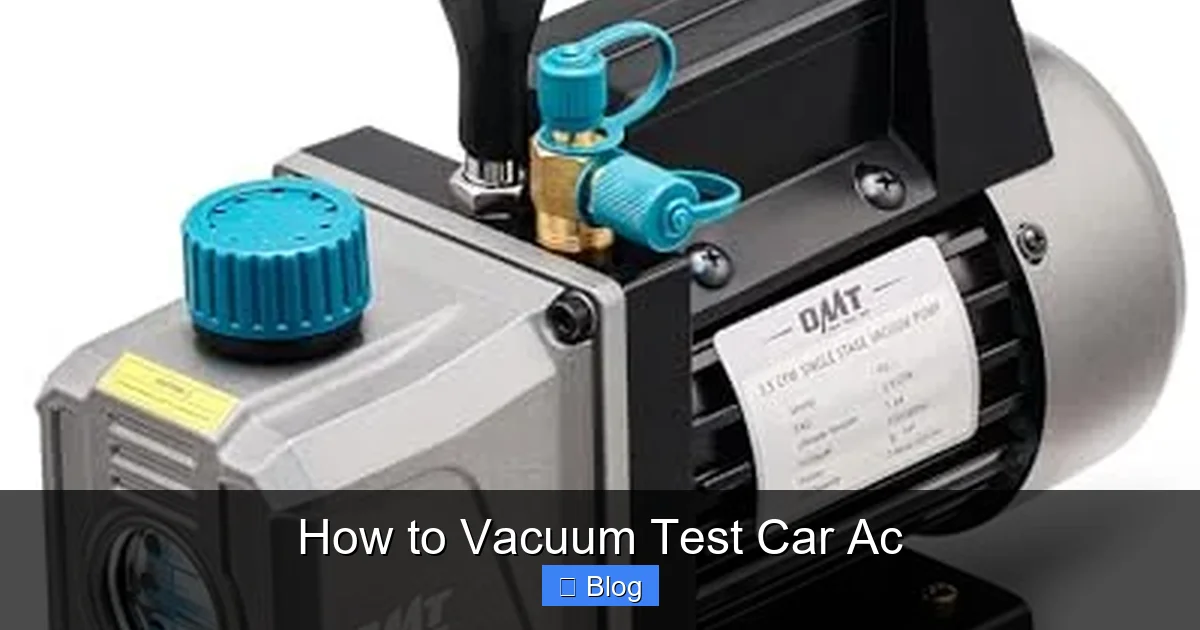
Visual guide about How to Vacuum Test Car Ac
Image source: thedailyautomotive.com
- Vacuum pump – A dedicated AC vacuum pump (typically 3–5 CFM) is ideal. Avoid using HVAC pumps not rated for automotive use.
- Manifold gauge set – This connects to your AC service ports and allows you to monitor pressure and control flow.
- Hoses – High-quality, leak-free hoses compatible with your gauge set.
- Safety gear – Safety goggles and nitrile gloves protect against refrigerant exposure and cold burns.
- Refrigerant identifier (optional) – Ensures the refrigerant is safe and legal to handle.
- Digital vacuum gauge (recommended) – More accurate than analog gauges for detecting small leaks.
- Leak detection dye or electronic leak detector (optional) – Helps identify leaks if the vacuum test fails.
Most of these tools can be rented from auto parts stores if you don’t want to buy them outright. However, if you plan to work on your car regularly, investing in your own set is cost-effective in the long run.
Step-by-Step Guide to Vacuum Testing Your Car AC
Now that you have your tools ready, let’s walk through the vacuum testing process step by step. Follow these instructions carefully to ensure a safe and effective test.
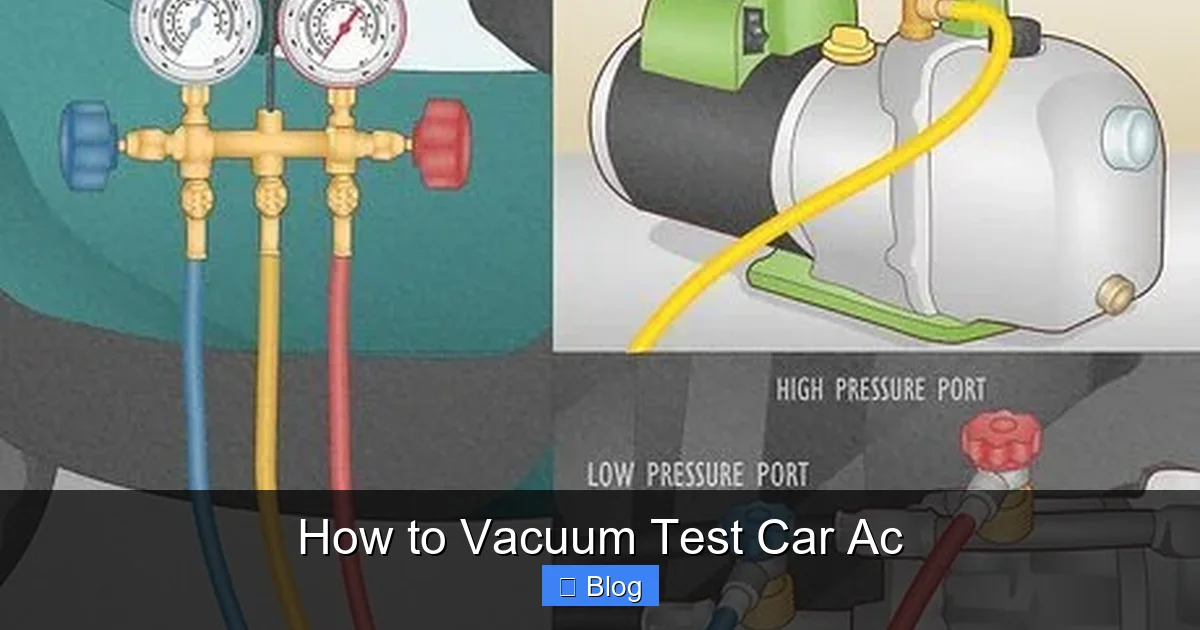
Visual guide about How to Vacuum Test Car Ac
Image source: wikihow.com
| Vacuum Level | Hold Time | Interpretation |
|---|---|---|
| 29 inHg or higher | Holds for 15+ minutes | System is sealed and dry—ready for refrigerant |
| 25–28 inHg | Holds briefly, then creeps up | Possible small leak or moisture—retest or inspect |
| Below 25 inHg | Drops quickly | Major leak or blockage—do not charge AC |
Step 1: Locate the AC Service Ports
Your car’s AC system has two service ports: the low-pressure port (usually on the larger aluminum line near the firewall) and the high-pressure port (on the smaller line near the condenser). These are where you’ll connect your manifold gauge hoses.
Remove the plastic caps from both ports. Inspect them for dirt or debris—clean them with a rag if needed. Never force the hoses on; they should thread on smoothly. If a port is damaged or stripped, you may need to repair or replace it before proceeding.
Step 2: Connect the Manifold Gauge Set
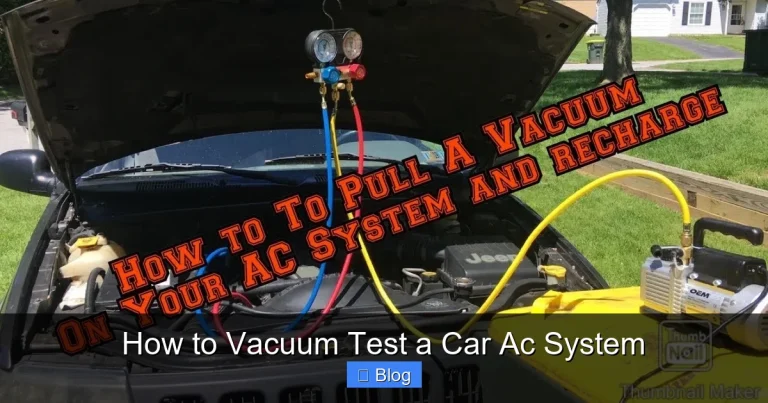
Attach the blue hose from your manifold gauge set to the low-pressure port and the red hose to the high-pressure port. The yellow center hose will connect to your vacuum pump.
Make sure all connections are tight but don’t overtighten—this can damage the Schrader valves inside the ports. Open both the high and low-side valves on the manifold gauge set by turning the knobs counterclockwise. This allows the vacuum pump to pull air from the entire system.
Step 3: Start the Vacuum Pump
Plug in your vacuum pump and turn it on. You should hear it start to pull air. Watch the gauges—the low-side gauge should begin dropping toward 0 and then into negative pressure (measured in inches of mercury, or inHg).
Let the pump run for at least 15–30 minutes. Most professionals recommend pulling a vacuum of 29 inHg or higher to ensure all moisture is boiled off. Moisture turns to vapor at lower pressures, so a deep vacuum helps remove it completely.
Step 4: Monitor the Vacuum Level
After 15 minutes, check the gauge. If it has reached 29 inHg and holds steady, that’s a good sign. If it’s struggling to reach that level or starts to creep back up, there may be a leak or moisture still present.
Here’s a quick reference table to help you interpret your results:
Step 5: Close Valves and Shut Off Pump
Once the vacuum is stable at 29 inHg or higher, close both the high and low-side valves on the manifold gauge set. This isolates the AC system and keeps the vacuum inside.
Turn off the vacuum pump. Wait 5–10 minutes and monitor the gauge. If the vacuum holds steady, your system is sealed. If it starts to rise (known as “pressure creep”), there’s likely a leak or trapped moisture.
Step 6: Address Any Issues
If the vacuum doesn’t hold, don’t panic—this is common. First, check all your connections. A loose hose or faulty Schrader valve can cause false leaks. Tighten connections and retest.
If the problem persists, use a leak detection method. Add UV dye to the system (if compatible) and use a black light to find leaks. Alternatively, use an electronic leak detector around hoses, fittings, and the compressor. Common leak spots include O-rings, service ports, and the condenser.
Step 7: Proceed to Recharge (If Test Passes)
Once the vacuum test passes, you can safely recharge your AC with refrigerant. Close the manifold valves, disconnect the hoses, and replace the service port caps. Follow proper charging procedures based on your vehicle’s specifications.
Troubleshooting Common Vacuum Test Problems
Even with careful preparation, issues can arise during vacuum testing. Here’s how to handle the most common problems:
- Vacuum won’t build: Check for loose hoses, open valves, or a faulty pump. Ensure the pump oil is clean and at the correct level.
- Vacuum drops slowly: Likely a small leak. Inspect O-rings, fittings, and the compressor shaft seal.
- Vacuum drops rapidly: Indicates a major leak. Check the condenser, evaporator, or hose connections.
- Gauge reads inaccurately: Calibrate your gauge or switch to a digital model for better precision.
- Pump overheats: Don’t run the pump continuously for more than 30–45 minutes. Let it cool between cycles.
Remember, patience is key. Rushing the process can lead to misdiagnosis and wasted time. If you’re unsure, consult a professional or refer to your vehicle’s service manual.
Safety Tips and Best Practices
Working with AC systems involves refrigerants under pressure, so safety should always come first. Here are some essential tips:
- Always wear safety goggles and gloves to protect your eyes and skin.
- Work in a well-ventilated area to avoid inhaling refrigerant fumes.
- Never open the system if you suspect contamination—have it professionally cleaned.
- Dispose of old refrigerant according to local regulations—never vent it into the atmosphere.
- Label all hoses and tools to avoid confusion during reassembly.
Following these practices not only keeps you safe but also ensures your AC system performs at its best for years to come.
Conclusion
Vacuum testing your car’s AC system is a simple yet vital step that can save you time, money, and frustration. By removing air and moisture and confirming the system is leak-free, you set the stage for efficient cooling and long-term reliability. With the right tools and a methodical approach, anyone can perform this test at home.
Don’t skip this step when recharging your AC. A few minutes of vacuum testing can prevent compressor failure, poor performance, and repeated repairs. Whether you’re a seasoned DIYer or a first-timer, this guide gives you everything you need to get it right. Stay cool, stay safe, and enjoy the comfort of a properly functioning air conditioner.