How to Vacuum the Ac System on a Car
Vacuuming your car’s AC system removes moisture and air, ensuring efficient cooling and preventing damage. This guide walks you through the process using a vacuum pump and manifold gauge set, with safety tips and common pitfalls to avoid.
Key Takeaways
- Safety first: Always wear safety glasses and gloves when working with refrigerants and AC components.
- Use the right tools: A vacuum pump, manifold gauge set, and refrigerant hoses are essential for proper evacuation.
- Moisture is the enemy: Even small amounts of water in the AC system can freeze, block lines, and damage the compressor.
- Pull a deep vacuum: Aim for at least 29–30 inches of mercury (inHg) and hold it for 30–60 minutes to ensure all moisture is removed.
- Check for leaks: A failing vacuum indicates a leak—repair it before recharging the system.
- Don’t skip the process: Recharging without vacuuming leads to poor cooling, compressor failure, and costly repairs.
- Know when to call a pro: If you’re unsure or lack tools, consult a certified technician to avoid system damage.
Quick Answers to Common Questions
Tip/Question?
Can I use a hand pump instead of an electric vacuum pump?
While possible, hand pumps are slow and less effective. An electric pump (3–5 CFM) is strongly recommended for thorough evacuation.
Tip/Question?
How long should I vacuum the system?
At least 30 minutes, but 45–60 minutes is better, especially in humid climates or after major repairs.
Tip/Question?
What if my vacuum pump doesn’t reach 29 inHg?
Check for leaks, ensure valves are open, and verify pump oil level. A weak pump may need servicing or replacement.
Tip/Question?
Can I vacuum the system without removing refrigerant?
No. The system must be evacuated (refrigerant removed) before vacuuming. Use a recovery machine if needed.
Tip/Question?
Is it normal for the vacuum to rise slightly after turning off the pump?
Yes, a small rise (1–2 inHg) over 10 minutes is normal due to outgassing. A rapid rise indicates a leak.
Troubleshooting Common Issues
Even with careful preparation, problems can arise. Here’s how to handle the most common issues:
Vacuum Won’t Hold
If the pressure rises quickly after turning off the pump, you likely have a leak. Check all hose connections, service port seals, and O-rings. Use a leak detector spray or soapy water on joints—bubbles indicate escaping air. Common leak points include the compressor shaft seal, condenser, evaporator, and Schrader valves.
Pump Overheats or Runs Loudly
Vacuum pumps can overheat if run continuously for too long or if the system has a large leak. Turn off the pump, let it cool, and check for blockages or loose hoses. Never run a vacuum pump without oil—check the oil level and top up if needed.
Gauges Fluctuate or Don’t Drop
If the gauges don’t show negative pressure, the pump may be faulty, the hoses clogged, or the valves closed. Ensure the manifold valves are open and the pump is functioning. Replace old or damaged hoses.
Moisture Still Present
If you suspect moisture remains (e.g., fog in sight glass after recharge), repeat the vacuum process for a longer duration. Consider using a vacuum pump with a micron gauge for more precise measurement—aim for 500 microns or lower.
Recharging the System After Vacuuming
Once the system holds a vacuum, it’s time to add refrigerant. Close the manifold valves and disconnect the yellow hose from the vacuum pump. Attach it to a refrigerant can using a charging hose with a piercing valve or direct connection.
Visual guide about How to Vacuum the Ac System on a Car
Image source: carfromjapan.com
Why Vacuuming Your Car’s AC System Matters
Your car’s air conditioning system is a sealed loop that relies on refrigerant to cool the cabin. Over time, moisture, air, and contaminants can enter the system—especially after repairs, leaks, or if the system has been open to the atmosphere. Vacuuming the AC system removes these unwanted elements, ensuring optimal performance and longevity.
Visual guide about How to Vacuum the Ac System on a Car
Image source: jeepzine.com
Moisture is particularly harmful. When refrigerant cools, any water present can freeze and block the expansion valve or orifice tube, causing poor cooling or complete failure. Additionally, moisture mixes with refrigerant to form acidic compounds that corrode internal components like the compressor and condenser. Air in the system increases pressure and reduces efficiency, forcing the compressor to work harder and potentially overheat.
Vacuuming is not just a recommendation—it’s a necessity after any AC service. Whether you’re recharging the system, replacing a component, or fixing a leak, pulling a vacuum ensures the system is clean, dry, and ready for refrigerant. This guide will walk you through the process step by step, so you can do it safely and effectively at home.
Tools and Materials You’ll Need
Before starting, gather all the necessary tools and materials. Having everything ready saves time and prevents mistakes.
- Manifold gauge set (low and high pressure gauges) – Connects to the AC service ports and monitors pressure.
- Vacuum pump (electric, preferably 3–5 CFM) – Removes air and moisture from the system.
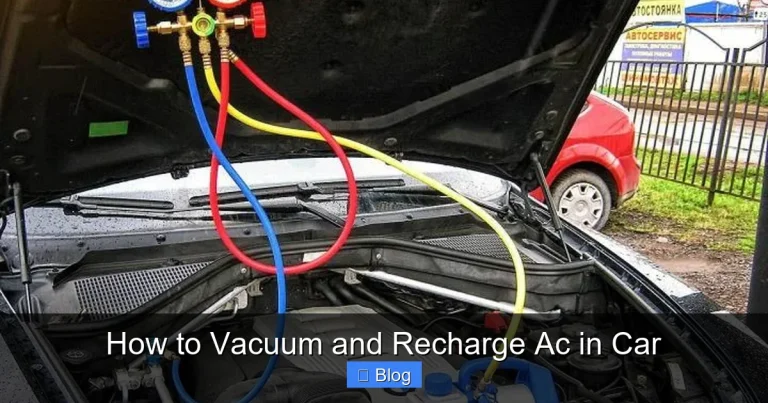
- Refrigerant hoses (blue, red, yellow) – Blue connects to low side, red to high side, yellow to vacuum pump or refrigerant can.
- Refrigerant (R-134a or R-1234yf, depending on your vehicle) – Only add after vacuuming is complete.
- Safety glasses and gloves – Protect your eyes and skin from refrigerant and debris.
- Leak detection kit (optional but recommended) – Helps confirm the system is sealed before recharging.
- Wrench set or line disconnect tools – For accessing service ports if needed.
- Shop towels and cleaner – To wipe down connections and prevent contamination.
Step-by-Step Guide to Vacuuming the AC System
Step 1: Prepare Your Vehicle and Workspace
Park your car on a flat surface and engage the parking brake. Turn off the engine and let the AC system cool down. Choose a well-ventilated area—preferably outdoors or in a garage with open doors—because refrigerant can displace oxygen in enclosed spaces.
Locate the low- and high-pressure service ports. On most vehicles, the low-side port is on the larger aluminum tubing near the firewall, while the high-side port is on the smaller line closer to the compressor. The ports are usually marked with “L” and “H” or color-coded (blue cap for low, red for high).
Step 2: Connect the Manifold Gauge Set
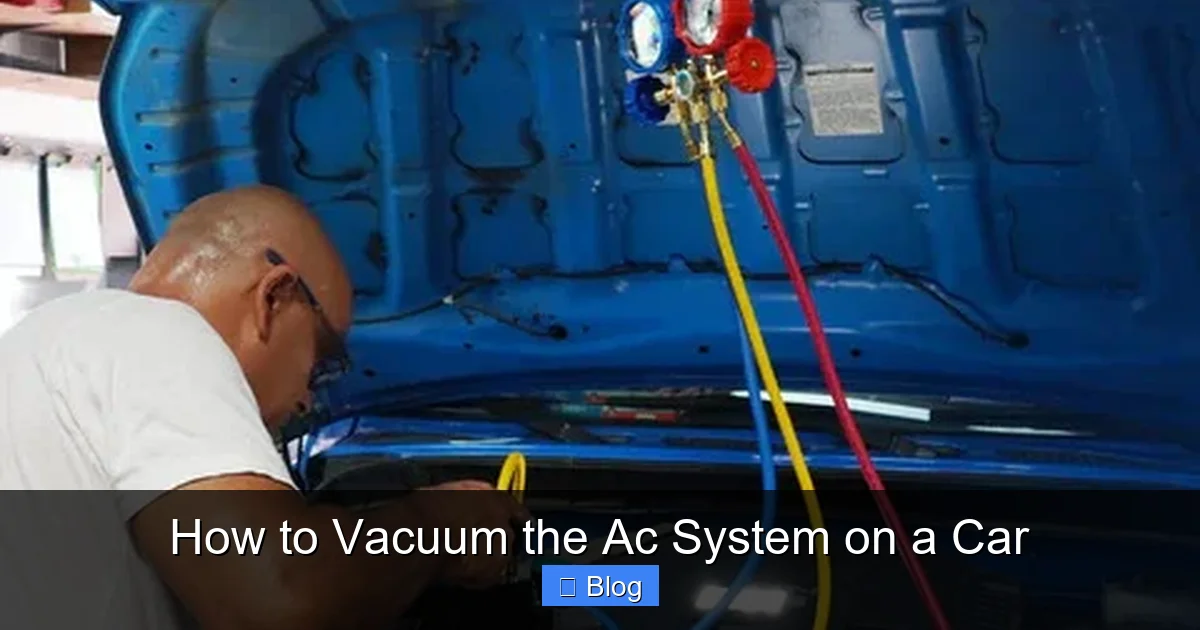
Remove the caps from both service ports. Attach the blue hose to the low-pressure port and the red hose to the high-pressure port. Tighten the connections by hand, then use a wrench if necessary—don’t overtighten.
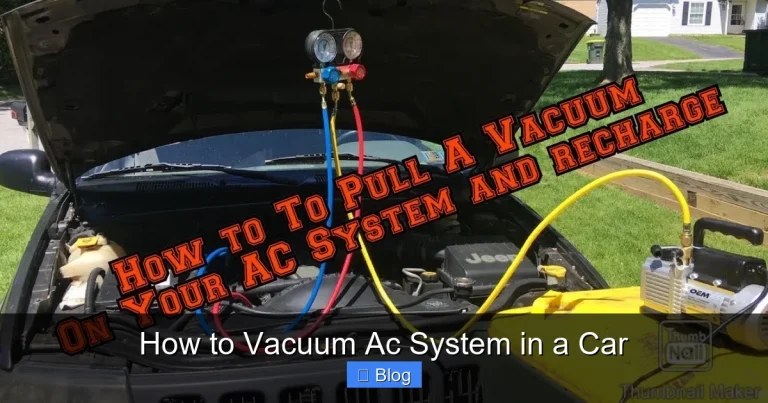
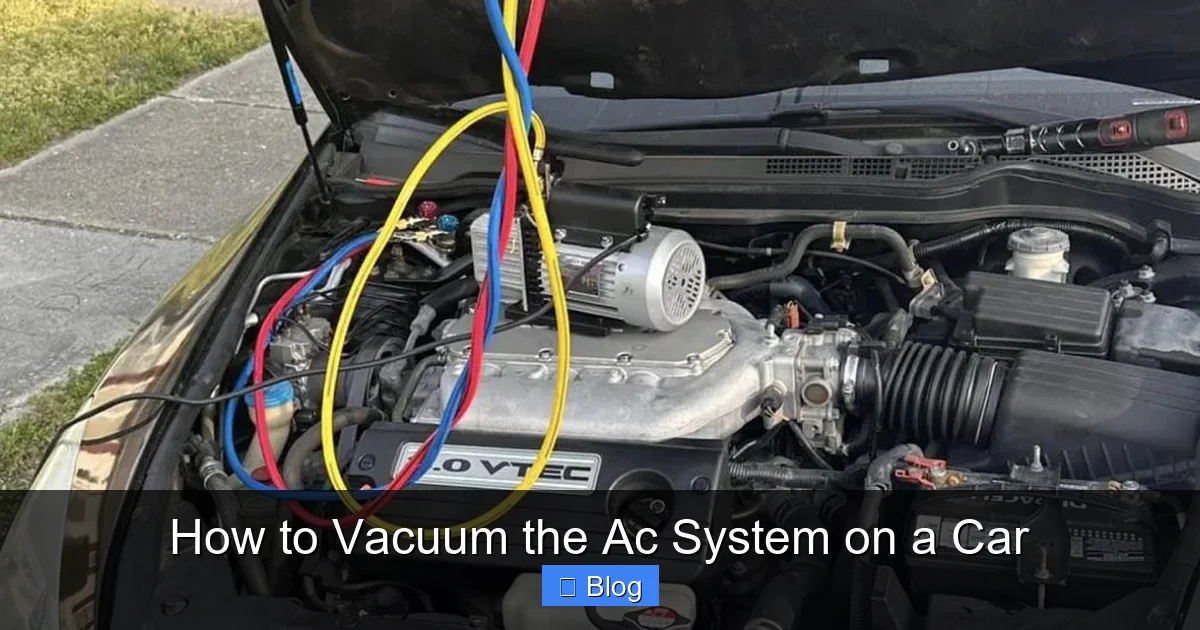
Connect the yellow hose to the center port of the manifold gauge set. This hose will link to either the vacuum pump or the refrigerant can later. Make sure all hose connections are secure to prevent leaks during evacuation.
Step 3: Connect the Vacuum Pump
Attach the yellow hose from the manifold set to the inlet port on the vacuum pump. Ensure the pump’s power cord is accessible and the pump is placed on a stable surface. Most vacuum pumps have an on/off switch and a valve to control airflow—make sure the valve is open before starting.
Double-check all connections. A loose hose can cause the vacuum to fail, wasting time and potentially damaging the pump.
Step 4: Start the Vacuum Process
Turn on the vacuum pump. You should hear it running and see the gauges begin to drop. The low-pressure (blue) gauge will show negative pressure, measured in inches of mercury (inHg). The goal is to reach 29–30 inHg and hold it.
Let the pump run for at least 30 minutes—some technicians recommend 45 to 60 minutes for thorough moisture removal. Moisture boils off at lower pressures, so a longer vacuum time ensures all water is vaporized and removed.
Step 5: Monitor and Test the Vacuum
After 30 minutes, close the valves on the manifold gauge set to isolate the system. Turn off the vacuum pump and watch the gauges. If the pressure rises quickly, there’s a leak in the system. A slow rise is normal due to outgassing, but a rapid climb means you need to find and fix the leak before proceeding.
If the vacuum holds steady (within 1–2 inHg over 10 minutes), the system is sealed and ready for refrigerant. If not, inspect hoses, connections, and components for leaks using a leak detector or soapy water.
Quick Reference
| Step | Target | Duration | Notes |
|---|---|---|---|
| Pull vacuum | 29–30 inHg | 30–60 minutes | Longer is better for moisture removal |
| Isolate system | Hold vacuum | 10 minutes | Rise >2 inHg indicates a leak |
| Recharge refrigerant | Per manufacturer spec | 10–15 minutes | Use scale for accuracy |
Open the valve on the refrigerant can and slowly open the low-side valve on the manifold set. Let the system draw in refrigerant—do not force it. Use a digital scale to measure the exact amount specified in your vehicle’s manual (usually listed under the hood or in the owner’s guide).
Start the engine and turn the AC to maximum cool with the fan on high. Monitor the gauges—low side should read 25–45 psi, high side 150–250 psi, depending on ambient temperature. Once charged, close the valves, disconnect the hoses, and replace the service port caps.
Safety and Best Practices
Always follow safety guidelines when working with AC systems. Refrigerant can cause frostbite on contact with skin and is harmful if inhaled. Never release refrigerant into the atmosphere—it’s illegal and environmentally damaging. Use recovery equipment if removing refrigerant.
Label all hoses and components to avoid confusion. Keep the work area clean to prevent dirt from entering the system. After recharging, test the AC performance and check for leaks again.
If you’re not confident in your ability to perform this procedure, consult a certified automotive technician. Improper handling can damage the AC system or pose safety risks.
Conclusion
Vacuuming your car’s AC system is a critical step in maintaining cooling performance and protecting expensive components. By removing air and moisture, you ensure the refrigerant can do its job efficiently and prevent corrosion or blockages. With the right tools and careful attention to detail, this process can be completed safely at home.
Remember: never skip the vacuum step. It’s not optional—it’s essential for a healthy AC system. Follow this guide, take your time, and enjoy a cool, comfortable drive all summer long.