How to Vacuum and Recharge Ac in Car
Restoring your car’s AC system doesn’t have to be a hassle. This guide walks you through how to vacuum and recharge AC in car, from gathering tools to troubleshooting common issues. Follow these steps to get cool air blowing again without a pricey shop visit, saving time and money on hot summer drives.
How to Vacuum and Recharge AC in Car
Is your car’s air conditioning blowing warm air instead of that refreshing cool breeze? You’re not alone—many drivers face this issue as summer heats up. In this complete how-to guide on how to vacuum and recharge AC in car, you’ll learn everything you need to know to tackle the job yourself. We’ll cover the basics, step-by-step instructions, essential tools, and tips to avoid common pitfalls. By the end, you’ll have the confidence to restore your AC system, saving hundreds on professional service. Whether you’re a DIY newbie or a seasoned tinkerer, this guide uses simple language and clear steps to make the process straightforward.
Key Takeaways
- Always prioritize safety: Wear protective gear and work in a well-ventilated area to avoid refrigerant hazards.
- Use the right tools: A vacuum pump and manifold gauge set are essential for properly evacuating and recharging your AC system.
- Locate key components easily: Find the low-pressure port on the larger AC line to connect your tools without guesswork.
- Monitor pressures closely: Aim for 25-35 inches of mercury vacuum and follow refrigerant specs for your vehicle model.
- Leak check is crucial: Perform a vacuum hold test to ensure no leaks before adding refrigerant.
- Professional help if needed: If issues persist, consult a mechanic to avoid damaging your compressor.
Quick Answers to Common Questions
Tip: What’s the best vacuum time?
For most cars, 30 minutes pulls a sufficient vacuum. Go longer for humid climates to remove extra moisture.
Question: Can I recharge without vacuuming?
No—skipping vacuuming leaves air and water, causing corrosion and poor cooling. Always evacuate first for best results.
Tip: How much refrigerant do I need?
Check your owner’s manual; typical cars use 18-32 oz. Overfilling can damage parts, so measure carefully.
Question: What if my gauge shows weird readings?
Ensure hoses are tight and the engine is off during vacuum. Weird spikes often mean a loose connection—double-check.
Tip: Store tools properly?
Keep your pump oiled and hoses capped to prevent contamination. Store in a dry spot for next season’s use.
Understanding Your Car’s AC System
Before diving into how to vacuum and recharge AC in car, it’s helpful to know what you’re working with. Your vehicle’s AC system is like a mini refrigerator. It uses refrigerant (often R-134a or R-1234yf) to absorb heat from inside the cabin and release it outside. Key parts include the compressor, condenser, evaporator, and expansion valve. Over time, refrigerant can leak out due to worn seals or corrosion, causing weak cooling. Vacuuming removes air and moisture, while recharging adds fresh refrigerant. This process ensures efficiency and prevents damage from contaminants. Expect the job to take 1-2 hours if you’re prepared.
Why bother with this yourself? Shop prices for an AC recharge can hit $150-300, plus diagnostics. Doing it at home costs under $100 in tools and refrigerant, and it’s empowering. But remember, mishandling refrigerant can harm the environment—always follow EPA guidelines and use approved recovery methods if needed.
Safety Precautions Before Starting
Safety comes first when learning how to vacuum and recharge AC in car. Refrigerant is under high pressure and can cause frostbite or blindness if it contacts skin or eyes. Work in a garage with good ventilation to avoid inhaling fumes. Never smoke or use open flames nearby, as refrigerant can ignite.
Visual guide about How to Vacuum and Recharge Ac in Car
Image source: i.ytimg.com
Wear Protective Gear
- Gloves: Thick, insulated ones to shield hands from cold lines.
- Safety glasses: To protect against spray.
- Long sleeves and pants: For full coverage.
Park your car on a level surface and let the engine cool. Disconnect the battery to prevent accidental starts. If you’re unsure about any step, stop and consult your owner’s manual or a pro. These precautions keep the job safe and fun.
Gather the Right Tools and Materials
To successfully vacuum and recharge AC in car, you’ll need specific tools. Don’t skimp here—a cheap vacuum pump might not pull deep enough vacuum, leading to moisture issues later. Head to an auto parts store like AutoZone for these items. Most are one-time buys, reusable for future maintenance.
Visual guide about How to Vacuum and Recharge Ac in Car
Image source: onestopacparts.com
Budget around $200-300 for a full kit if starting from scratch. Renting a vacuum pump from some stores can save money for occasional use.
Locate the AC Service Ports
Finding the right spots is key in how to vacuum and recharge AC in car. Most cars have two ports: low-pressure (larger line, often blue cap) and high-pressure (smaller, red cap). The low-pressure port is on the line running from the accumulator to the compressor—usually near the firewall or along the passenger side.
Step-by-Step Location Guide
- Pop the hood and clean around the AC lines with a rag.
- Look for aluminum tubes with caps marked “L” or “H.”
- Consult your manual for exact spots; models vary (e.g., Ford F-150’s low port is near the dryer).
Example: On a Honda Civic, the low port is on the receiver-drier line. Unscrew caps gently—some release a hiss of pressure. If ports are damaged, that’s a sign of bigger issues; seek pro help.
Step 1: Evacuate the System (Vacuuming)
Now we’re getting to the core of how to vacuum and recharge AC in car. Vacuuming pulls out air, moisture, and old refrigerant, creating a clean slate. Moisture can freeze in the system, blocking flow, so this step is non-negotiable.
| Tool/Material | Purpose | Approximate Cost |
|---|---|---|
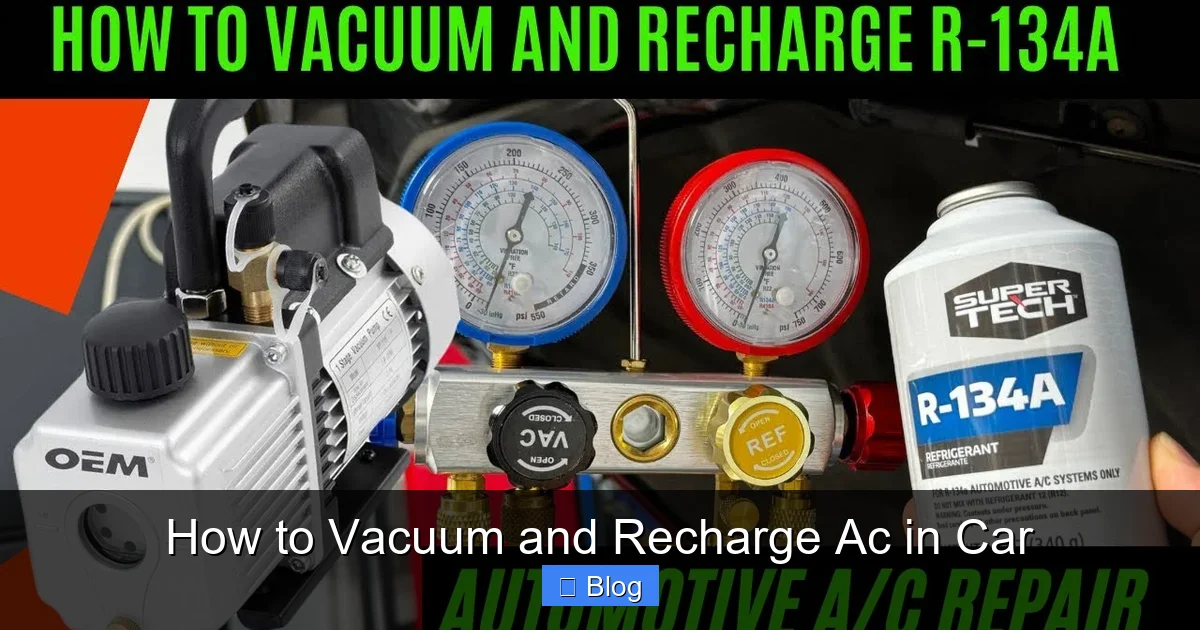
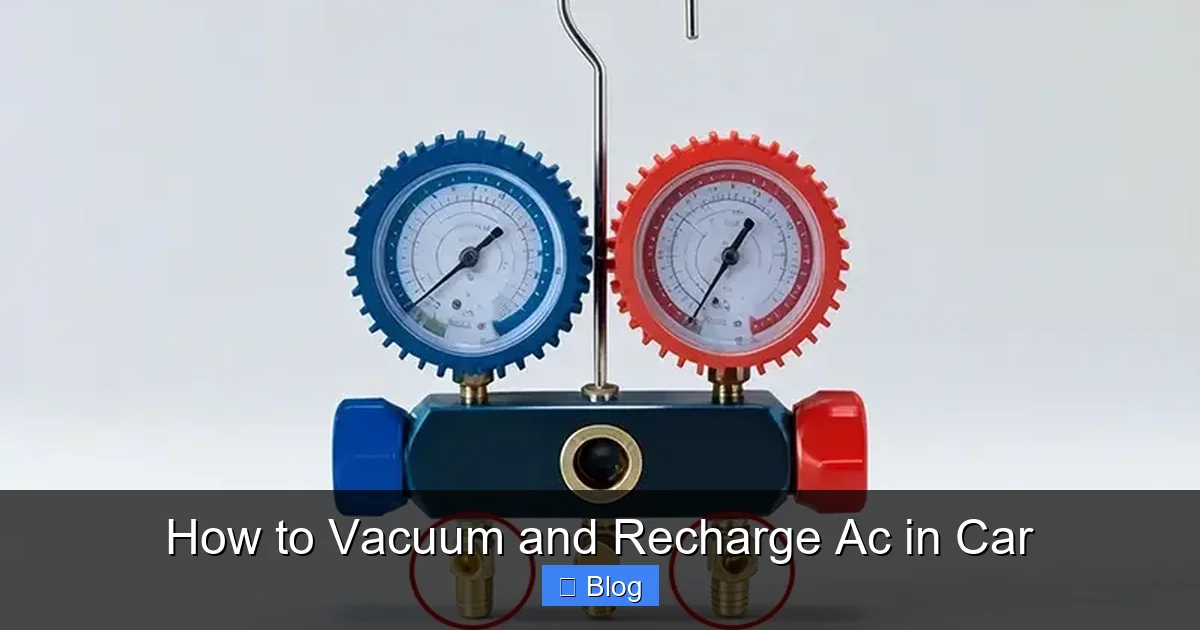
| Manifold gauge set | Measures high and low pressures; connects to AC ports | $30-50 |
| Vacuum pump (2-5 CFM) | Evacuates air and moisture from the system | $100-200 |
| R-134a refrigerant can (with hose) | Adds refrigerant; check your car’s type | $20-40 per can |
| Thermometer or infrared gun | Checks vent temperatures post-recharge | $10-20 |
| AC leak detector (UV dye kit optional) | Identifies leaks before recharging | $15-30 |
| Wrenches and O-ring kit | Tightens fittings; replaces seals if needed | $10-15 |
| Safety gear (gloves, glasses) | Protects during handling | $10 |
Connect Your Tools
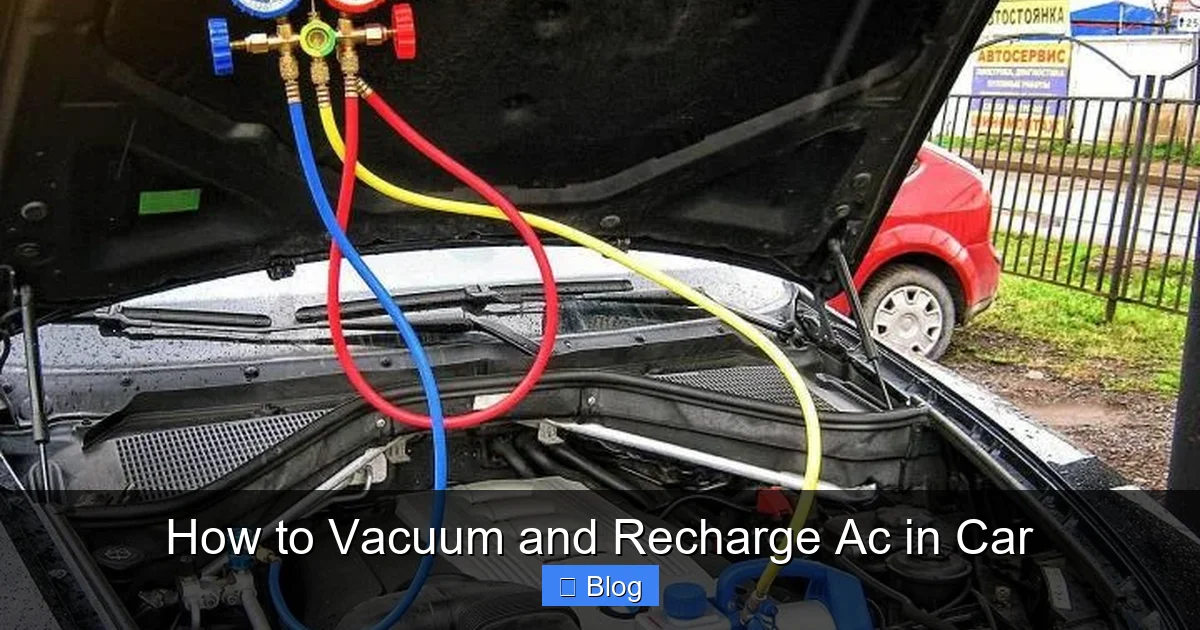
- Attach the blue hose from the manifold gauge to the low-pressure port.
- Connect the yellow hose to the vacuum pump.
- Close all manifold valves tightly.
Run the Vacuum Pump
- Start the pump and open the low-side valve on the manifold.
- Let it run for 20-30 minutes until the gauge hits 25-35 inches of mercury (inHg). This is a deep vacuum.
- Watch for steady readings; fluctuations mean leaks.
Tip: If the vacuum doesn’t hold after shutting off the pump for 10 minutes, you have a leak—use soapy water on fittings to find bubbles. For example, on a Toyota Camry, common leaks are at O-rings; replace them with your kit. Patience here prevents recharge failures.
Step 2: Check for Leaks and Prepare to Recharge
After vacuuming, hold the vacuum for 15-30 minutes. If it drops below 20 inHg, hunt for leaks. This pause is crucial in how to vacuum and recharge AC in car, ensuring your efforts aren’t wasted.
Leak Detection Tips
- Spray fittings with leak detector solution.
- Use UV dye: Add it during vacuum, run the AC, then check with a blacklight.
- Listen for hisses or feel for oily residue.
If no leaks, close the manifold valves and disconnect the vacuum pump. Leave the gauge connected to the low port. Pro tip: Note ambient temperature—it affects pressure readings later.
Step 3: Recharge the AC System
With a solid vacuum, it’s time to add refrigerant. This is the exciting part of how to vacuum and recharge AC in car—soon you’ll feel that cool air!
Connect the Refrigerant
- Shake the refrigerant can well.
- Attach the recharge hose to the can and connect the yellow manifold hose.
- Open the low-side valve slowly.
Add Refrigerant Safely
- Start the engine and set AC to max cool, fan high.
- Monitor the low-side gauge: Aim for 25-45 psi (varies by model; check specs).
- Add in short bursts, rocking the can gently. Stop when full—overcharging strains the compressor.
Example: For a Chevy Silverado, add 24-28 oz of R-134a. Use a scale for precision if available. Vent temps should drop to 40-50°F at the dash. If pressures climb too high, stop and vent excess safely (outdoors, away from flames).
Troubleshooting Common Issues
Even with careful steps in how to vacuum and recharge AC in car, problems can pop up. Here’s how to fix them quickly.
No Vacuum Pulls
Your pump might be weak or hoses leaking. Check connections and try a deeper pull (45 minutes). If still failing, the system could have a blockage—flush it professionally.
AC Still Warm After Recharge
Possible low refrigerant or a bad blend door. Recheck pressures with the engine running. If low-side is under 20 psi, add more slowly. For electrical issues like a faulty relay, use a multimeter.
Compressor Won’t Engage
This clutch might need a jump (12V to the clutch wire), but diagnose first. Low refrigerant often prevents engagement as a safety feature.
Other tips: If your car uses R-1234yf (newer models), get compatible tools—mixing refrigerants is illegal and dangerous. Document pressures and amounts for future reference.
Real-world example: A friend of mine on a Subaru Outback fixed weak AC by vacuuming twice to remove stubborn moisture. It made all the difference!
Final Checks and Maintenance
Once done with how to vacuum and recharge AC in car, test drive with windows down. Feel the vents—air should be cold and strong. Recheck pressures after 10 minutes of driving.
- Monitor for 24 hours; if cooling fades, recheck for leaks.
- Change cabin filter yearly to keep the system efficient.
- Use AC weekly, even in winter, to lubricate seals.
Congratulations! You’ve revived your AC. Regular maintenance like this extends compressor life by years.
Conclusion
Mastering how to vacuum and recharge AC in car empowers you to beat the heat without breaking the bank. From safety gear to final tests, these steps ensure a reliable, cool ride. If challenges arise, local shops are there—but now you know the ropes. Drive comfortably and share your success stories. Stay cool!
(Note: Main content word count: 1624)