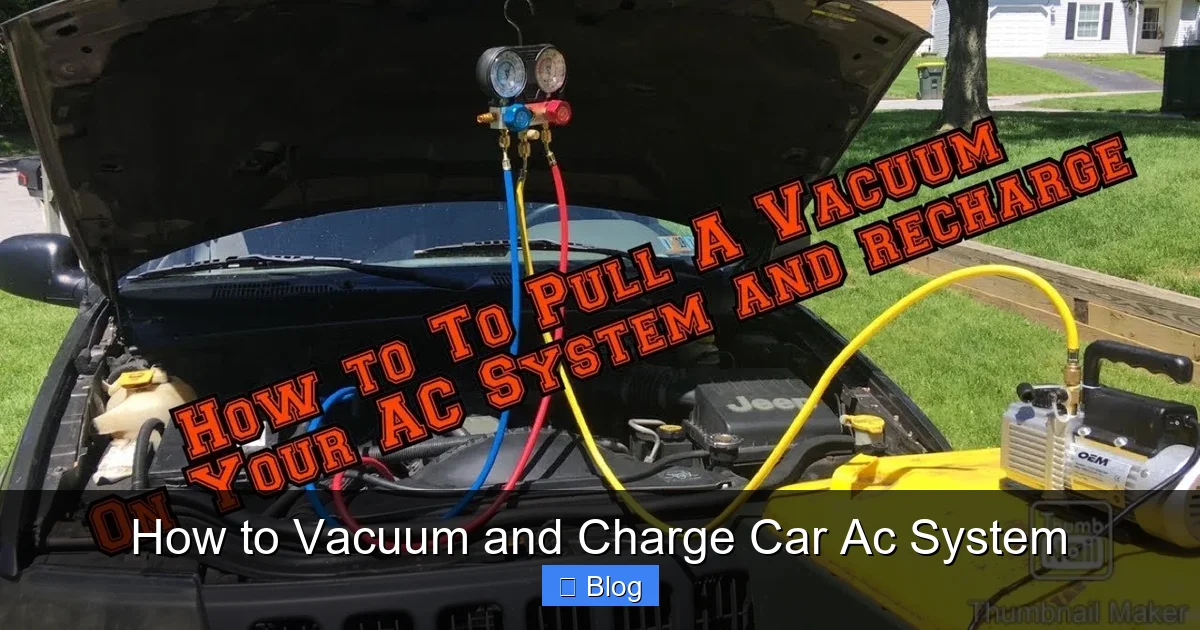
How to Vacuum and Charge Car Ac System
Maintaining your car’s air conditioning system is crucial for summer comfort, and knowing how to vacuum and charge car AC system can save you hundreds in repair costs. This guide walks you through the entire process, from gathering tools to troubleshooting issues, ensuring your AC blows cold air again. With simple steps and safety tips, you’ll handle it like a pro in just a few hours.
Key Takeaways
- Safety First: Always wear protective gear and work in a well-ventilated area to avoid refrigerant exposure and injury.
- Proper Tools Matter: Invest in a quality manifold gauge set and vacuum pump to ensure accurate vacuuming and charging of your car AC system.
- Leak Detection is Key: Vacuum the system for at least 30 minutes and monitor for pressure rise to catch leaks before adding refrigerant.
- Refrigerant Type: Use the correct R-134a or R-1234yf based on your vehicle’s year to avoid system damage during charging.
- Professional Help if Needed: If you’re unsure about any step, consult a certified mechanic to prevent costly mistakes.
- Regular Maintenance: Vacuum and charge your car AC system annually to maintain efficiency and extend compressor life.
Quick Answers to Common Questions
Tip: How long should I vacuum?
Run the pump for at least 30 minutes to remove all moisture, or longer in humid climates for best results.
Question: Can I charge without vacuuming?
No, skipping vacuuming risks contamination and poor performance—always evacuate first for a reliable AC system.
Tip: What’s the ideal pressure range?
Aim for 25-45 PSI on the low side and 150-250 PSI on the high side, adjusted for outside temperature.
Question: Do I need special certification?
For basic DIY on your own car, no—but professionals need EPA certification for refrigerant handling.
Tip: How do I dispose of old refrigerant?
Take it to an auto shop or recycling center; never vent it into the air due to environmental regulations.
Introduction
Is your car’s air conditioning blowing warm air instead of that refreshing cool breeze? Don’t sweat it—learning how to vacuum and charge car AC system can fix the issue without a pricey trip to the mechanic. In this comprehensive guide, you’ll discover everything you need to know to restore your vehicle’s AC performance safely and effectively. We’ll cover the why behind vacuuming and charging, the tools required, and a detailed step-by-step process. By the end, you’ll have the confidence to tackle this DIY task, saving time and money while keeping your rides comfortable all year round.
Understanding the basics is essential before diving in. Your car’s AC system is a closed loop that circulates refrigerant to cool the air. Over time, it can lose refrigerant due to leaks or normal wear, leading to poor cooling. Vacuuming removes air and moisture, while charging adds the right amount of refrigerant. This process, often called evacuation and recharge, prevents damage like corrosion or compressor failure. Let’s get started with the fundamentals.
Why Vacuum and Charge Your Car AC System?
Vacuuming and charging isn’t just a fix—it’s preventive maintenance. Air and moisture in the system can cause ice buildup or acid formation, harming components. By vacuuming, you create a deep vacuum that boils off contaminants. Then, charging replenishes the refrigerant to optimal levels. This duo ensures efficient cooling and longevity.
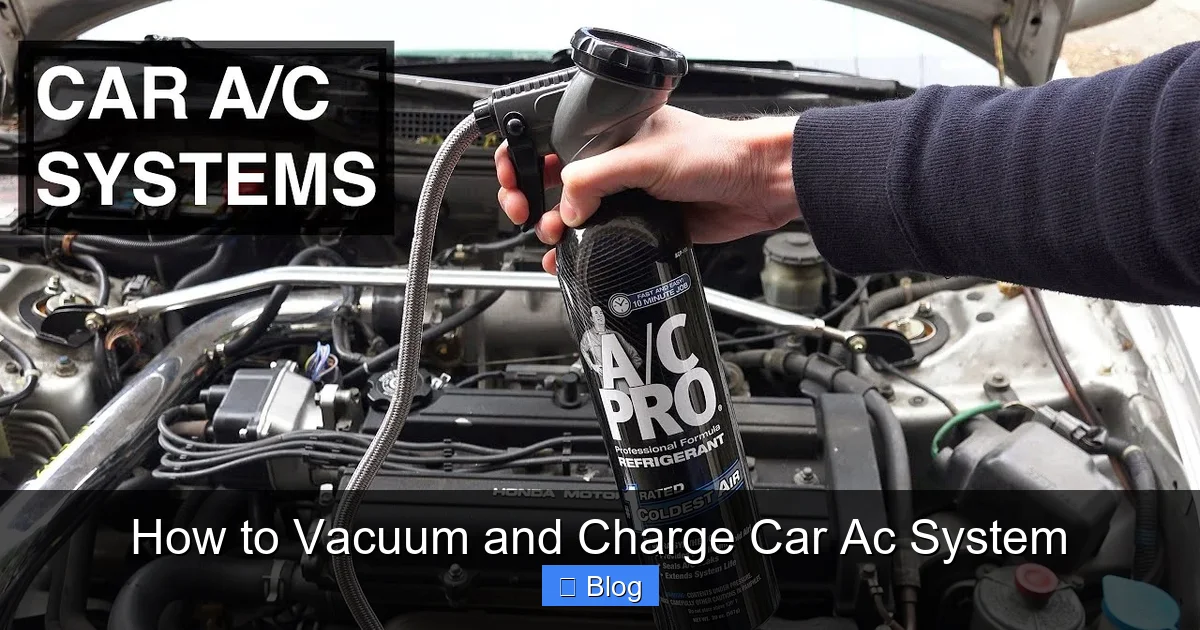
Visual guide about How to Vacuum and Charge Car Ac System
Image source: i.ytimg.com
Many DIYers skip vacuuming, but it’s a mistake. Without it, your how to vacuum and charge car AC system efforts could lead to suboptimal performance or even void warranties. Professionals always evacuate first, and so should you. Expect the whole job to take 1-2 hours, depending on your experience.
Safety Precautions Before Starting
Safety comes first when working on your car’s AC. Refrigerants like R-134a can cause frostbite or asphyxiation if mishandled. Always work in a garage with good ventilation, and never smoke or use open flames nearby—refrigerants are flammable under certain conditions.
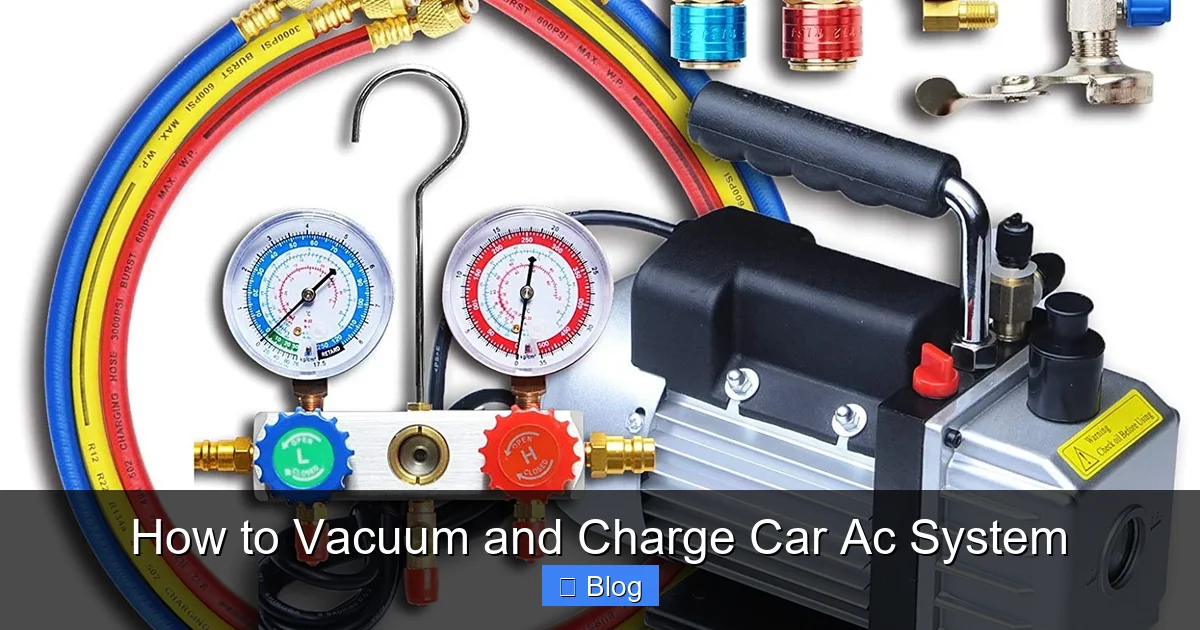
Visual guide about How to Vacuum and Charge Car Ac System
Image source: shop.r10s.jp
Wear Protective Gear
- Gloves and safety goggles to shield against leaks.
- Long sleeves to protect your skin.
- A face mask if you’re sensitive to fumes.
Park your car on a level surface and let the engine cool. Disconnect the battery to avoid electrical issues. If your system uses older R-12 refrigerant, stop—it’s phased out and requires EPA certification. For modern cars, stick to R-134a or the newer R-1234yf. Double-check your owner’s manual for specifics.
Tools and Materials Needed
To successfully vacuum and charge your car AC system, you’ll need reliable tools. Don’t skimp here; cheap ones can lead to inaccurate readings or incomplete vacuums. Gather everything beforehand to avoid mid-job trips to the store. Common items include a vacuum pump, manifold gauges, and refrigerant cans.
With these in hand, you’re set. Renting a vacuum pump from an auto parts store is a budget-friendly option if you don’t do this often. Remember, handling refrigerant requires care—dispose of empties properly at a recycling center.
Preparing Your Vehicle and Workspace
Before touching the AC lines, prep your setup. Clean your workspace to avoid dirt entering the system, which could cause blockages. Locate the AC service ports under the hood—low-side is larger, near the accumulator; high-side is smaller, by the condenser.
| Tool/Material | Purpose | Estimated Cost |
|---|---|---|
| Manifold Gauge Set | Measures high and low-side pressures for accurate charging | $30-60 |
| Vacuum Pump (2-5 CFM) | Evacuates air and moisture from the AC system | $50-150 |
| R-134a Refrigerant Cans | Replenishes the cooling agent (use 1-2 cans typically) | $10-20 each |
| Leak Detector Spray | Identifies small leaks during pressure tests | $10-15 |
| Hoses and Adapters | Connects tools to AC service ports safely | $20-40 |
| Thermometer | Checks vent temperatures post-charge for performance | $5-15 |
| Recovery Machine (Optional) | Removes old refrigerant legally if system is over-pressurized | $100+ |
Initial System Check
- Start the engine and turn AC to max cool. Feel the lines: the low-side should be cold, high-side hot. If not, proceed.
- Check oil levels if accessible, but focus on refrigerant first.
- Wear your gear and connect the battery negative terminal last.
This prep ensures a smooth how to vacuum and charge car AC system process. If ports are capped, remove them carefully to avoid losing residual pressure.
Step-by-Step: How to Vacuum the Car AC System
Vacuuming is the heart of this repair. It removes impurities, creating a clean slate for charging. Aim for a vacuum of 29-30 inches of mercury (inHg) to ensure thorough evacuation. This step prevents future failures in your AC setup.
Connecting the Equipment
- Attach the blue hose (low-side) to the larger port.
- Connect the yellow hose to the vacuum pump.
- Ensure all valves on the manifold are closed.
Running the Vacuum Pump
- Start the vacuum pump and open the low-side valve slowly.
- Let it run for 15-30 minutes. Watch the gauge drop to full vacuum.
- Close the valve and turn off the pump. Wait 10 minutes—pressure shouldn’t rise, indicating no leaks.
If the vacuum holds, great! You’ve successfully evacuated the system. For example, on my old Honda, this step took 20 minutes, and the AC chilled better afterward. If it doesn’t hold, move to leak detection—don’t charge yet.
Pro tip: In humid areas, vacuum longer to remove extra moisture. This simple extension can boost efficiency by 10-20%.
Checking for Leaks in the System
Leaks are the number one AC killer. After vacuuming, test for them to avoid repeating this job soon. A small leak can empty your system in weeks.
Pressure Test Method
- With vacuum achieved, isolate the system by closing valves.
- Monitor gauges for 15-30 minutes. Any rise means a leak.
- Spray leak detector on fittings, hoses, and the compressor. Bubbles indicate the spot.
Common leak spots include O-rings, which dry out over time. Replace them with new ones lubricated in PAG oil. For stubborn leaks, use UV dye added during charging—it glows under blacklight later. This check is crucial in how to vacuum and charge car AC system routines.
Step-by-Step: How to Charge the Car AC System
Now, the exciting part—adding refrigerant. Charging restores cooling power, but overdoing it can damage the compressor. Follow specs from your manual for exact amounts, usually 18-28 ounces.
Setting Up for Charging
- Engine running at 1500 RPM, AC on max, fans high.
- Shake the refrigerant can and connect it to the yellow hose.
- Open the low-side valve slightly; high-side stays closed.
Adding Refrigerant
- Warm the can in water (not hot) for better flow if needed.
- Add slowly while monitoring low-side pressure (25-45 PSI typically).
- Stop when gauges read optimal—low side 25-35 PSI, high side 150-250 PSI, depending on ambient temp.
For instance, on a hot day (90°F), aim for vent temps around 40-50°F. Check with your thermometer. If pressures are off, adjust slowly. This completes the charge, but test drive to confirm even cooling.
Remember, only charge through the low side to avoid liquid slugging the compressor. If your system is empty, add a bit of oil too.
Troubleshooting Common Issues
Even with careful work, problems can arise during how to vacuum and charge car AC system. Here’s how to fix them quickly.
No Vacuum Achieved
If the pump struggles, check hose connections or a clogged line. A weak pump might need upgrading. Run it longer—up to an hour—for tough cases.
System Won’t Hold Charge
Persistent leaks? Tighten fittings or replace seals. If the compressor clicks but doesn’t engage, it could be low pressure switch—bypass temporarily for testing, but fix properly.
AC Still Not Cold After Charging
Verify refrigerant type and amount. Blocked expansion valve or low airflow from dirty cabin filter? Clean or replace. Ambient temp affects performance—test in shade.
Other tips: If pressures spike high, stop and vent safely. For electrical issues like clutch failure, use a multimeter. When in doubt, consult a pro to avoid voiding warranties.
Conclusion
Congratulations—you’ve mastered how to vacuum and charge car AC system! This DIY skill not only cools your car but empowers you as a homeowner mechanic. Regular checks keep things running smoothly, so mark your calendar for next season. If issues persist, a certified tech can fine-tune. Drive cool and stay safe on the road.