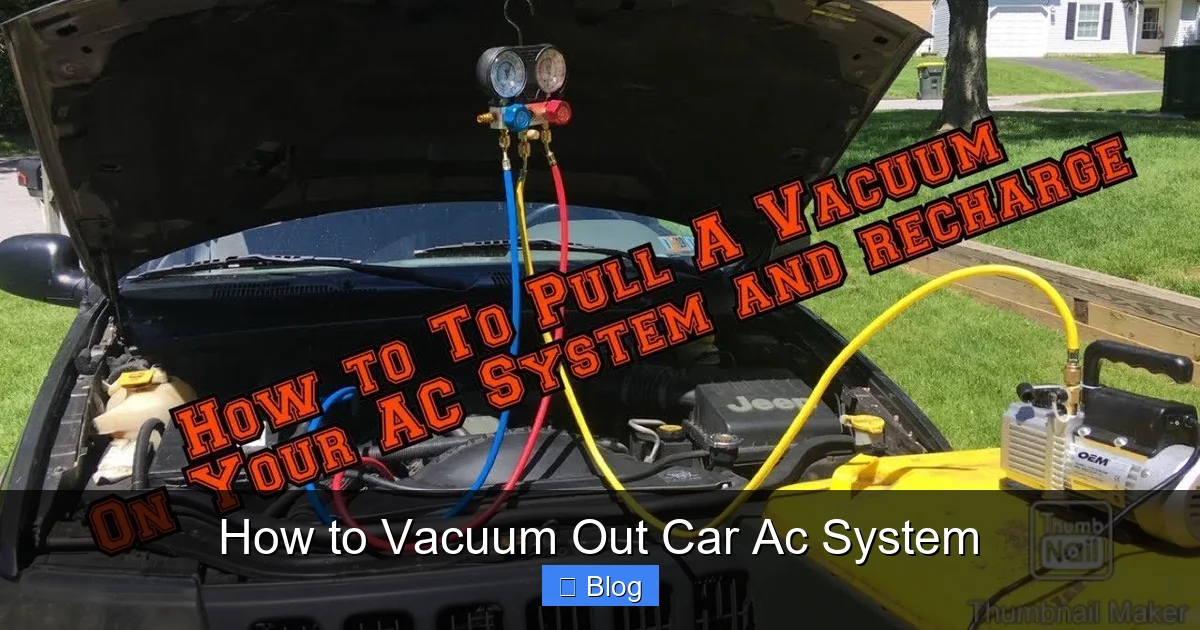
How to Vacuum Out Car Ac System
This guide walks you through how to vacuum out a car AC system to remove moisture and air, ensuring optimal cooling performance. You’ll learn the right tools, safety steps, and common pitfalls to avoid.
Step 5: Monitor and Hold the Vacuum
Once you reach 29–30 inHg, let the pump run for at least 30 minutes. Some technicians prefer 45–60 minutes for heavily contaminated systems. During this time, moisture evaporates and is pulled out by the vacuum.
After the initial pull, close the valves on the manifold gauge and turn off the vacuum pump. Watch the gauge—if the pressure rises quickly, there’s likely a leak in the system. A good system should hold vacuum for at least 10–15 minutes with minimal rise.
Step 6: Check for Leaks
If the vacuum doesn’t hold, use a leak detection kit (UV dye or electronic sniffer) to locate the source. Common leak points include O-rings, service ports, the compressor shaft seal, and the condenser. Repair any leaks before proceeding.
Step 7: Break the Vacuum and Recharge
Once the system holds vacuum, it’s time to recharge with refrigerant. Close the vacuum pump valve and disconnect the yellow hose. Attach a refrigerant can to the yellow hose using a tap valve or charging hose.
Open the refrigerant can and slowly introduce refrigerant into the system by opening the low-pressure valve. Never open the high-pressure side during recharge unless instructed by the service manual. Follow the manufacturer’s specified charge amount—overfilling can damage the compressor.
Key Takeaways
- Safety first: Always wear safety goggles and gloves when working with AC systems to protect against refrigerant and high-pressure components.
- Use a vacuum pump: A quality vacuum pump is essential for removing moisture and non-condensable gases from the AC system.
- Check for leaks: Vacuuming helps detect leaks—if the system can’t hold vacuum, there’s likely a leak that must be fixed before recharging.
- Pull a deep vacuum: Aim for at least 29–30 inches of mercury (inHg) and hold it for 30–60 minutes to ensure all moisture is removed.
- Recharge properly: Only recharge the system with the correct type and amount of refrigerant after vacuuming is complete.
- Don’t skip the manifold gauge set: This tool lets you monitor pressure levels and connect the vacuum pump safely.
- Follow manufacturer specs: Always refer to your vehicle’s service manual for refrigerant type, oil capacity, and charging procedures.
Quick Answers to Common Questions
Tip/Question?
How long should I run the vacuum pump?
Run the pump until you reach 29–30 inHg, then hold for at least 30 minutes. Longer is better for contaminated systems.
Tip/Question?
Can I vacuum the AC system without a manifold gauge?
No—the manifold gauge is essential for monitoring pressure and connecting the pump safely. Skipping it risks damage and inaccurate results.
Tip/Question?
What if my vacuum pump is weak?
A weak pump may not reach full vacuum. Use a 3–5 CFM pump for best results, and allow extra time for evacuation.
Tip/Question?
Should I add oil when vacuuming?
Only add PAG oil if you’ve replaced components or lost oil during repair. Check your service manual for the correct amount.
Tip/Question?
Can I recharge the AC immediately after vacuuming?
Yes, but only after confirming the system holds vacuum. Recharging too soon can trap moisture and cause damage.
Troubleshooting Common Issues
Even with careful preparation, problems can arise. Here’s how to handle the most common issues when vacuuming your car’s AC system.
Vacuum Won’t Hold
If the gauge won’t reach 29 inHg or the pressure rises after turning off the pump, there’s likely a leak. Recheck all connections, inspect O-rings, and use a leak detector. Moisture in the system can also slow vacuum pull—extend the vacuum time.
Pump Overheats
Vacuum pumps can overheat if run continuously for too long. If your pump gets hot, turn it off and let it cool for 10–15 minutes. Use a pump with thermal protection if possible.
Oil Leakage
Some vacuum pumps may leak oil if tilted or overfilled. Place the pump on a level surface and check the oil level before use. Clean up any spills immediately.
Gauge Readings Are Inaccurate
Old or damaged gauges can give false readings. Calibrate your manifold gauge set regularly or replace it if readings seem off. Always cross-check with a digital gauge if available.
Final Tips for Success
Vacuuming your car’s AC system isn’t just a repair step—it’s a maintenance best practice. Here are a few final tips to ensure long-lasting performance:
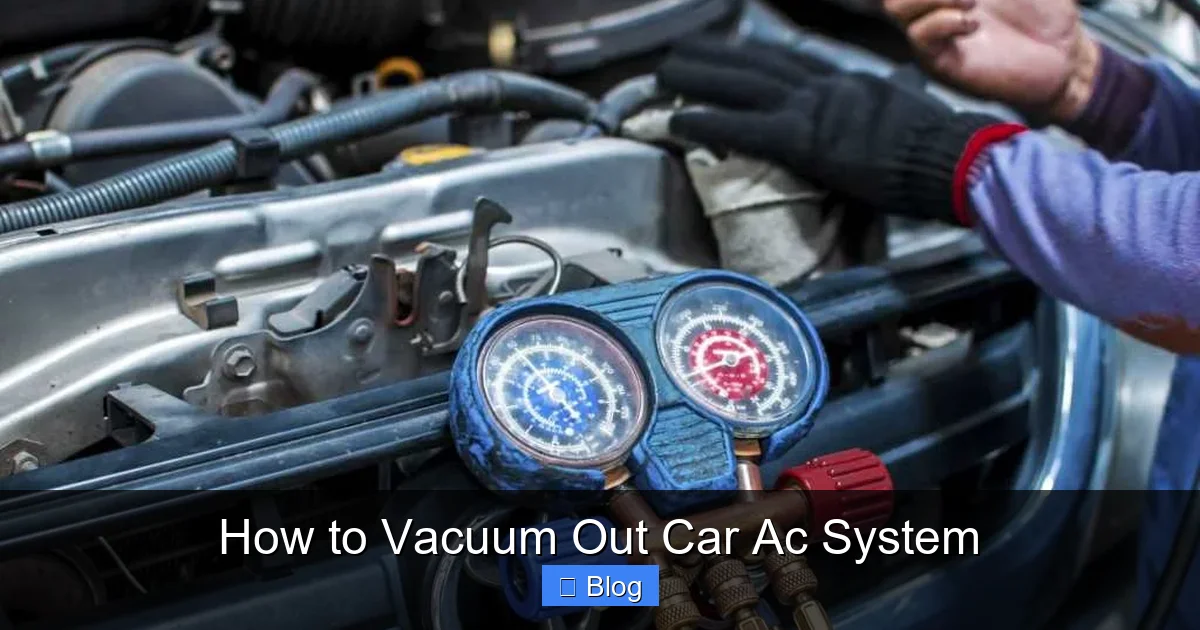
Visual guide about How to Vacuum Out Car Ac System
Image source: carfromjapan.com
Why Vacuuming Your Car AC System Matters
Over time, your car’s air conditioning system can accumulate moisture, air, and debris—especially if it’s been opened for repairs or has a leak. These contaminants reduce cooling efficiency and can damage internal components like the compressor. Vacuuming the AC system is a critical step before recharging it with refrigerant. It removes trapped air and moisture, which can cause corrosion, ice formation, and poor performance.
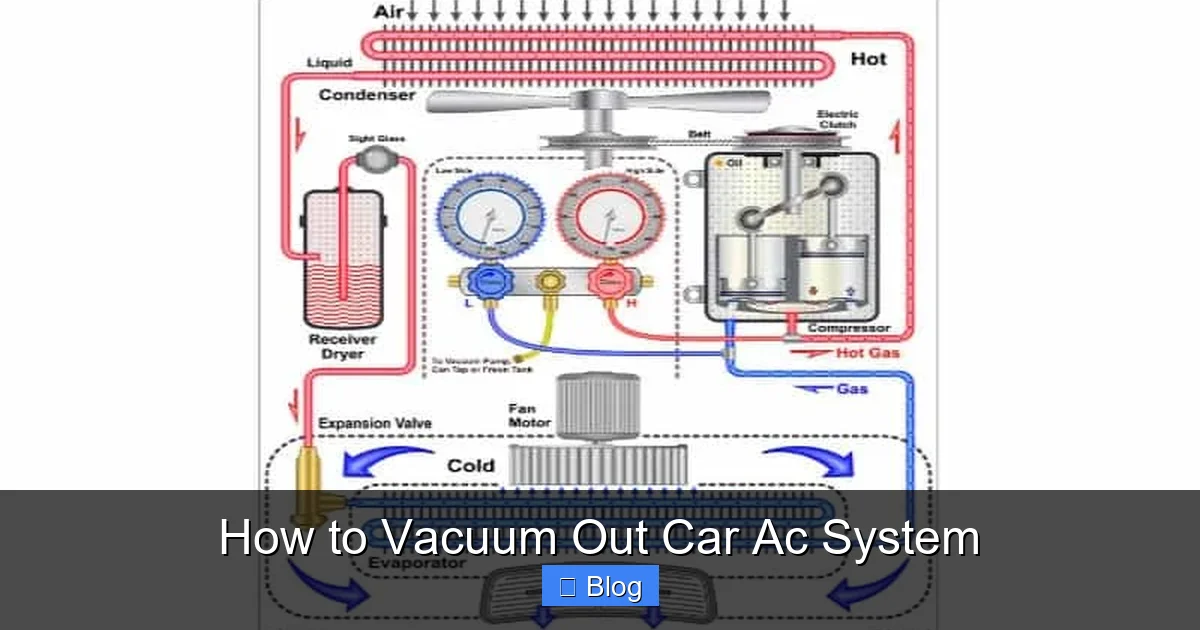
Visual guide about How to Vacuum Out Car Ac System
Image source: mechanicfixa.com
In this guide, you’ll learn exactly how to vacuum out a car AC system the right way. Whether you’re replacing a compressor, fixing a leak, or simply recharging the system, vacuuming ensures long-term reliability and peak cooling power. We’ll cover the tools you need, step-by-step instructions, safety tips, and troubleshooting advice to help you get professional results at home.
Tools and Materials You’ll Need
Before starting, gather all the necessary tools and materials. Having everything ready will save time and prevent mistakes.
- Manifold gauge set (low and high-pressure hoses)
- Vacuum pump (electric, 3–5 CFM recommended)
- Refrigerant (check your vehicle’s specifications—commonly R-134a)
- Refrigerant can tap valve or charging hose with built-in valve
- Safety goggles and gloves
- Leak detection kit (optional but recommended)
- Service manual for your vehicle
- Clean rags and container for spilled oil
Safety Precautions
Working with automotive AC systems involves pressurized refrigerant, which can be hazardous. Always wear safety goggles and gloves to protect your eyes and skin. Work in a well-ventilated area, and never release refrigerant into the atmosphere—it’s illegal and harmful to the environment. If you’re unsure about handling refrigerant, consult a certified technician.
Step-by-Step: How to Vacuum Out Car AC System
Now that you’re prepared, let’s walk through the process of vacuuming your car’s AC system. Follow these steps carefully to ensure a thorough and safe job.
Step 1: Locate the Service Ports
Most vehicles have two service ports: a low-pressure port (usually on the larger aluminum line near the firewall) and a high-pressure port (on the smaller line near the compressor). The low-pressure port is typically marked with an “L” and uses a blue cap, while the high-pressure port has a red cap and is marked with an “H.”
Remove the caps and inspect the ports for dirt or damage. Clean them with a rag if needed. Never force connections—use the correct fittings for your manifold gauge set.
Step 2: Connect the Manifold Gauge Set
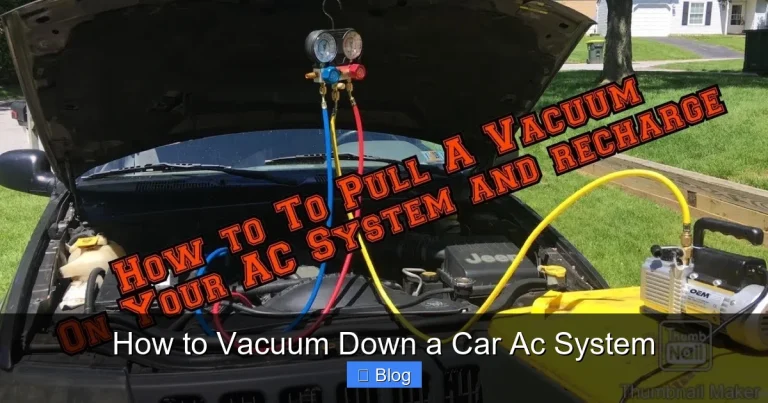
Attach the blue hose from your manifold gauge set to the low-pressure port and the red hose to the high-pressure port. The yellow center hose will connect to either the vacuum pump or refrigerant can later.
Make sure all valves on the manifold gauge are closed before connecting. This prevents refrigerant or air from entering the system prematurely.
Step 3: Connect the Vacuum Pump
Attach the yellow hose from the manifold gauge set to your vacuum pump. Double-check all connections to ensure they’re tight and secure. Loose fittings can cause air leaks and prevent the system from reaching a proper vacuum.
Step 4: Start the Vacuum Process
Turn on the vacuum pump and open both the low and high-pressure valves on the manifold gauge. This allows the pump to pull a vacuum from both sides of the system simultaneously.
Watch the low-pressure gauge—it should begin dropping rapidly. Your goal is to reach 29–30 inches of mercury (inHg). This level indicates a deep vacuum, which is necessary to boil off moisture trapped in the system.
Quick Reference
| Step | Action | Target | Time Estimate |
|---|---|---|---|
| 1 | Connect gauge set to service ports | Secure, leak-free connections | 5 minutes |
| 2 | Attach vacuum pump to yellow hose | Tight, sealed connection | 2 minutes |
| 3 | Turn on pump and open valves | 29–30 inHg vacuum | 15–30 minutes |
| 4 | Hold vacuum and check for leaks | Stable pressure for 30+ minutes | 30–60 minutes |
- Always replace O-rings when opening the system—use PAG oil to lubricate new ones.
- Use a vacuum pump with an oil sight glass to monitor oil levels.
- Label hoses and ports to avoid confusion during reassembly.
- Keep a log of refrigerant type and charge amount for future reference.
- Consider adding an inline filter-drier if the system was contaminated.
Conclusion
Learning how to vacuum out a car AC system is a valuable skill for any DIY mechanic. It ensures your AC runs efficiently, prevents costly repairs, and extends the life of critical components. By following this guide—using the right tools, pulling a deep vacuum, and checking for leaks—you’ll keep your car cool and comfortable all summer long.
Remember, safety and precision are key. If you’re ever unsure, don’t hesitate to consult a professional. But with practice, vacuuming your AC system can become a routine part of your vehicle maintenance routine.