How to Use Vacuum Cleaner for Car
Keeping your car clean doesn’t have to be a hassle. This guide walks you through how to use a vacuum cleaner for car interiors, from preparation to finishing touches, ensuring a spotless ride. With simple steps and practical tips, you’ll master car vacuuming in no time and maintain a fresh vehicle effortlessly.
Step 3: Tackle the Floors and Carpets
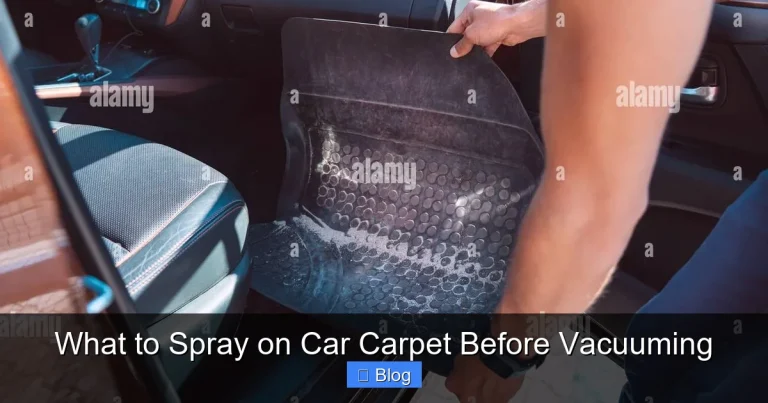
Floors collect the most grime, so give them extra attention. Pull out floor mats and shake them outside first—this cuts vacuum time in half. Vacuum the exposed carpet with firm pressure, using back-and-forth motions like mowing a lawn.
For deep pile carpets, go over each section twice. If you spot stains, vacuum before treating them. Practical example: After a beach trip, I vacuumed salt from my rugs—it prevented corrosion under the seats.
Step 4: Don’t Forget the Trunk and Hidden Spots
The trunk often gets overlooked. Empty it fully, then use the hose to reach into side pockets and under the floor liner. Vacuum the spare tire well if accessible—dirt there can rust tools.
Check under seats too; crumbs love hiding there. Use a flashlight to spot missed areas. This step keeps odors at bay by removing trapped debris.
Step 5: Finishing Touches and Emptying
Do a final sweep from top to bottom. Empty your vacuum’s canister right away to avoid smells in your car. Wipe down any smudges left from attachments.
Let the car air out with windows down for 10 minutes. Voilà—your interior is fresh!
Key Takeaways
- Prepare thoroughly: Clear out trash and protect surfaces before vacuuming to make the process smoother and prevent damage.
- Choose the right vacuum: Opt for a portable or car-specific model with strong suction for effective cleaning on various surfaces.
- Work systematically: Start from the top and move down, using attachments for crevices to capture all dirt and debris.
- Use attachments wisely: Crevice tools reach tight spots, while brushes handle upholstery without scratching delicate areas.
- Empty frequently: Avoid clogs by emptying the vacuum’s canister midway through to maintain suction power.
- Maintain your tools: Clean filters and hoses after use to extend the life of your vacuum and ensure optimal performance next time.
- Troubleshoot issues: If suction weakens, check for blockages or worn filters to get back to cleaning quickly.
Quick Answers to Common Questions
Best time to vacuum?
The ideal time is on a cool day or in the evening to avoid dust swirling in heat. Park in your garage for convenience and better airflow.
Can I use a home vacuum for my car?
Yes, but choose one with a long cord or battery life. Add car-specific attachments for better results in tight spaces.
How often should I vacuum my car?
Aim for weekly if you have kids or pets; otherwise, every two weeks keeps it fresh without much effort.
What if my vacuum clogs during use?
Turn it off, unplug, and clear the hose gently. Empty the canister fully next time to prevent repeats.
Is wet vacuuming safe for cars?
Yes, with a wet/dry model, but dry everything afterward to avoid mold. Great for spills, but stick to dry for routine cleans.
Practical Tips for Effective Car Vacuuming
To make how to use a vacuum cleaner for car even better, try these hacks. First, vacuum weekly for light maintenance; it prevents buildup. Use baking soda on carpets before vacuuming—it absorbs odors and loosens dirt.
For cars with kids, keep a small handheld vac in the trunk for quick cleanups. If you’re dealing with allergies, use a HEPA filter vacuum to trap fine particles. Example: Sprinkling baking soda, waiting 15 minutes, then vacuuming left my minivan smelling like new.
Invest in reusable mats—they’re easier to clean outside. And always unplug the vacuum before changing attachments to stay safe.
Troubleshooting Common Vacuuming Issues
Sometimes things don’t go perfectly. If suction drops, check the hose for clogs—use a broom handle to poke it clear. Weak power? Clean or replace the filter; dirty ones halve efficiency.
Visual guide about How to Use Vacuum Cleaner for Car
Image source: img.tutupost.com
Introduction
Is your car starting to look like a mobile junk drawer? Dust, crumbs, and pet hair can pile up fast, making drives less enjoyable. But don’t worry—learning how to use a vacuum cleaner for car cleaning is simpler than you think. In this guide, you’ll discover everything from picking the right tools to step-by-step techniques that get your interior sparkling. Whether you’re a new car owner or just want to refresh your routine, these tips will save you time and effort. By the end, you’ll have a clean car and the confidence to keep it that way.
Visual guide about How to Use Vacuum Cleaner for Car
Image source: storables.com
We’ll cover preparation, vacuum selection, detailed cleaning steps, and even troubleshooting. Let’s dive in and turn your car into a tidy haven on wheels.
Preparing Your Car for Vacuuming
Before you plug in that vacuum, a little prep goes a long way. It makes the job faster and protects your car’s surfaces. Think of it as setting the stage for a smooth performance.
Clear Out Loose Items
Start by removing all the obvious stuff. Grab any trash, like wrappers or bottles, from seats and floors. Empty the ashtray if you have one. For larger items, like bags or toys, take them out completely. This prevents them from getting sucked up and damaging your vacuum.
Protect Sensitive Areas
Shield delicate spots to avoid scratches. Lay down old towels or seat covers over leather seats. If you’re vacuuming near electronics, like the dashboard, cover buttons with a soft cloth. Park your car in a shaded spot to keep it cool—hot interiors can make dust fly everywhere.
A quick tip: If it’s been a while since your last clean, do a preliminary sweep with a broom outside. This knocks off bigger debris before the vacuum tackles the fine stuff.
Choosing the Right Vacuum Cleaner for Your Car
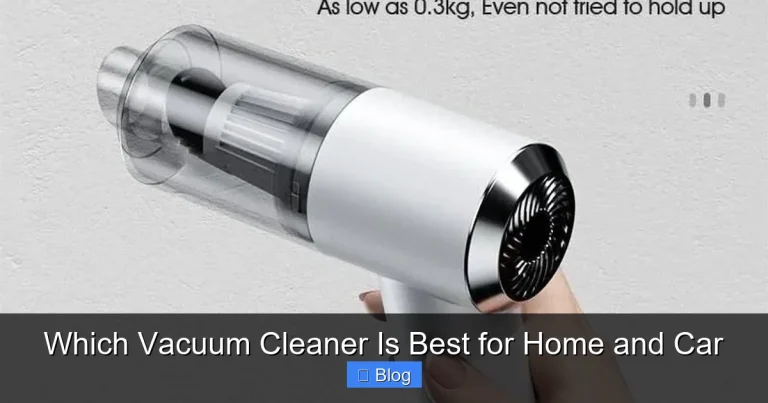
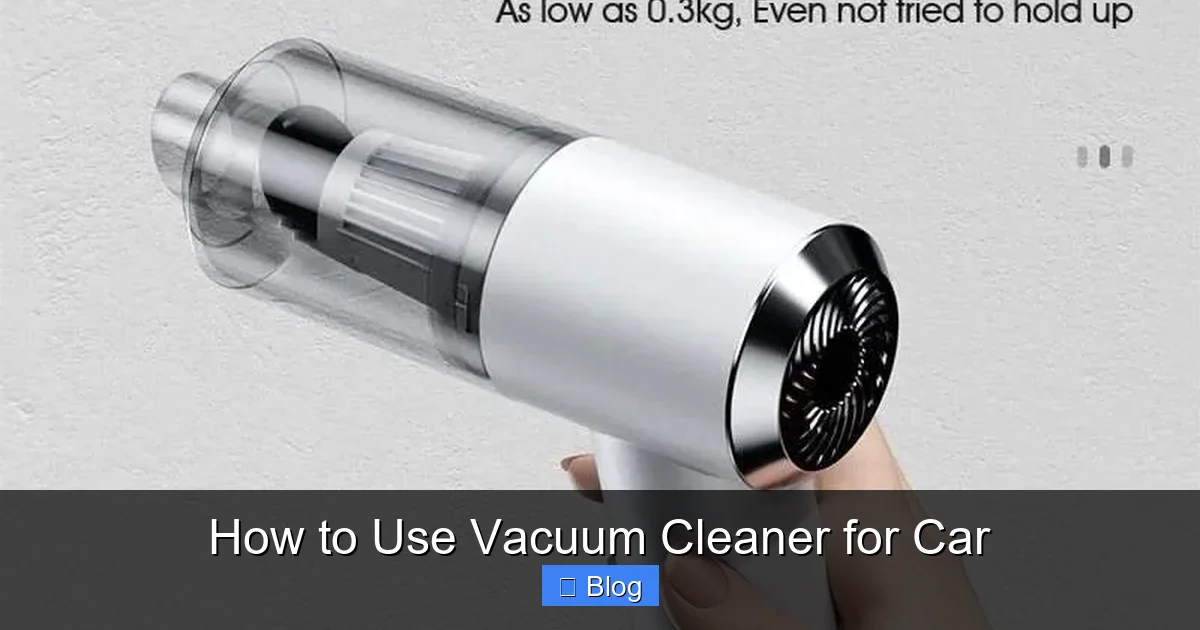
Not all vacuums are car-friendly. You need one that’s powerful yet portable. Handheld models or shop vacs with car kits work best for tight spaces.
Types of Vacuums to Consider
Go for a cordless handheld vacuum if you want ease—brands like Black+Decker or Dyson offer strong suction in a compact size. For deeper cleans, a wet/dry shop vac handles spills too. Look for at least 16kPa suction power to pull up embedded dirt.
Essential Attachments
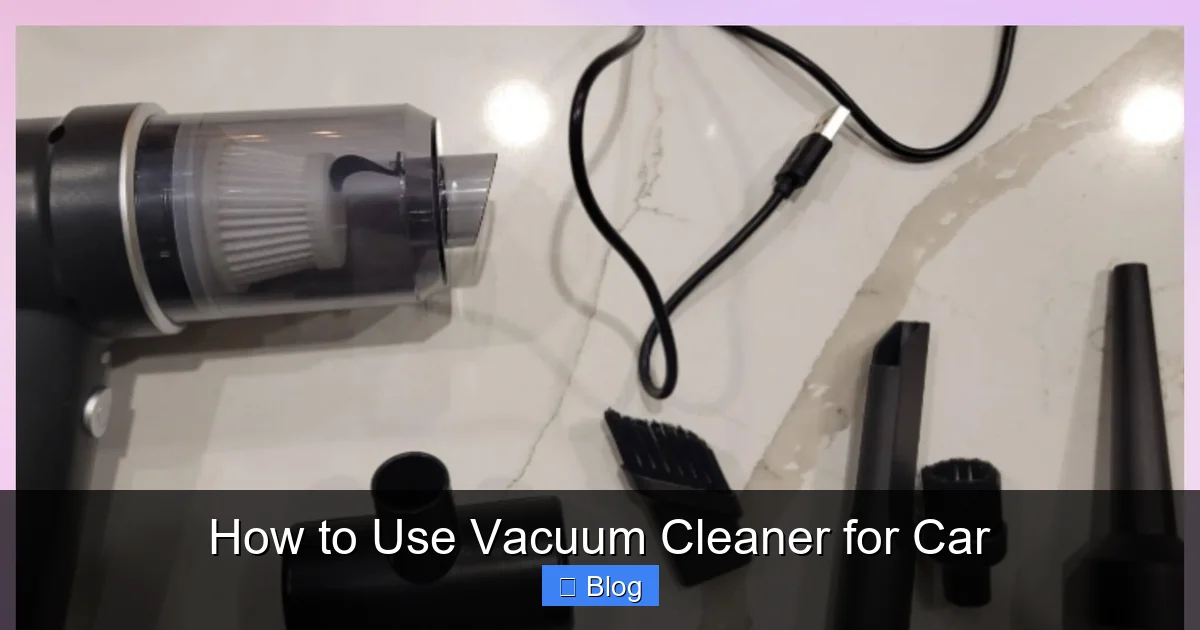
Attachments are your best friends here. A crevice tool fits into door pockets and seat seams. Use a upholstery brush for fabrics and a soft bristle one for plastics. Don’t forget extension hoses to reach the trunk without straining.
Example: Last week, I used a budget handheld vac with these tools on my SUV. It sucked up months of sand from the floor mats in under 20 minutes—game changer!
Step-by-Step Guide: How to Use a Vacuum Cleaner for Car Interiors
Now for the main event. Follow these steps in order, starting from the top to let dirt fall naturally. Take your time; rushing leads to missed spots.
Step 1: Vacuum the Dashboard and Hard Surfaces
Begin at the top to avoid pushing dust downward prematurely. Turn off the car and open all doors for better access. Use the crevice tool to get into vents and around the steering wheel.
Gently run the brush attachment over the dashboard. Avoid pressing too hard on plastics—they can scratch. For cup holders, insert the crevice tool and wiggle it to dislodge crumbs. Pro tip: If there’s sticky residue, wipe it first with a microfiber cloth.
Step 2: Clean the Seats and Upholstery
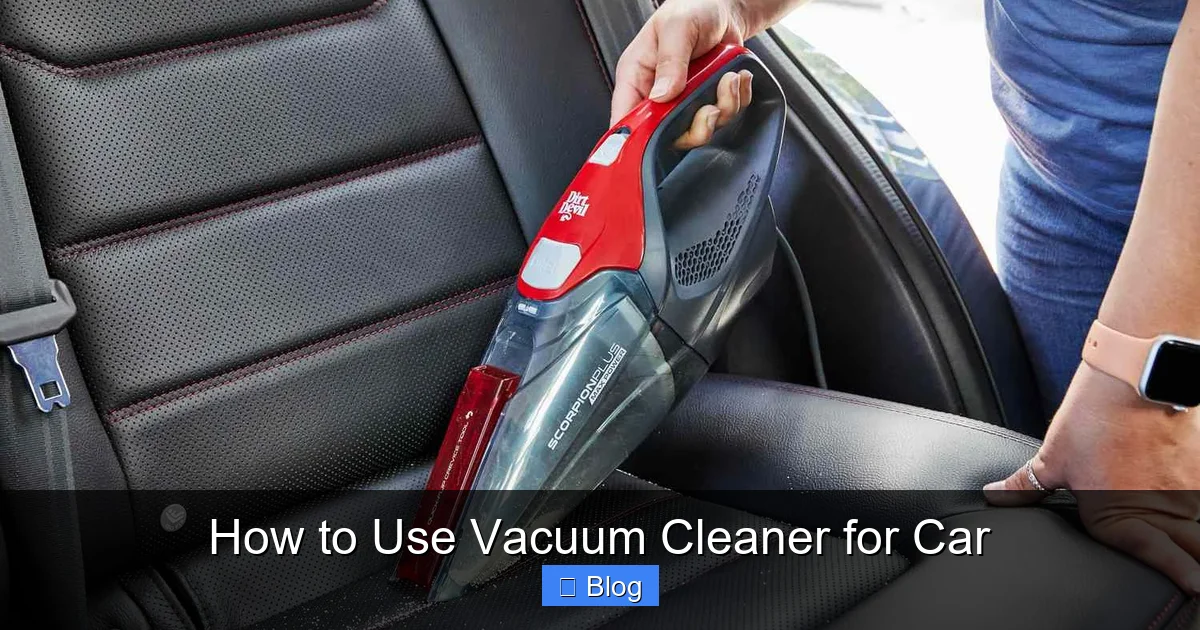
Move to the seats next. Flip down headrests and vacuum crevices where they meet the seatback. Use the upholstery tool on fabric seats, moving in slow, overlapping strokes. For leather, stick to a soft brush to prevent wear.
Lift seat cushions if possible, like in the back row, to vacuum underneath. Example: Pet owners, focus on folds where hair hides—multiple passes might be needed for thick fur.
After the first paragraph under this central heading, here’s a handy reference to keep your process organized.
Quick Reference: Vacuuming Steps and Time Estimates
| Step | Description | Estimated Time | Tips |
|---|---|---|---|
| Dashboard Cleaning | Use crevice tool on vents and surfaces | 5-7 minutes | Work top to bottom; cover electronics |
| Seat Vacuuming | Upholstery brush on seats and crevices | 10-15 minutes | Lift cushions; multiple passes for hair |
| Floor and Mats | Strong suction on carpets and mats | 8-10 minutes | Remove mats first; shake outside |
| Trunk and Storage | Extension hose for compartments | 5-8 minutes | Empty contents; check spare tire area |
| Final Touch-Up | Quick pass over all areas | 3-5 minutes | Empty vacuum before finishing |
| Door Pockets | Crevice tool for tight spaces | 4-6 minutes | Empty pockets first; vacuum sides |
For vacuums that overheat, let it cool for 10 minutes. If attachments won’t fit tight spots, wrap the end with tape for a custom seal. Example: Once, a sock blocked my hose mid-clean; a quick fix got me back on track.
If your car has stubborn pet hair, try a rubber glove over the brush—it grabs fur like magic. Persistent issues? Consider professional detailing for deep cleans.
Conclusion
Mastering how to use a vacuum cleaner for car interiors transforms a chore into a quick win. With the right prep, tools, and steps, your vehicle stays clean and comfortable. Remember, consistency is key—regular vacuuming keeps problems small.
Grab your vacuum and try it today. You’ll love the fresh feel underfoot and the pride in a tidy ride. Happy cleaning!