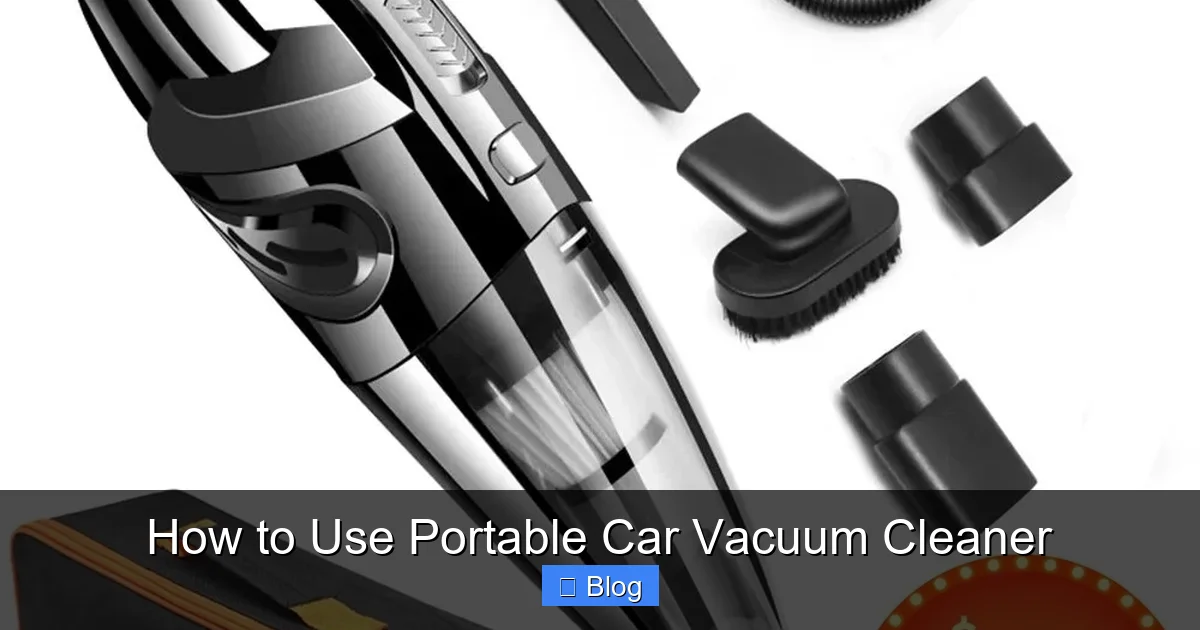
How to Use Portable Car Vacuum Cleaner
Keeping your car clean doesn’t have to be a chore. In this guide, you’ll learn how to use a portable car vacuum cleaner step by step, from unboxing to tackling tough spots. With simple tips and troubleshooting advice, you’ll maintain a spotless interior effortlessly, saving time and effort on every drive.
Key Takeaways
- Choose the right model: Select a portable car vacuum with strong suction and attachments for seats, crevices, and floors to handle everyday messes effectively.
- Prepare your space: Park in a well-ventilated area and remove loose items before starting to make vacuuming safer and more efficient.
- Follow safety first: Unplug or turn off the vacuum when changing attachments to avoid accidents and ensure smooth operation.
- Use attachments wisely: Switch between crevice tools for tight spots and brush heads for upholstery to get thorough results without damage.
- Empty regularly: Clean the dustbin after each use to maintain suction power and extend the life of your portable car vacuum cleaner.
- Troubleshoot clogs: If suction weakens, check for blockages in the hose or filter for quick fixes during your cleaning session.
Quick Answers to Common Questions
How often should I use my portable car vacuum?
Vacuum your car weekly for light use, or after every trip if you have kids or pets. This prevents buildup and makes sessions quicker.
Can I use it on wet spills?
Most models aren’t wet/dry rated, so blot spills with a towel first, then vacuum dry residue. For wet vacs, check your manual to confirm.
What’s the best way to store attachments?
Keep them in the included case or a dedicated bag to avoid losing pieces. Label if needed for easy access next time.
Does it work on leather seats?
Yes, but use a soft brush attachment gently. Follow up with leather cleaner to maintain the surface without scratches.
How do I clean the filter?
Rinse under lukewarm water and let air dry completely before reinstalling. Do this every 2-3 uses for peak performance.
Introduction
Ever stared at the crumbs and dirt building up in your car and wished for an easy fix? That’s where learning how to use a portable car vacuum cleaner comes in handy. These handy devices are lightweight, powerful, and perfect for on-the-go cleaning without needing a full garage setup.
In this comprehensive guide, you’ll discover everything you need to know to get started. We’ll walk you through preparation, step-by-step vacuuming techniques, practical tips for best results, and even how to troubleshoot common issues. By the end, you’ll be confident in keeping your car’s interior spotless, saving time and effort on every trip. Whether you’re dealing with pet hair, spills, or daily debris, mastering how to use a portable car vacuum cleaner will make your vehicle feel fresh and new.
Portable car vacuums are a game-changer for busy drivers. They plug into your car’s lighter or run on rechargeable batteries, offering convenience wherever you are. Let’s dive into the basics and get your cleaning routine rolling smoothly.
Understanding Your Portable Car Vacuum Cleaner
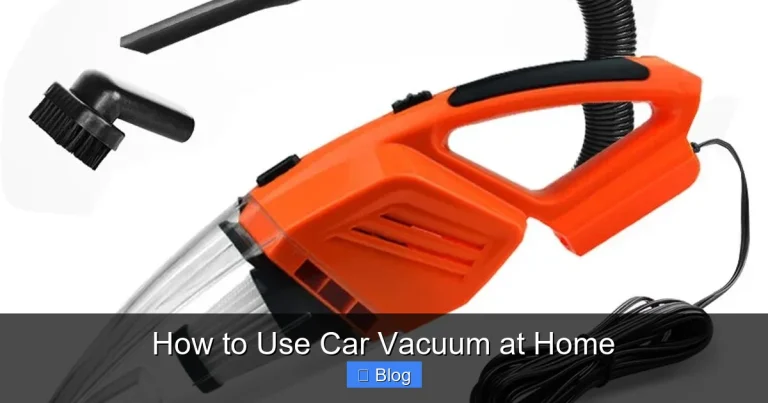
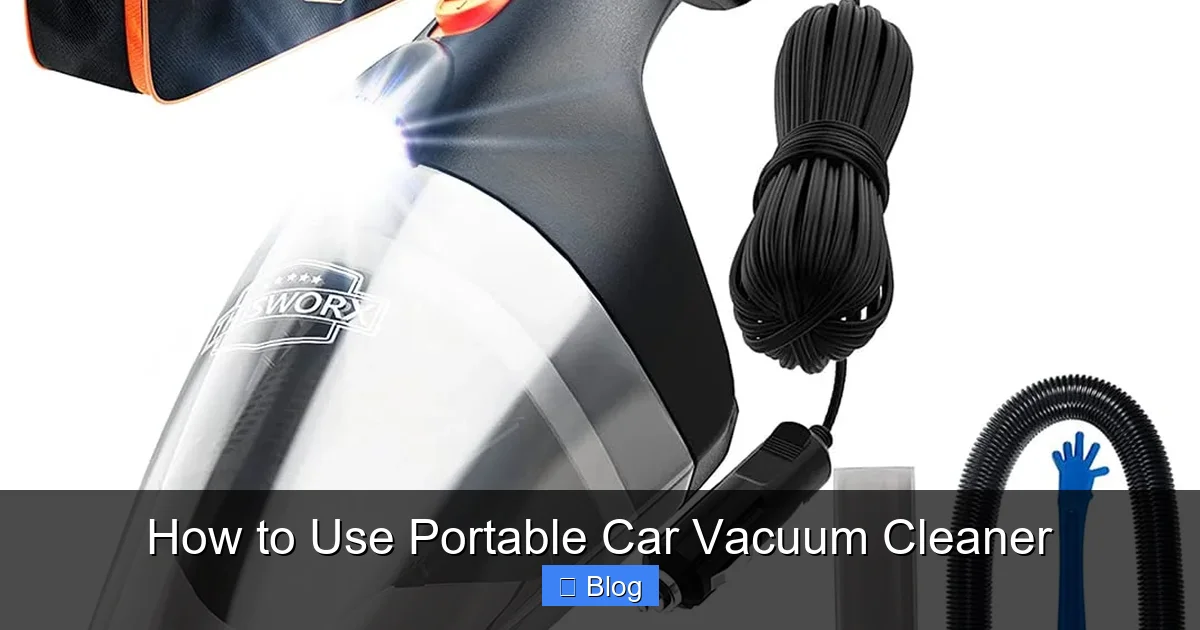
Before jumping into the cleaning action, take a moment to familiarize yourself with your device. Most portable car vacuums come with a motor, dustbin, hose, and various attachments. Knowing these parts helps you use it effectively and avoid mishaps.
Visual guide about How to Use Portable Car Vacuum Cleaner
Image source: m.media-amazon.com
Check the user manual that came with your model—it’s your best friend for specifics. Look for the power source: some are corded for unlimited runtime, while others are cordless for more freedom. Understanding how to use a portable car vacuum cleaner starts with this foundation, ensuring you get the most suction power for tough jobs.
Key Components to Know
- Motor and Suction: The heart of the vacuum, providing the pull to suck up dirt.
- Dustbin: Where debris collects; easy to empty for quick maintenance.
- Hose and Attachments: Flexible tube with tools like crevice nozzles and brushes for different surfaces.
- Power Button and Filters: Controls operation and traps fine particles to keep air clean.
Pro tip: Inspect your vacuum for any damage before first use. A quick once-over can prevent frustrating breakdowns mid-clean.
Preparing to Use Your Portable Car Vacuum Cleaner
Good preparation sets the stage for efficient cleaning. Start by choosing a safe spot to park your car, like a driveway or parking lot away from traffic. This ensures you can move freely without worrying about passing vehicles.
Visual guide about How to Use Portable Car Vacuum Cleaner
Image source: m.media-amazon.com
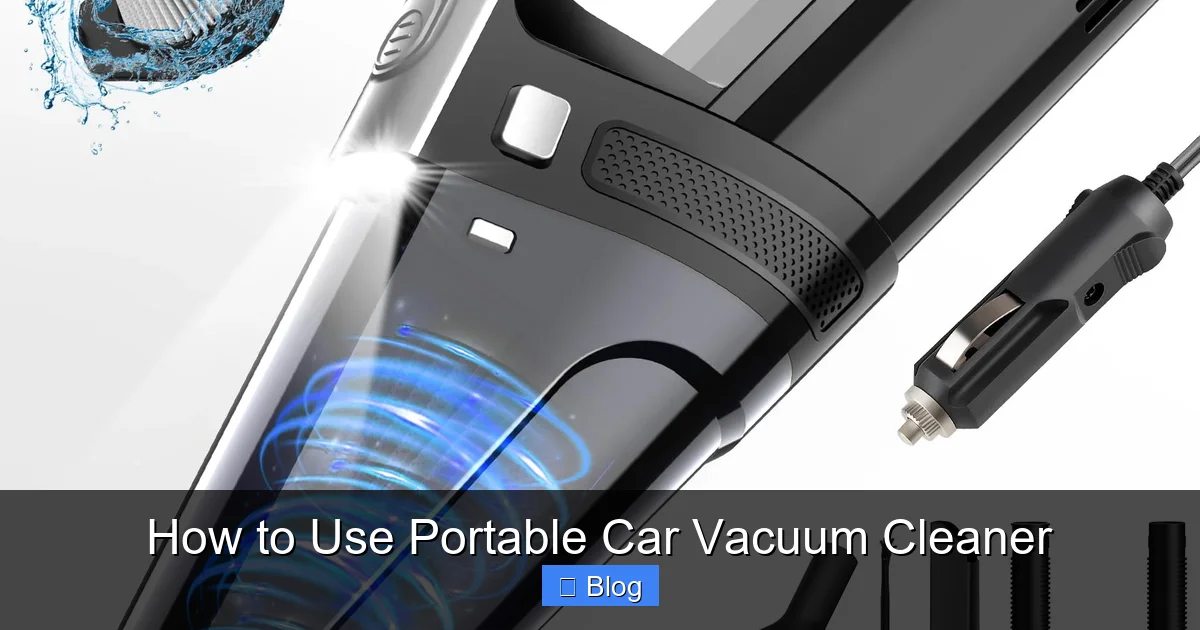
Gather your supplies: the vacuum, extension cord if needed, trash bag for large items, and microfiber cloths for wiping down surfaces after vacuuming. Removing mats, seats covers, or loose trash first makes the job easier. When learning how to use a portable car vacuum cleaner, remember that a clutter-free space means better access to hidden dirt.
Step-by-Step Preparation
- Park Safely: Turn off the engine and engage the parking brake for stability.
- Remove Bulk Items: Take out floor mats, garbage, and any large objects to expose the surfaces underneath.
- Roll Down Windows: Allow fresh air in to ventilate the space and make it comfortable while you work.
- Charge or Plug In: Ensure your vacuum is powered up—cordless models might need 30 minutes to an hour of charging.
Example: If you’re cleaning after a road trip, shake out mats outside first to dislodge sand or leaves before bringing the vacuum into play.
Unboxing and Initial Setup
Excited to try your new portable car vacuum? Unboxing is straightforward. Open the package carefully and lay out all parts on a clean surface. Most models arrive assembled or with minimal setup required.
Attach the hose to the main unit by twisting or clicking it into place—listen for a secure fit. Snap on the attachments as needed. When figuring out how to use a portable car vacuum cleaner, test the power button in a safe area to hear the motor hum to life without any surprises.
Assembly Tips
- Secure Connections: Push firmly until you feel resistance to avoid air leaks that weaken suction.
- Install Filters: Rinse or replace washable filters if your model requires it for optimal performance.
- Test Run: Run the vacuum briefly on the floor to check suction before heading to the car.
If your vacuum has a carrying bag, use it to transport everything to your vehicle neatly. This keeps your tools organized and ready.
Step-by-Step Guide: Vacuuming Your Car’s Interior
Now for the main event—actually using the vacuum. Start with the floors and work your way up to avoid re-dirtying cleaned areas. Approach this systematically to cover every inch without missing spots.
| Attachment | Purpose | Best For | Time Estimate |
|---|---|---|---|
| Wide Floor Nozzle | Sweeps up large debris quickly | Floors and mats | 5-10 minutes |
| Crevice Tool | Reaches narrow spaces | Seat seams and door pockets | 3-5 minutes per area |
| Upholstery Brush | Lifts embedded dirt gently | Seats and fabric surfaces | 7-12 minutes |
| Dusting Brush | Removes light dust without scratching | Dashboard and vents | 2-4 minutes |
| Extension Hose | Extends reach for awkward spots | Under seats and trunk | Varies |
| Pet Hair Tool (if included) | Handles fine hairs effectively | Pet-friendly cars | 10-15 minutes |
| Turbo Brush | Spins to agitate dirt | Carpets and rugs | 8-10 minutes |
Begin by plugging in or turning on your device. Hold the hose firmly and guide it slowly over surfaces for best pickup. Learning how to use a portable car vacuum cleaner involves patience; rushing can leave behind stubborn debris.
Vacuuming the Floors and Mats
- Start at the Back: Work from the rear seats forward to push dirt toward the front door for easy disposal.
- Use the Floor Tool: Attach the wide nozzle and glide it back and forth, overlapping strokes for thorough coverage.
- Lift Mats: Vacuum underneath them, then shake and vacuum the mats separately outside if possible.
- Focus on Edges: Angle the tool along door sills and seams where grit hides.
Practical example: For muddy footprints from rainy days, go slow and use multiple passes to lift wet dirt without spreading it.
Cleaning Seats and Upholstery
Seats collect crumbs and hair fast. Use the upholstery brush attachment for fabric seats—its soft bristles loosen dirt without scratching.
- Front Seats First: Vacuum from top to bottom, starting with headrests and moving to cushions.
- Creases and Seams: Switch to the crevice tool to dig into folds where snacks disappear.
- Back Seats: Fold them down if adjustable, then vacuum the entire area, including under cushions.
- Lift and Vacuum Below: Raise seat bottoms to clean the frame and springs underneath.
Tip: For leather seats, use a soft brush only and follow up with a conditioner to prevent drying out the material.
Quick Reference: Vacuuming Attachments and Their Uses
Choosing the right attachment makes all the difference in efficiency. Below is a handy table summarizing common tools and when to use them while learning how to use a portable car vacuum cleaner. This quick reference will help you match the tool to the task for faster, better results.
Tackling Hard-to-Reach Areas
Don’t forget the nooks! Vents, cup holders, and trunk are debris magnets. Use the crevice tool for dashboard vents—insert gently and pull out slowly to capture dust bunnies.
- Cup Holders: Empty them first, then vacuum with the small end of the crevice tool.
- Air Vents: Hold the hose at an angle to suck out leaves or lint without forcing it in.
- Trunk and Glove Box: Remove contents, vacuum thoroughly, and wipe with a cloth for shine.
- Overhead and Sun Visors: Use the dusting brush lightly to avoid dislodging clips.
Example: In a family car, focus extra on rear cup holders where kids drop treats—multiple passes ensure nothing’s left behind.
Maintenance and Emptying After Use
Your vacuum works hard, so treat it right. After cleaning, turn it off and unplug before emptying the dustbin. Tap out large pieces over a trash can, then rinse if it’s washable.
Wipe the exterior with a damp cloth and let it air dry. Check the filter—most are washable and need cleaning every few uses to keep suction strong. Proper care ensures your portable car vacuum lasts longer and performs better next time.
Post-Cleaning Routine
- Empty Dustbin: Do this immediately to prevent odors and clogs.
- Clean Attachments: Rinse tools under water and dry them fully.
- Store Properly: Keep in a cool, dry place away from direct sun to protect the motor.
- Recharge: Top up the battery if cordless for the next session.
Tip: Label attachments if you have multiples to grab the right one quickly during future cleanings.
Troubleshooting Common Issues
Even the best vacuums hit snags sometimes. If suction drops, don’t panic—simple fixes often solve it. This section covers frequent problems when using a portable car vacuum cleaner and how to address them swiftly.
Low Suction Power
Clogs are the usual culprit. Unplug the device, then inspect the hose and attachments for blockages. Use a thin stick to gently clear debris, but never force it.
Also, clean or replace the filter if it’s dirty— a clogged one restricts airflow. Run a test after fixing to confirm strong pull.
Battery Drains Quickly
For cordless models, ensure it’s fully charged before starting. If it still fades fast, check for overuse of high-power modes or a faulty battery needing replacement.
Pro advice: Avoid running it continuously for over 20 minutes; give it breaks to cool down.
Overheating
If the motor gets too hot, turn it off and let it cool for 10-15 minutes. This happens with extended use in hot cars—ventilate the area next time.
Prevent it by working in shorter bursts and ensuring vents on the vacuum aren’t covered.
No Power
Check connections: For corded, verify the lighter socket works with another device. For cordless, recharge or replace the fuse if applicable.
If issues persist, consult the manual or contact the manufacturer—most have warranties for defects.
Regular maintenance prevents most troubles, keeping your sessions smooth and effective.
Advanced Tips for Pro-Level Cleaning
Once basics are down, level up your game. Combine vacuuming with spot cleaners for stains—vacuum first to remove loose dirt, then treat spills.
For deep cleans, do this monthly. Use baking soda on carpets: sprinkle, let sit 15 minutes, then vacuum it up for odor control. When mastering how to use a portable car vacuum cleaner, these tricks make your car smell and look showroom-ready.
Another idea: Clean during lunch breaks at work for a fresh ride home. Involve kids by letting them vacuum their side—it’s fun and teaches responsibility.
Conclusion
Congratulations! You’ve now got the full scoop on how to use a portable car vacuum cleaner. From prep and setup to detailed vacuuming and fixes, you’re equipped to tackle any mess with confidence.
Regular use keeps your car healthier and more enjoyable. Start small, practice often, and watch how this simple tool transforms your driving experience. Happy cleaning—your spotless car awaits!