What Are Vacuum Lines on a Car
Vacuum lines are essential rubber or plastic hoses that carry engine vacuum to various components like the brake booster, PCV valve, and emissions systems. Understanding their function, spotting leaks, and maintaining them can prevent poor performance, rough idling, and failed inspections.
Key Takeaways
- Vacuum lines transfer negative pressure from the engine to operate critical systems.
- They’re commonly made of rubber or silicone and can degrade over time due to heat and age.
- Leaks in vacuum lines often cause rough idle, poor fuel economy, and check engine lights.
- Inspecting and replacing damaged lines is a simple DIY task with basic tools.
- Always label lines during removal to avoid reinstallation errors.
- Use OEM or high-quality replacement hoses to ensure proper fit and durability.
- Regular maintenance of vacuum lines improves engine efficiency and emissions control.
Quick Answers to Common Questions
Tip/Question?
Can I use regular garden hose for vacuum lines?
No—garden hose isn’t designed to handle engine heat, oil, or vacuum pressure. Always use automotive-grade rubber or silicone vacuum hose.
Tip/Question?
How often should I check my vacuum lines?
Inspect them every 12,000 miles or once a year, especially if you notice performance issues.
Tip/Question?
Do all cars have vacuum lines?
Most gasoline-powered cars do, but some modern turbocharged or direct-injection engines use electronic actuators instead.
Tip/Question?
Can a vacuum leak cause overheating?
Indirectly, yes—a severe leak can cause the engine to run lean, increasing combustion temperatures and potentially leading to overheating.
Tip/Question?
Is it safe to drive with a vacuum leak?
Short distances may be okay, but prolonged driving can damage the engine, reduce fuel economy, and fail emissions tests.
What Are Vacuum Lines on a Car?
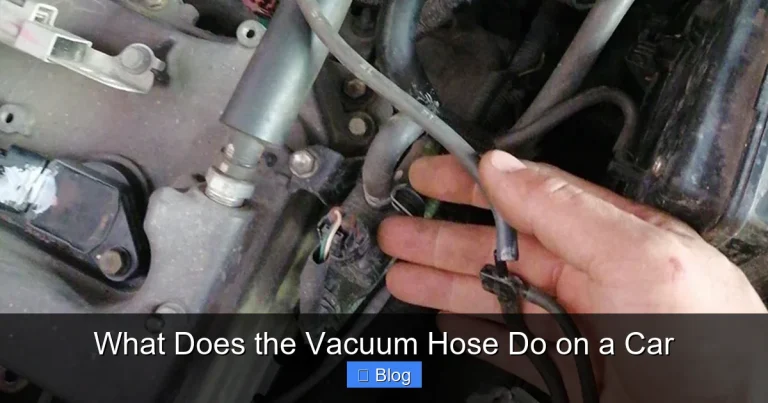
Vacuum lines—also known as vacuum hoses—are small-diameter tubes that carry engine vacuum (negative air pressure) from the intake manifold to various components throughout your vehicle. These lines are crucial for the proper operation of systems like the power brake booster, exhaust gas recirculation (EGR) valve, positive crankcase ventilation (PCV) system, and even some climate control functions. Think of them as the nervous system of your engine’s auxiliary operations: they transmit signals in the form of vacuum pressure to activate or regulate components without using electricity.
Most vacuum lines are made from heat-resistant rubber or silicone and are color-coded or labeled for easy identification. They’re typically routed along the engine bay, connecting sensors, valves, and actuators. Because they operate under constant pressure changes and are exposed to high temperatures, oil, and engine vibrations, vacuum lines are prone to cracking, hardening, or becoming disconnected over time.
How Vacuum Lines Work
To understand vacuum lines, it helps to first grasp what “engine vacuum” means. When your engine runs, the pistons moving downward during the intake stroke create a suction effect in the intake manifold. This suction—or vacuum—is a powerful force that can be harnessed to operate mechanical components.
Visual guide about What Are Vacuum Lines on a Car
Image source: shunauto.com
Creating and Using Vacuum
The intake manifold is the central hub where vacuum is generated. From there, vacuum lines branch out to deliver this pressure where needed. For example:
- The brake booster uses vacuum to multiply the force you apply to the brake pedal, making stopping easier.
- The PCV valve relies on vacuum to pull blow-by gases from the crankcase back into the combustion chamber.
- The EGR valve uses vacuum to regulate the flow of exhaust gases back into the intake for emissions control.
- Some air conditioning systems use vacuum to control airflow doors and vents.
Why Vacuum Matters
Without proper vacuum, these systems can’t function correctly. A leak in a vacuum line can lead to a loss of brake assist, increased emissions, poor fuel efficiency, and even engine stalling. Because vacuum is strongest at idle and low engine speeds, symptoms often appear when the car is stopped or accelerating from a standstill.
Common Signs of Vacuum Line Problems
Detecting vacuum line issues early can save you from bigger engine problems down the road. Here are the most common symptoms of a failing vacuum line:
Visual guide about What Are Vacuum Lines on a Car
Image source: vroom.zone
Rough Idle or Stalling
If your engine idles roughly, surges, or stalls unexpectedly, it could be due to unmetered air entering the intake manifold through a cracked or disconnected vacuum line. This extra air disrupts the air-fuel ratio, confusing the engine control unit (ECU).
Hard Braking
A damaged line connected to the brake booster can reduce or eliminate power assist, making the brake pedal feel stiff and requiring more foot pressure to stop the vehicle.
Check Engine Light
Modern vehicles monitor intake vacuum levels. A significant drop due to a leak can trigger diagnostic trouble codes (DTCs) like P0171 (system too lean) or P0507 (idle speed too high).
Hissing Noise Under the Hood
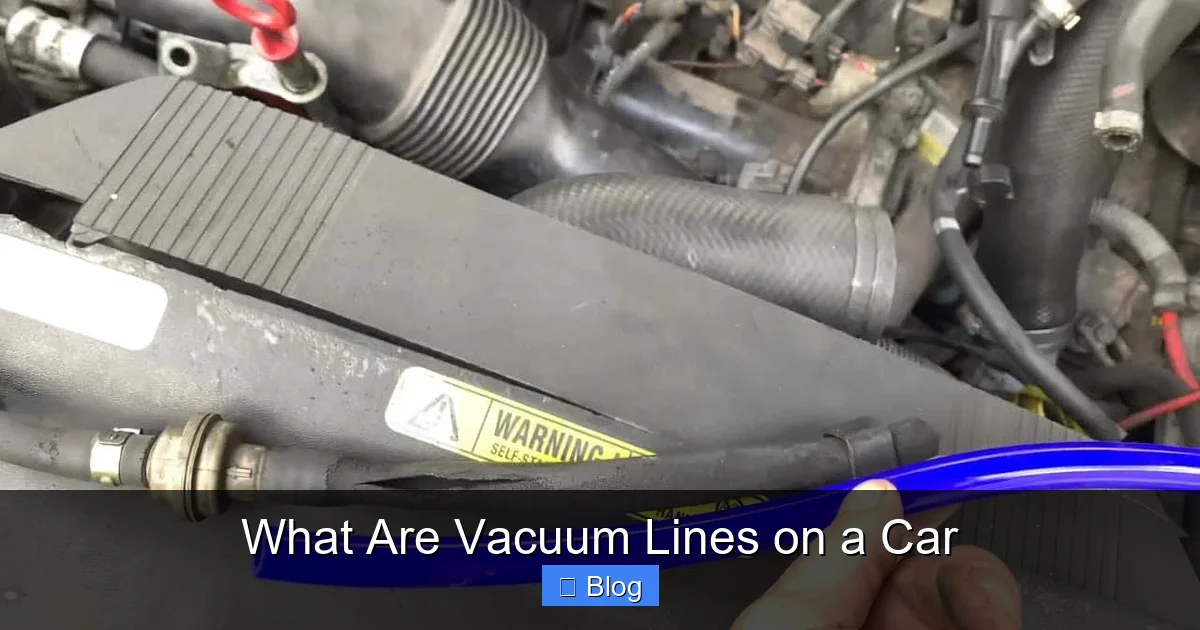
A hissing or whistling sound, especially when the engine is idling, often indicates air escaping from a cracked or loose vacuum hose.
Poor Fuel Economy
Vacuum leaks cause the engine to run lean, prompting the ECU to add more fuel to compensate. This leads to decreased gas mileage and increased emissions.
Tools and Materials
Before inspecting or replacing vacuum lines, gather the right tools and supplies. Most of these are inexpensive and commonly found in home garages.
Step-by-Step Guide to Inspecting Vacuum Lines
Regular inspection is the best way to prevent vacuum line failures. Follow these steps to check your lines thoroughly.
| Tool/Material | Purpose |
|---|---|
| Flashlight | To inspect hard-to-see areas under the hood |
| Needle-nose pliers | To gently remove stubborn hoses from fittings |
| Vacuum line repair kit | Includes replacement hoses, connectors, and clamps |
| Soapy water spray bottle | To test for leaks (bubbles form at leak points) |
| Marker or tape | To label lines before removal |
| Safety gloves and glasses | To protect against sharp edges and debris |
Step 1: Let the Engine Cool
Always inspect vacuum lines when the engine is cool to avoid burns. Wait at least 30 minutes after driving.
Step 2: Open the Hood and Locate Vacuum Lines
Look for small-diameter hoses (usually 3–6mm) connected to the intake manifold, throttle body, and various valves. They’re often grouped together and may be color-coded.
Step 3: Visual Inspection
Check each line for:
- Cracks, splits, or brittleness
- Swelling or soft spots (signs of oil damage)
- Disconnected or loose ends
- Kinks or sharp bends that restrict airflow
Step 4: Feel for Damage
Gently squeeze each hose. If it feels hard, brittle, or crumbles slightly, it needs replacement. A healthy hose should be flexible and slightly springy.
Step 5: Test for Leaks
With the engine running, spray soapy water along the length of each vacuum line. If bubbles form, you’ve found a leak. Be careful not to spray near electrical components.
Step 6: Label and Remove Damaged Lines
Before removing any line, label it with tape or a marker (e.g., “PCV to manifold”). This prevents confusion during reinstallation. Use pliers to gently twist and pull the hose off its fitting.
How to Replace Vacuum Lines
Replacing vacuum lines is a straightforward process, but attention to detail ensures a proper repair.
Step 1: Identify the Correct Replacement Hose
Match the inner diameter (ID) and length of the old hose. Most vacuum lines are 3/16″, 1/4″, or 5/32″ ID. Use a vacuum line repair kit or purchase pre-cut lengths from an auto parts store.
Step 2: Cut the New Hose to Length
Use a sharp utility knife or hose cutter to trim the new line to the correct size. Avoid frayed edges by cutting cleanly.
Step 3: Install the New Line
Push the new hose firmly onto the fitting until it seats securely. Some lines may require a small amount of silicone spray or water to ease installation—never force it.
Step 4: Secure with Clamps (If Needed)
While most vacuum lines stay in place by friction, some applications (like the brake booster) may benefit from a small hose clamp for added security.
Step 5: Double-Check Connections
Ensure all lines are properly connected and routed away from hot surfaces or moving parts. Reconnect the battery if it was disconnected.
Step 6: Test the Repair
Start the engine and listen for unusual noises. Check that the idle is smooth and the brake pedal feels normal. Take a short test drive to confirm everything works.
Troubleshooting Common Vacuum Line Issues
Even after replacement, problems can persist. Here’s how to troubleshoot:
Engine Still Runs Rough
Double-check all connections. A misrouted or incorrectly sized hose can still cause leaks. Use a smoke machine (if available) to detect tiny leaks.
Brake Pedal Feels Hard
Verify the brake booster vacuum line is intact and properly connected. Also, check the one-way valve in the booster line—it should only allow air to flow one way.
Check Engine Light Returns
Clear the code with an OBD2 scanner and monitor for recurrence. Persistent codes may indicate a deeper issue, such as a faulty EGR valve or intake manifold gasket.
Hose Keeps Popping Off
This usually means the fitting is damaged or the hose is the wrong size. Replace the fitting or use a slightly larger hose with a clamp.
Preventive Maintenance Tips
Extend the life of your vacuum lines with these simple habits:
- Inspect vacuum lines every 12,000 miles or during oil changes.
- Replace all vacuum hoses every 5–7 years, even if they look fine.
- Avoid routing hoses near exhaust manifolds or turbochargers.
- Use high-quality silicone hoses in high-heat areas for better durability.
- Keep the engine bay clean to reduce oil and grease buildup on hoses.
Conclusion
Vacuum lines may seem like minor components, but they play a major role in your car’s performance, safety, and emissions. By understanding what they do, recognizing the signs of failure, and knowing how to inspect and replace them, you can keep your engine running smoothly and avoid costly repairs. With basic tools and a little patience, maintaining vacuum lines is a simple DIY task that pays big dividends in reliability and fuel efficiency.