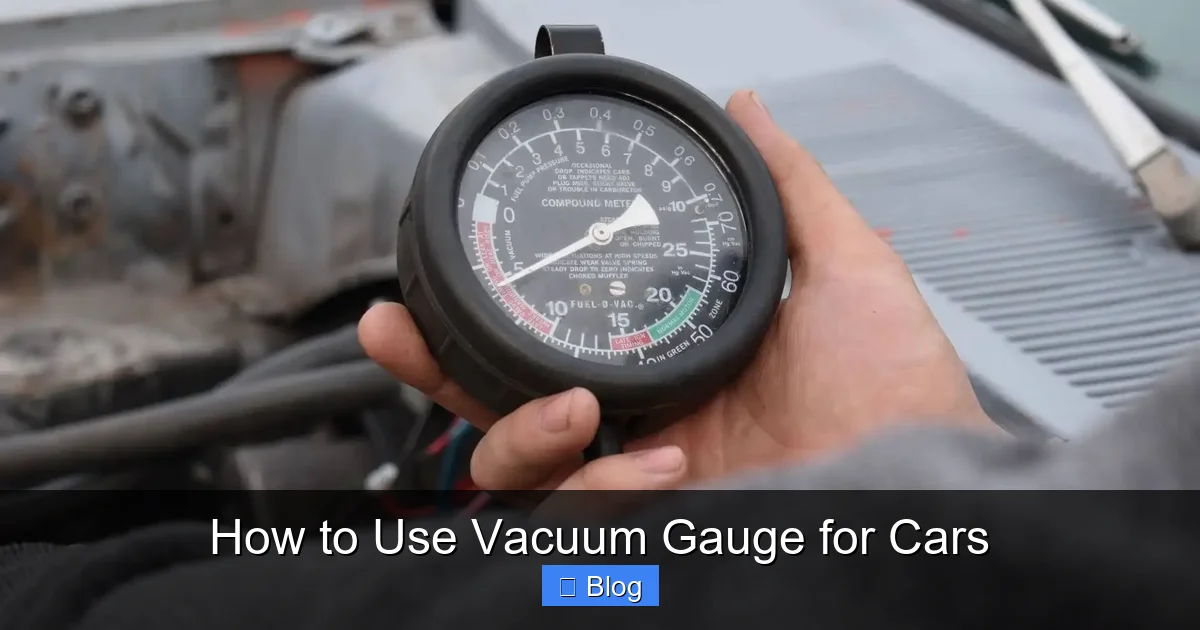
How to Use Vacuum Gauge for Cars
Discover how to use a vacuum gauge for cars to troubleshoot engine problems and optimize performance. This guide walks you through preparation, connection, reading results, and common fixes in simple steps. Perfect for DIY enthusiasts looking to save on repair costs.
Key Takeaways
- Understand the basics: A vacuum gauge measures engine manifold vacuum to spot issues like leaks or timing problems early.
- Gather the right tools: You’ll need a vacuum gauge, hoses, and basic wrenches for safe, accurate testing.
- Connect properly: Attach the gauge to the intake manifold for reliable readings while the engine runs at idle.
- Interpret readings: Steady needle at 17-22 inches Hg indicates a healthy engine; fluctuations signal potential faults.
- Troubleshoot effectively: Use the gauge to diagnose leaks, valve issues, or ignition timing without expensive shop visits.
- Maintain regularly: Routine vacuum checks can prevent breakdowns and extend your car’s engine life.
Quick Answers to Common Questions
What’s the best vacuum reading for my car?
For most gasoline engines, aim for 17-22 inHg at idle. Diesels vary, so check your manual for specifics.
Can I use a vacuum gauge on any car model?
Yes, as long as it has a vacuum system—most do. Adapt for modern cars with fewer ports by using OBD tools alongside.
How often should I test vacuum?
Every 6 months or during tune-ups. It’s quick and catches issues before they worsen.
Is a digital or analog gauge better?
Analog is simpler for beginners; digital offers precision for pros. Start with analog to learn the basics.
What if I get a leak during testing?
Smoke test the system or use soapy water on connections to find and seal leaks fast.
Step 4: Advanced Testing Techniques
Once you’re comfortable with basics, try advanced methods to deepen your skills in how to use a vacuum gauge for cars. These help pinpoint specific problems.
Load Test for Power Issues
With the gauge connected, put the car in gear (use parking brake!) and lightly load the engine. Vacuum should dip slightly but recover fast. If it doesn’t, suspect transmission slip or carburetor woes.
Timing Check Integration
- Adjust ignition timing while monitoring the gauge—optimal vacuum often aligns with best timing.
- For diesel cars, adapt by using boost gauges, but vacuum principles apply similarly.
Example: On a vintage VW Beetle, revving while watching the gauge can reveal distributor problems. Practice on a weekend project car to build confidence.
Troubleshooting Common Problems
Even with careful setup, things can go wrong. Here’s how to fix issues when using a vacuum gauge for cars.
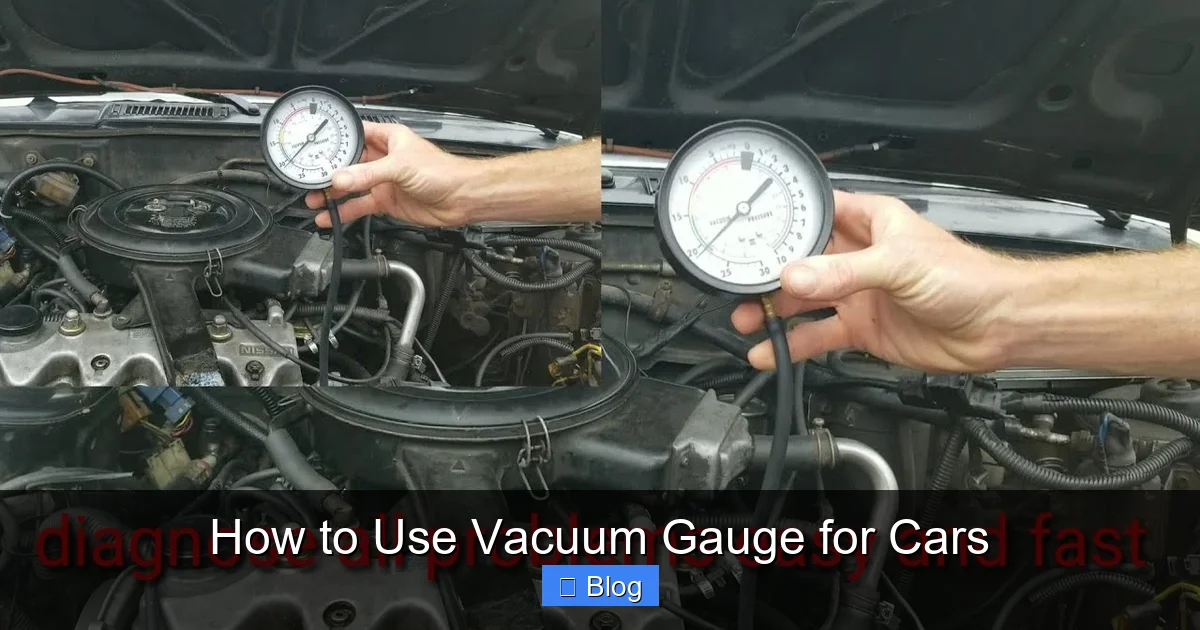
Visual guide about How to Use Vacuum Gauge for Cars
Image source: i.ytimg.com
Introduction
Hey there, fellow car enthusiast! If you’ve ever wondered how to use a vacuum gauge for cars, you’re in the right place. A vacuum gauge is a simple yet powerful tool that helps diagnose engine issues by measuring the vacuum pressure in your car’s intake manifold. It’s like giving your engine a quick health check without needing a mechanic’s expertise.

Visual guide about How to Use Vacuum Gauge for Cars
Image source: cleanmastermind.com
In this guide, we’ll cover everything from the basics to advanced troubleshooting. You’ll learn what a vacuum gauge does, why it’s essential for your vehicle, and step-by-step instructions to get accurate results. Whether you’re dealing with rough idling, poor fuel economy, or mysterious power loss, mastering this tool can save you time and money. By the end, you’ll feel confident hooking it up and reading the results like a pro. Let’s dive in!
What Is a Vacuum Gauge and Why Use It?
Before we jump into the how-to, let’s talk about what makes a vacuum gauge so handy for cars. This device connects to your engine’s vacuum system and shows the pressure levels as the engine draws in air. Healthy engines create steady vacuum, but problems like leaks or worn parts disrupt it.
Why bother with it? Well, using a vacuum gauge for cars helps spot issues early. It can reveal faulty valves, ignition timing problems, or even clogged filters. Plus, it’s affordable—most gauges cost under $50—and requires no special skills. Imagine catching a small leak before it turns into a big repair bill. That’s the power we’re unlocking here.
Tools and Materials You’ll Need
To get started on how to use a vacuum gauge for cars, gather a few basics. First, pick a quality vacuum gauge. Analog ones are straightforward with a needle dial, while digital versions offer precise readouts. Look for one rated up to 30 inches of mercury (inHg) for most vehicles.
Essential Items
- Vacuum gauge kit (includes hose and adapters)
- Adapter fittings for your car’s vacuum ports (common sizes: 1/4-inch or 3/16-inch)
- Screwdriver or pliers for connections
- Clean rags to avoid dirt in the system
- Owner’s manual for your car (to locate vacuum ports)
Pro tip: Test the gauge on a known good engine first, like a friend’s car, to ensure it’s calibrated. Safety first—wear gloves and eye protection, especially around a hot engine.
Step 1: Prepare Your Vehicle
Preparation is key when learning how to use a vacuum gauge for cars. Park your car on a flat surface, turn off the engine, and let it cool if it’s been running. This prevents burns and ensures accurate readings.
Locate the Vacuum Port
Pop the hood and find the intake manifold or a convenient vacuum line. On most cars, it’s near the throttle body or carburetor. Consult your manual—ports are often marked or easy to spot as rubber hoses branching from the engine.
Check Engine Conditions
- Ensure the engine is at operating temperature (warm it up if needed, then shut off).
- Disconnect any accessories like the PCV valve hose carefully to avoid damaging seals.
- Clear any debris around the port with a rag.
Example: On a classic Ford Mustang, the vacuum port is right behind the carburetor. Take your time here; rushing can lead to wrong connections.
Step 2: Connect the Vacuum Gauge
Now, the fun part—hooking up your gauge. This step is crucial for reliable data when using a vacuum gauge for cars.
Select the Right Adapter
Match the gauge’s hose to your port. If it’s a barbed fitting, push the hose on firmly. For threaded ports, use an adapter to create a snug seal. Avoid leaks by wrapping connections with electrical tape if needed.
Secure the Connection
- Remove the vacuum hose cap or plug from the port.
- Insert the gauge hose adapter into the port.
- Tighten gently—overdoing it can crack plastic fittings.
- Route the hose away from moving parts like belts or fans.
Practical example: If your Toyota Camry has a small vacuum line, use a T-fitting to connect without removing the original hose. Start the engine at idle (around 700-900 RPM) and watch for initial needle movement.
Step 3: Run the Engine and Read the Gauge
With everything connected, fire up the engine. This is where you start interpreting results in how to use a vacuum gauge for cars.
Observe at Idle
Let the engine idle smoothly. The needle should steady between 17-22 inHg for most gas engines. Higher readings might mean a restriction; lower ones could indicate a leak.
Test Under Load
- Rev the engine to 2,500 RPM and release—watch for needle drop and recovery.
- Check for fluctuations: Steady is good; wild swings point to ignition issues.
Tip: Note readings in a notebook. For a Chevy truck, normal idle might hit 18 inHg; anything below 15 signals trouble like a stuck EGR valve.
Quick Reference: Vacuum Reading Guide
| Reading (inHg) | Description | Possible Cause | Action |
|---|---|---|---|
| 17-22 (steady) | Normal idle vacuum | Healthy engine | Monitor regularly |
| Below 15 (low) | Weak vacuum | Intake leak or worn rings | Inspect hoses and valves |
| Above 25 (high) | Excess vacuum | Clogged exhaust or late timing | Check timing and filters |
| Fluctuating (1-2 inHg) | Mild variation | Loose vacuum line | Tighten connections |
| Erratic swings | Wild needle movement | Ignition miss or valve issue | Test spark plugs |
| Slow drop on rev | Delayed recovery | PCV valve stuck | Replace PCV |
| No reading | Zero vacuum | Disconnected or broken hose | Reconnect and test |
No Reading or Erratic Behavior
If the gauge shows nothing, check connections first. Leaks are sneaky—spray carb cleaner around hoses; if RPM changes, you’ve found a culprit. For erratic needles, inspect for loose belts affecting alternator load.
Calibration and Accuracy Tips
- Zero the gauge before use (most have an adjustment knob).
- Avoid testing in extreme weather; cold air affects readings.
- If digital, ensure batteries are fresh.
Real-world fix: A friend of mine had low readings on his Honda Civic—turned out to be a cracked intake gasket. A quick gauge test saved him $200 in diagnostics.
Safety and When to Seek Help
Never test with the engine overheating. If readings confuse you or point to major internals like pistons, head to a pro. Remember, vacuum testing is diagnostic, not a full repair.
Conclusion
There you have it—a complete rundown on how to use a vacuum gauge for cars. From prepping your ride to reading those needle swings, you’re now equipped to tackle engine mysteries head-on. Regular checks like this keep your car running smooth and reliable, turning you into a DIY hero.
Grab your gauge, pop the hood, and give it a try this weekend. You’ll be amazed at what you uncover. Drive safe, and happy wrenching!