How to Use Vacuums at Car Wash
Keeping your car’s interior clean doesn’t have to be a hassle. This guide teaches you how to use vacuums at car wash stations like a pro, from selecting the right tools to tackling tough spots. Follow these simple steps for a fresh, dust-free ride every time.
How to Use Vacuums at Car Wash
Have you ever pulled into a car wash and eyed those powerful vacuums, wondering how to make the most of them? If you’re tired of a dusty dashboard or crumbs under the seats, learning how to use vacuums at car wash stations is a game-changer. This guide walks you through everything step by step. You’ll discover how to prep your car, wield the tools like a pro, and avoid common pitfalls. By the end, your interior will sparkle, saving you time and money on professional detailing. Whether it’s your first time or you want to refine your technique, these tips will help you get spotless results every visit.
This table serves as a handy guide while you’re at the station. Refer to it mentally to switch attachments smoothly and maximize your cleaning efficiency.
Key Takeaways
- Choose the right vacuum: Select industrial-strength vacuums at car washes for powerful suction that handles dirt, crumbs, and pet hair efficiently.
- Prepare your space: Park in a designated spot, remove trash, and organize items to make vacuuming faster and more effective.
- Start from top to bottom: Vacuum seats, floors, and crevices in a systematic order to avoid spreading dirt.
- Use attachments wisely: Employ crevice tools for tight spaces and brushes for upholstery to get every nook clean.
- Empty and maintain: Regularly empty the vacuum canister and check hoses to ensure optimal performance during your session.
- Time it right: Most car wash vacuums are coin-operated, so plan your cleaning to fit the time limit for best results.
- Finish strong: Wipe down surfaces after vacuuming for a polished, professional look inside your vehicle.
Quick Answers to Common Questions
Tip: How long should a vacuum session last?
For most cars, 10-15 minutes is plenty. Focus on high-traffic areas first to make every second count.
Question: Can I vacuum wet interiors?
Only if the station has a wet/dry vac and you’ve dried spills first. Otherwise, stick to dry vacuuming to avoid mold.
Tip: What’s the best way to store the hose?
Coil it loosely after use to prevent kinks. Hang it back on the unit neatly for others.
Question: Do car wash vacuums damage leather?
No, if you use the hose gently without brushes. Avoid high suction directly on seams to prevent wear.
Tip: How to remove sand from carpets?
Vacuum multiple times with the brush attachment, then sprinkle baking soda, let sit, and vacuum again for grit-free results.
Advanced Tips for Deeper Cleaning
Once basics are down, level up your game. For stubborn stains, pre-treat with a fabric refresher spray before vacuuming—it loosens grime. If the vacuum has adjustable suction, start low for delicate areas like sun visors, then crank it up for carpets.
Handling Pet Hair and Allergens
Pet owners, rejoice: these vacuums excel at hair. Run the brush attachment multiple times in one direction, then reverse. For allergens, vacuum weekly and focus on air vents—hold the crevice tool right at the slats. Example: After a road trip with your dog, this method removes 90% of fur in one go.
Cleaning Hard-to-Reach Areas
Use a flashlight to illuminate under seats or in trunk corners. Extend the hose fully and maneuver slowly. If the car has removable panels, like in SUVs, take them out for direct access. A tip: Wrap a microfiber cloth around the nozzle end for dusting while vacuuming—dual action!
These techniques turn a simple vacuum session into a deep clean, extending your interior’s life.
Troubleshooting Common Issues
Even pros face hiccups when learning how to use vacuums at car wash. If suction weakens, check for hose kinks or blockages—shake out debris or use a stick to clear it gently. No power? Verify payment and reset the machine; sometimes coins jam.
Visual guide about How to Use Vacuums at Car Wash
Image source: car-wash-architect.com
Understanding Car Wash Vacuums
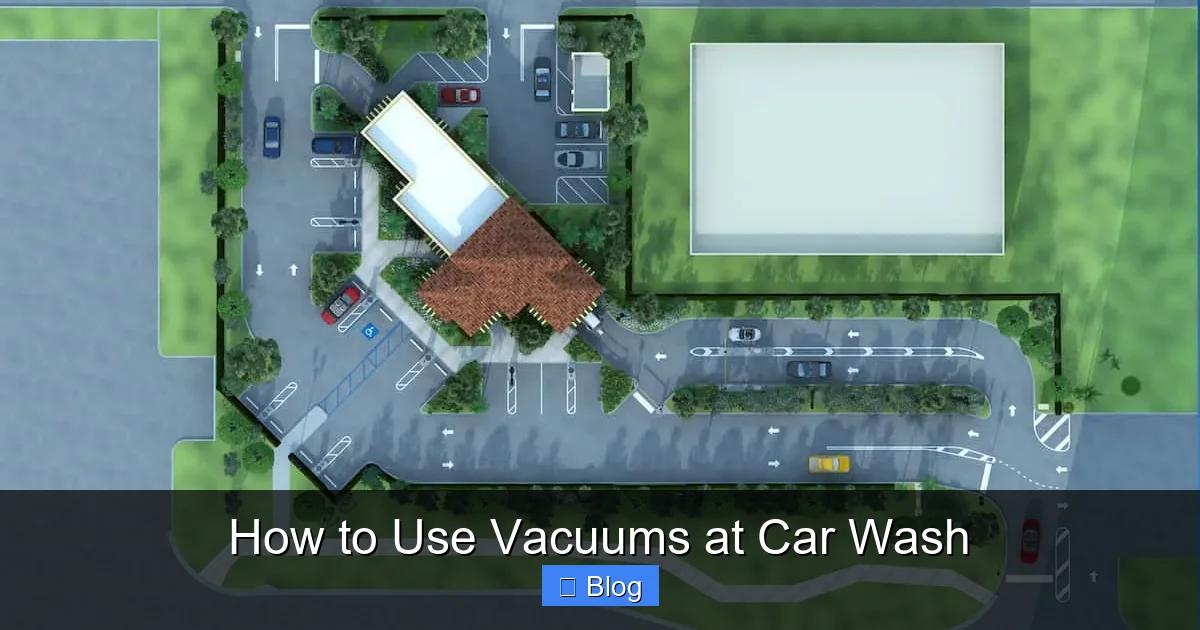
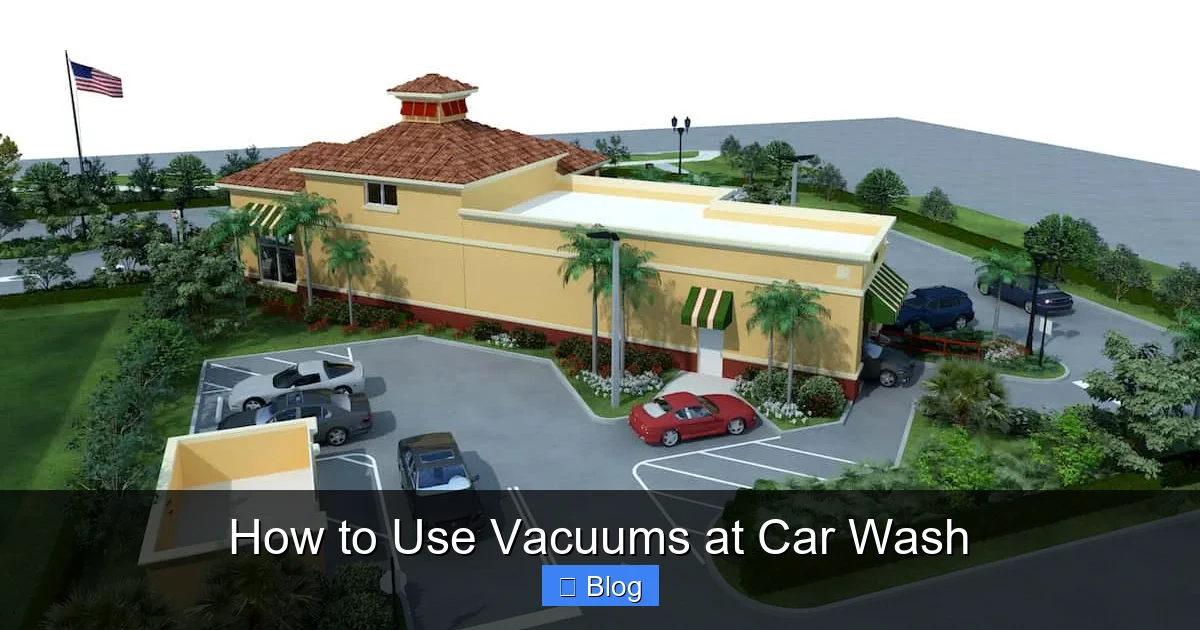
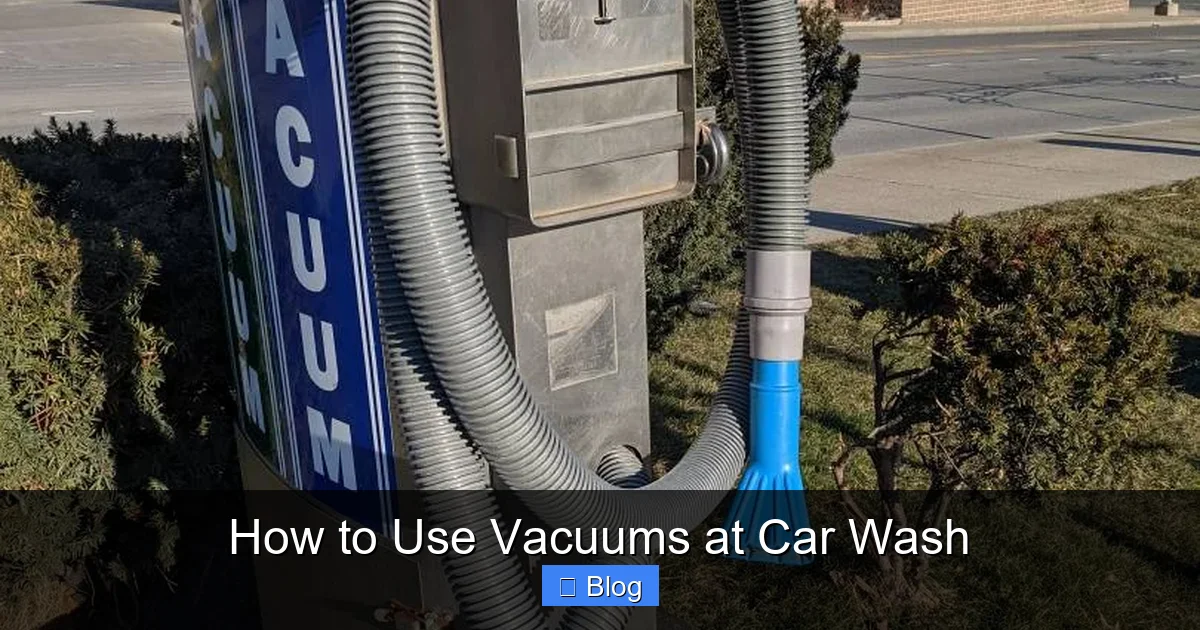
Before diving in, it’s helpful to know what sets car wash vacuums apart from your home model. These are heavy-duty machines designed for quick, powerful cleaning. They often run on coins or tokens and come with strong suction to tackle sand, dirt, and debris from roads. Most stations offer hoses, attachments, and sometimes brushes. Familiarize yourself with the setup to avoid fumbling when time starts ticking.
Visual guide about How to Use Vacuums at Car Wash
Image source: carwashconsignment.com
Look for signs at the station explaining costs—usually a few quarters for five to ten minutes. If it’s your first time, watch others or ask an attendant. This prep ensures you’re ready to vacuum effectively without wasting money.
Preparing Your Car for Vacuuming
Good preparation makes how to use vacuums at car wash smoother and more efficient. Start by parking in the designated vacuum area, away from wash bays to avoid water splashes. Turn off your engine for safety and roll down windows if needed for access.
Clear Out Loose Items
Remove trash, mats, and personal items first. Empty cup holders, glove compartments, and pockets in doors. This prevents the vacuum from sucking up valuables or clogging. For example, if you have kids’ toys, set them aside on a clean surface. It only takes a minute but saves frustration later.
Shake Out Mats and Rugs
Take floor mats outside and shake them vigorously. Beat them against a curb or use your foot to dislodge loose dirt. If the car wash has a mat cleaning area, use it. This step reduces the load on the vacuum, letting it focus on stubborn spots. Pro tip: Do this on a breezy day to let dust blow away naturally.
Adjust Seats and Fold Them Down
Move front seats forward and back to access under them. Fold rear seats if possible for full reach. This opens up hidden areas where dirt hides. Check your owner’s manual if you’re unsure how to adjust—it’s quick and ensures thorough cleaning.
With your car prepped, you’re set to grab the vacuum. Remember, time is limited, so stay organized.
Selecting and Starting the Vacuum
Now comes the fun part: powering up. Walk to the vacuum station and inspect the unit. Most have a coin slot or card reader. Insert your payment—say, two quarters for seven minutes—and listen for the “on” signal, often a green light or hum.
Choose the Right Attachments
Car wash vacuums typically include a hose, crevice tool, upholstery brush, and sometimes a wide nozzle. Pick the crevice tool for tight spots like seat seams. Use the brush for fabric seats to loosen embedded dirt without scratching. If it’s a wet/dry vac, ensure it’s set to dry mode for interiors.
Test the Suction
Before heading back to your car, test the vacuum on the ground. Feel the pull—it should be strong enough to lift small pebbles. If it’s weak, stop payment and alert staff; a clogged filter might need fixing. This quick check prevents a wasted session.
With the vacuum in hand, head to your car. Keep the hose coiled to avoid tripping, and work methodically to cover everything within the time limit.
Vacuuming Techniques
The heart of how to use vacuums at car wash is the actual cleaning. Approach it systematically: top to bottom, front to back. This way, dirt falls to the floor where you can suck it up last. Use short, overlapping strokes for even coverage. Don’t rush—steady pulls get better results than frantic swipes.
For best outcomes, vacuum in good light. If the station is dim, use your phone’s flashlight to spot missed areas. Always hold the hose firmly to maintain suction power.
Cleaning the Dashboard and Console
Start high with the dashboard. Use the crevice tool along vents, buttons, and edges. Gently run it over the console between seats, focusing on cup holders. Tilt the tool at a 45-degree angle to reach under ridges. Example: If you have a navigation screen, vacuum around the frame carefully to avoid static cling pulling the hose.
Empty any collected debris into a trash bin midway to keep the vacuum flowing strong.
Vacuuming Seats and Upholstery
Move to seats next. Attach the upholstery brush and glide it over cushions and backs in slow lines. Lift seat cushions if removable for underneath access. For leather, skip the brush and use the hose end softly. Pay extra attention to creases where food bits hide—use the crevice tool there.
A practical tip: Vacuum both sides of headrests, as hair and dust accumulate quickly. If you have pets, go over twice for fur.
Tackling the Floor and Carpets
Now, the floors. Start with the wide nozzle for open areas, then switch to crevice for footwells. Pull the hose toward you to lift dirt from deep in the carpet. Shake the hose occasionally to dislodge clogs. For heavy soiling, like after a beach trip, go over mats last after shaking them again.
Don’t forget trunk or cargo areas—treat them like extra seats for full coverage.
Quick Reference for Vacuum Attachments
| Attachment | Purpose | Best For | Tip |
|---|---|---|---|
| Crevice Tool | Narrow, pointed end for tight spaces | Seat seams, vents, door pockets | Angle at 45 degrees to avoid scratching |
| Upholstery Brush | Soft bristles to agitate dirt | Fabric seats, carpets | Use light pressure on delicate materials |
| Wide Nozzle | Broad mouth for large areas | Floors, mats, trunk | Overlap strokes for even cleaning |
| Hose Only | Basic suction without extras | Quick touch-ups, leather surfaces | Hold steady to maintain power |
| Extension Wand (if available) | Long reach for hard-to-get spots | Under seats, behind consoles | Combine with crevice for precision |
| Wet/Dry Switch | Versatile mode selector | Dry interiors (avoid wet unless needed) | Check setting before starting |
| Dust Brush | Soft brush for surfaces | Dashboard, headliner | Gently sweep to prevent dust clouds |
Dealing with Clogs
Clogs happen with wet leaves or large trash. Turn off the vacuum, disconnect the hose, and inspect the end. Tap it against the ground or use compressed air if available. Prevent this by pre-clearing big items. If it’s persistent, flag down staff—they fix it fast.
Time Running Out
If minutes dwindle, prioritize floors and seats—they collect most dirt. Skip perfection on the headliner for now. Next visit, add tokens midway to extend. Track time with your phone to pace yourself better.
Safety Concerns
Watch for cords or wet floors to avoid slips. Never vacuum while driving—park securely. If the unit sparks or smells odd, stop immediately and report it. These steps keep you safe and the equipment in good shape.
Troubleshooting builds confidence. Most issues are minor, so don’t stress—focus on the clean results.
Finishing Touches and Maintenance
After vacuuming, inspect for missed spots. A quick once-over ensures nothing’s left. Empty the vacuum’s canister into the trash—most have a release button. Rinse attachments if dirty, though dry use keeps them clean.
Post-Vacuum Wipes
Grab wipes or a microfiber cloth for dashboards and screens. This removes residue the vacuum stirred up. For a fresh scent, spritz an air freshener. Example: Lemon wipes add shine and neutralize odors from spills.
Drive away with pride—your car feels new. Regular sessions, every two weeks, maintain that freshness.
Conclusion
Mastering how to use vacuums at car wash stations is straightforward and rewarding. From prepping your space to troubleshooting on the fly, these steps ensure a thorough, efficient clean. You’ll save cash compared to detailers and enjoy a comfy drive. Next time you’re at the wash, put this guide to work. Your car will thank you with that just-new vibe. Happy cleaning!