How to Vacuum Water Out of Car
Water in your car can cause mold, odors, and electrical damage. This guide shows you how to vacuum water out of your car using the right tools and techniques to dry your vehicle quickly and safely.
Key Takeaways
- Act fast: Remove water within 24–48 hours to prevent mold and mildew growth.
- Use the right vacuum: A wet/dry shop vacuum is essential for effective water removal.
- Remove seats and carpets: This gives you full access to trapped water under floor mats and in crevices.
- Dry thoroughly: Use fans and dehumidifiers after vacuuming to ensure no moisture remains.
- Check for hidden damage: Inspect wiring, airbags, and under-seat areas for water exposure.
- Prevent future flooding: Fix leaks, check seals, and park on higher ground during storms.
- Safety first: Disconnect the battery before working near electrical components.
Quick Answers to Common Questions
Can I use a regular vacuum to suck water?
No, regular vacuums aren’t designed for liquids and can be damaged or pose an electrical hazard. Always use a wet/dry shop vacuum.
How long should I dry the car after vacuuming?
At least 24–48 hours with fans and airflow. Check for dampness before reassembling.
Is it safe to drive my car immediately after drying?
Only if all electrical systems are working and there’s no moisture. Test everything first.
What if water reached the engine or air intake?
Do not start the engine. Have a mechanic inspect for internal damage to avoid serious engine issues.
Can I prevent water from getting in during a storm?
Yes—park on higher ground, use a car cover, and ensure all windows and sunroofs are fully closed.
Step 5: Dry the Interior Thoroughly
Vacuuming removes visible water, but moisture can linger in carpets, padding, and upholstery. To prevent mold and odors, you must dry the car completely.
Use Fans and Dehumidifiers
Set up box fans inside the car, pointing at wet areas. Crack the windows slightly to allow airflow. If possible, use a dehumidifier in the garage or near the car to pull moisture from the air. Run them for at least 24–48 hours.
Sunlight Helps
Park the car in direct sunlight with windows open (if safe). UV rays naturally inhibit mold growth and speed up evaporation.
Check for Residual Moisture
After a day, feel the carpets and underlayment. If they’re still damp, continue drying. You can also use a moisture meter (available at hardware stores) to check for hidden wet spots.
Step 6: Clean and Deodorize
Once dry, clean all surfaces to remove dirt, bacteria, or odors left behind by the water.
Visual guide about How to Vacuum Water Out of Car
Image source: shopcdnpro.grainajz.com
Wipe Down Surfaces
Use a mild cleaner and microfiber cloth to wipe dashboards, door panels, and hard surfaces. Avoid harsh chemicals that could damage interiors.
Wash or Replace Carpets
If the carpet was heavily soaked, consider removing it for deep cleaning or replacement. You can rent a carpet cleaner or take it to a professional detailer.
Use Odor Eliminators
Sprinkle baking soda on carpets, let it sit for a few hours, then vacuum. For persistent smells, use an ozone generator or enzymatic odor eliminator designed for cars.
Step 7: Reassemble and Test
Once everything is dry and clean, put your car back together.
Visual guide about How to Vacuum Water Out of Car
Image source: m.media-amazon.com
How to Vacuum Water Out of Car: A Complete Step-by-Step Guide
Finding water inside your car—whether from a leaky door seal, a cracked windshield, or a recent flood—can be stressful. Left untreated, even a small amount of standing water can lead to mold growth, unpleasant odors, rust, and electrical system damage. The good news? You can often resolve the issue yourself with the right tools and approach. This guide walks you through how to vacuum water out of your car safely, efficiently, and thoroughly—so you can restore your vehicle and avoid long-term problems.
Whether your car took on water during a heavy rainstorm, a car wash mishap, or a flooded driveway, acting quickly is key. In this guide, you’ll learn how to assess the damage, remove water using a wet/dry vacuum, dry out hidden moisture, and prevent future issues. We’ll also cover essential safety tips and troubleshooting advice to make the process as smooth as possible.
Step 1: Assess the Situation
Before you start vacuuming, take a moment to evaluate how much water is in your car and where it’s located. Is it just a puddle on the floor? Or has water soaked into the carpets, seats, and under the dashboard? The extent of the water intrusion will determine how thorough your cleanup needs to be.
Check for Standing Water
Open all doors and inspect the footwells, under the seats, and in the trunk. Use a flashlight to look under floor mats and behind panels. If you see standing water, note its depth and location.
Identify the Source
Common causes include leaking door seals, clogged sunroof drains, damaged weather stripping, or a compromised windshield seal. Fixing the source is critical—otherwise, the problem will return.
Determine Safety Risks
If your car was submerged or exposed to floodwater, be cautious. Contaminated water may contain bacteria or chemicals. Also, if the water reached the dashboard or under the seats, there could be electrical hazards. In severe cases, consider professional help.
Step 2: Gather Your Tools and Materials
Having the right equipment makes all the difference. Here’s what you’ll need to vacuum water out of your car effectively:
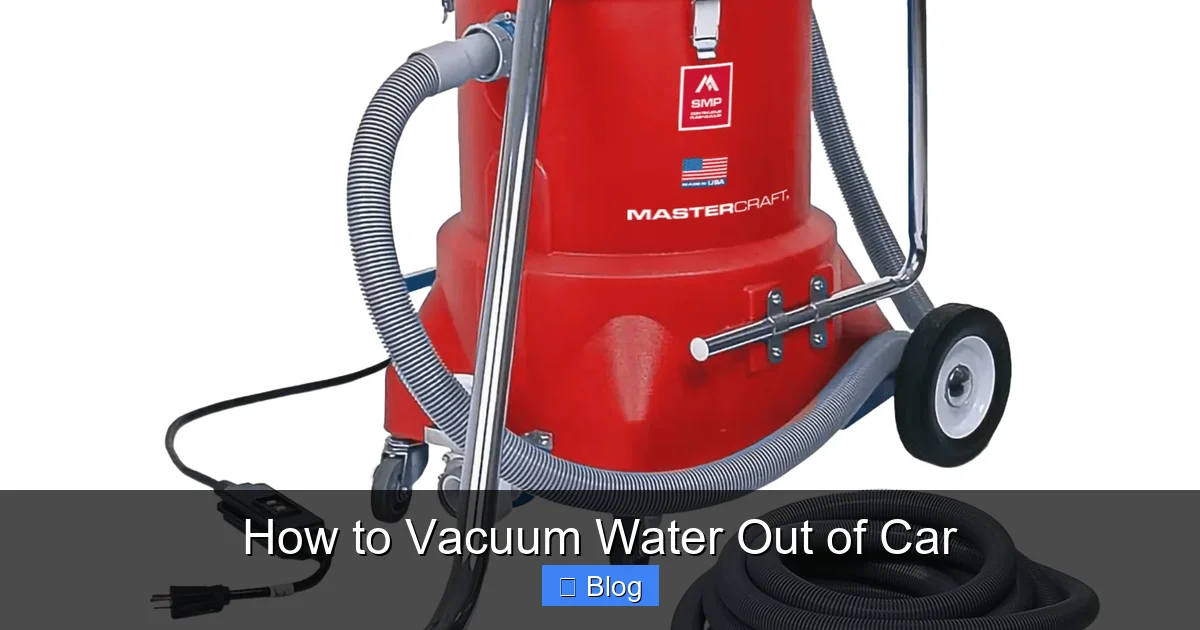
- Wet/dry shop vacuum – This is the most important tool. Regular household vacuums aren’t designed for water and can be damaged or pose a shock risk.
- Microfiber towels or absorbent cloths – For soaking up surface water before vacuuming.
- Screwdriver or trim removal tool – To remove floor mats, seats, and interior panels if needed.
- Bucket and sponge – For initial water removal in hard-to-reach areas.
- Fan and dehumidifier (optional but recommended) – To speed up drying after vacuuming.
- Rubber gloves and safety goggles – Especially if the water is dirty or contaminated.
- Plastic bags or tarps – To protect clean areas and store wet items.
Step 3: Remove Seats and Carpets (If Necessary)
To access all the water, you may need to remove parts of the interior. This is especially true if water has seeped under the carpet or into the floor pan.
Remove Floor Mats and Carpets
Start by pulling up the floor mats. If the carpet is soaked, carefully lift it from the edges. Most carpets are held in place by clips or just tucked under trim. Use a trim tool to avoid damaging the edges.
Detach Front Seats (Optional)
If water has pooled under the seats, you may need to remove them. Most car seats are secured with four bolts. Use a socket wrench to loosen them, then disconnect any electrical connectors (for power seats or seat heaters). Label the wires if needed. Lift the seat out carefully.
Inspect the Floor Pan
Once the carpet is up, check the metal floor for standing water, mud, or debris. This is where a wet/dry vacuum will be most effective.
Step 4: Vacuum the Water
Now it’s time to remove the water. A wet/dry shop vacuum is your best friend here—it’s designed to handle liquids safely and efficiently.
Start with Surface Water
Use towels or a sponge to soak up as much standing water as possible. This reduces the workload on your vacuum and prevents overflow.
Use the Wet Vacuum Setting
Switch your shop vac to the “wet” mode. Attach the appropriate nozzle—usually a wide, flat attachment works best for large puddles. Move the nozzle slowly over wet areas, letting the vacuum suck up the water. Empty the tank frequently to maintain suction power.
Target Hidden Areas
Don’t forget crevices under seats, in door panels, or behind the center console. Use a crevice tool or a small nozzle to reach tight spaces. Tilt seats forward or remove side panels if needed.
Quick reference
| Step | Tool Needed | Estimated Time | Notes |
|---|---|---|---|
| Soak up surface water | Towels, sponge | 10–15 minutes | Reduces vacuum workload |
| Vacuum main floor areas | Wet/dry vacuum | 20–30 minutes | Empty tank as needed |
| Vacuum under seats | Crevice tool | 15–20 minutes | May require seat removal |
| Clean door panels & trunk | Small nozzle | 10–15 minutes | Check for hidden drains |
Reinstall Seats and Carpets
Carefully place the carpet back in position, tucking edges under trim. Reattach seats, reconnect electrical connectors, and tighten bolts securely.
Test Electrical Systems
Turn on the ignition and check lights, power windows, radio, and climate control. If anything isn’t working, there may be water damage to wiring or fuses.
Monitor for Issues
Over the next few days, watch for musty smells, dampness, or electrical glitches. These could indicate hidden moisture or damage.
Troubleshooting Common Problems
Even with careful cleanup, issues can arise. Here’s how to handle them:
- Water returns after drying: You likely haven’t fixed the source. Recheck seals, drains, and weather stripping.
- Mold appears: Clean with a mixture of water and white vinegar (1:1), then dry thoroughly. For severe mold, consult a professional.
- Electrical problems: If buttons or systems fail, water may have damaged wiring. Have a mechanic inspect the fuse box and harnesses.
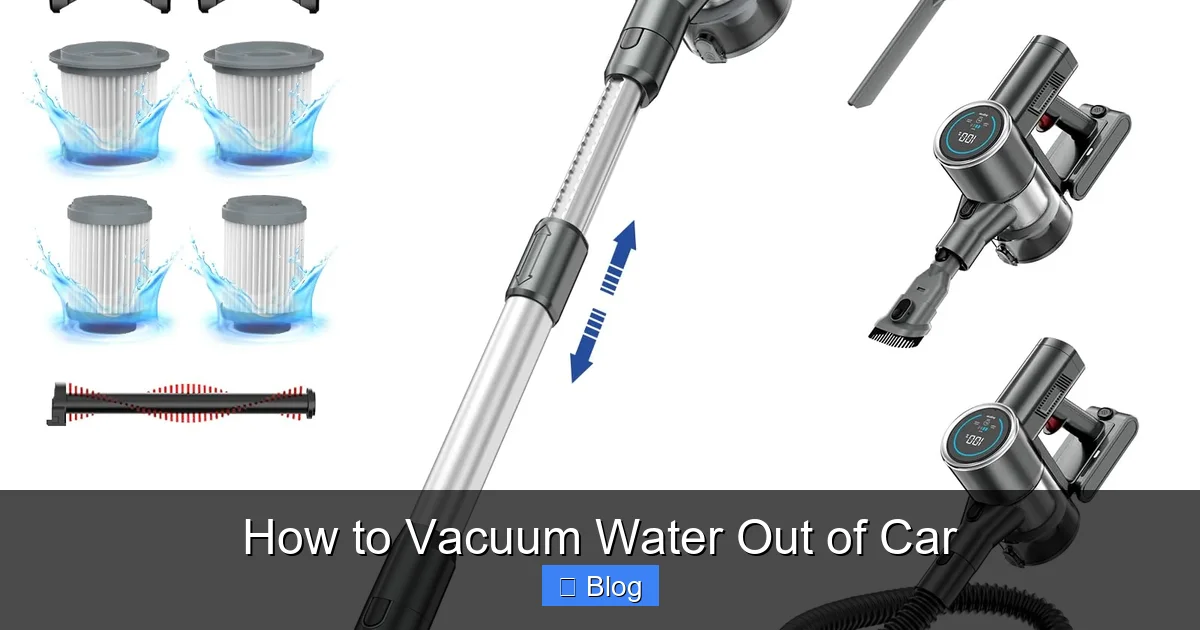
- Vacuum won’t suck water: Check the tank—it may be full. Also, ensure the filter is clean and the hose isn’t clogged.
- Strong odor persists: Use an ozone treatment or replace the cabin air filter, which may have absorbed moisture and contaminants.
Preventing Future Water Intrusion
The best way to deal with water in your car is to stop it from happening again.
- Inspect seals regularly: Check door, window, and trunk seals for cracks or gaps.
- Clear sunroof drains: Use compressed air to flush out clogged drains that can cause overflow.
- Park wisely: Avoid low-lying areas during heavy rain. Use a car cover if parked outdoors.
- Use floor mats: All-weather rubber mats help contain spills and make cleanup easier.
Conclusion
Vacuuming water out of your car doesn’t have to be overwhelming. With a wet/dry vacuum, some basic tools, and a systematic approach, you can remove water, dry your interior, and prevent long-term damage. The key is speed and thoroughness—act quickly, reach hidden areas, and ensure everything is completely dry. By following this guide, you’ll protect your car’s value, comfort, and safety. And with a few preventive measures, you can keep your vehicle dry and odor-free for years to come.