How to Use Car Vacuum Cleaner at Home
Keeping your car clean doesn’t have to mean a trip to the car wash. This guide shows you how to use a car vacuum cleaner at home with simple steps for maximum efficiency. From setup to troubleshooting, you’ll master the process and enjoy a fresh ride every time.
This table gives you a handy snapshot. Use it to plan your session. Now, let’s explore the full process in detail.
Key Takeaways
- Gather your tools first: Before starting, collect the vacuum, extension cord, and attachments to make the process smooth and uninterrupted.
- Prep the car interior: Remove trash and mats to access hard-to-reach areas easily during vacuuming.
- Use attachments wisely: Switch between crevice tools and brushes for seats, floors, and crevices to remove dirt thoroughly.
- Vacuum in sections: Work methodically from top to bottom to avoid spreading dust and ensure complete coverage.
- Empty and clean regularly: Maintain your vacuum by emptying the canister after each use to keep suction strong.
- Troubleshoot clogs: If suction weakens, check for blockages in hoses or filters for quick fixes.
- Store properly: Keep your car vacuum in a dry place to extend its lifespan and readiness for next use.
Quick Answers to Common Questions
Best time to vacuum?
The ideal time is on a mild day when the car is cool. Avoid hot afternoons to prevent heat damage to interiors. Early morning works great for quick sessions.
Can I use it on wet spills?
No, stick to dry messes. For liquids, blot first with a towel, then vacuum residue once dry. Wet vacuums are a separate tool.
How often should I clean filters?
After every 2-3 uses, or when suction weakens. Washable ones rinse easily; dry them 24 hours before reuse.
Tip for pet hair?
Use the rubber attachment or a lint roller first. Then vacuum with high suction to grab stubborn strands effectively.
Extension cord safety?
Choose a heavy-duty one rated for your vacuum’s power. Keep it away from traffic to avoid trips or damage.
Vacuuming the Car Interior Step by Step
With everything set, it’s time to clean. Work systematically to cover every inch. Start from the top and move down. This way, dust falls to the floor for easy pickup. Aim for 20-30 minutes total, depending on your car’s size.
Step 1: Clean the Dashboard and Hard Surfaces
Begin with the dash. Use the crevice tool for air vents and around the steering wheel. Hold the vacuum close but not touching delicate plastics. Move in short strokes. For cup holders, the narrow tool sucks out crumbs perfectly.
Tip: If you have a sunny day, close the windows to avoid flying dust. Example: After grocery runs, seeds and wrappers hide here. Vacuuming them prevents stains.
Step 2: Tackle the Seats
Seats collect the most mess. Use the upholstery brush for fabric seats. Run it along seams and creases. Flip the seat forward to reach the back. For leather, lower the suction to avoid wear. Vacuum headrests too—they trap hair.
Practical example: Pet owners, focus on folds where fur gathers. Go over each seat twice: once forward, once backward. This lifts embedded dirt.
Step 3: Floorboards and Carpets
Now, the floors. Pull the wide nozzle attachment. Start at the front and work back. Push the vacuum forward, then pull back for thorough cleaning. Lift the floor mats outside first and shake them. Vacuum underneath pedals carefully—dirt builds up there fast.
A friendly reminder: Short sessions prevent arm fatigue. If your car has high-pile carpets, use a stiff brush attachment to agitate fibers first.
Step 4: Cargo Area and Trunk
Don’t forget the back. Open the trunk and remove groceries or tools. Use the extension hose to reach deep pockets. Vacuum the spare tire well if accessible. For SUVs, check under the seats too.
Example: After camping trips, leaves and sand pile up. Hose them out with the vacuum to keep things fresh.
Advanced Tips for Effective Cleaning
To level up your skills on how to use a car vacuum cleaner at home, try these extras. First, vacuum in sections. Divide the car into zones: front, back, sides. This keeps you focused.
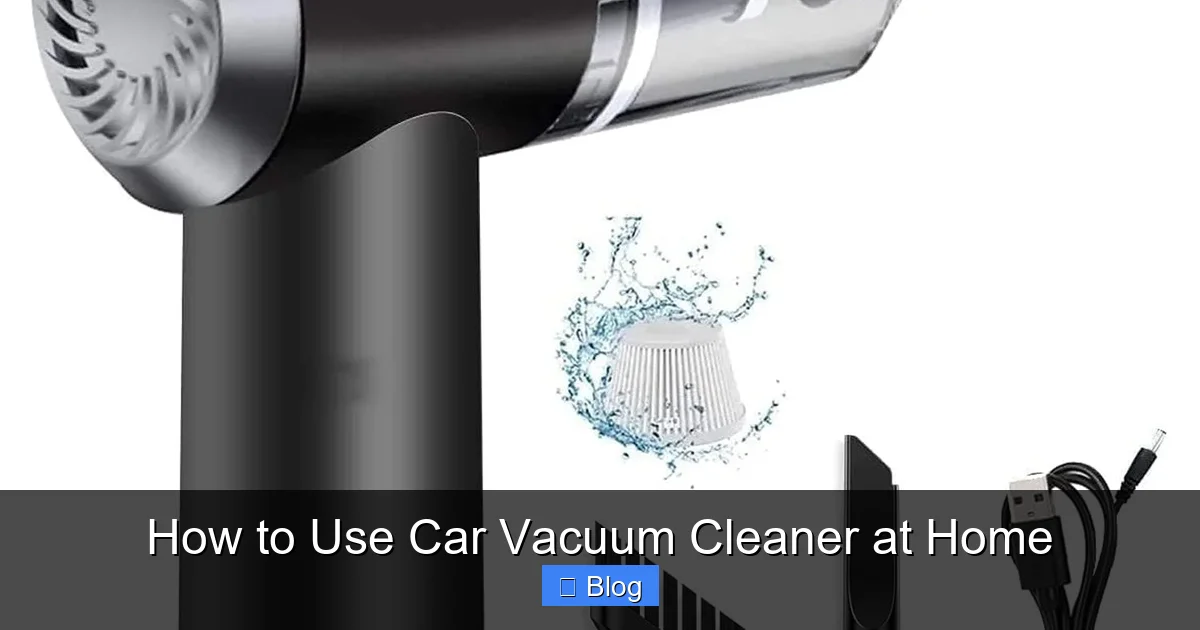
Visual guide about How to Use Car Vacuum Cleaner at Home
Image source: images.nexusapp.co
Second, combine with other tools. After vacuuming, wipe with a damp cloth for shine. For odors, sprinkle baking soda before vacuuming—it absorbs smells.
Third, maintain suction power. Empty the canister when it’s half full. Rinse filters under water if washable, and let them dry fully. This keeps your vacuum running like new.
Real-life tip: During allergy season, vacuum weekly. It reduces dust mites and pollen. Always wear a mask if sensitive.
Troubleshooting Common Issues
Even the best vacuums hit snags. Here’s how to fix them quickly.
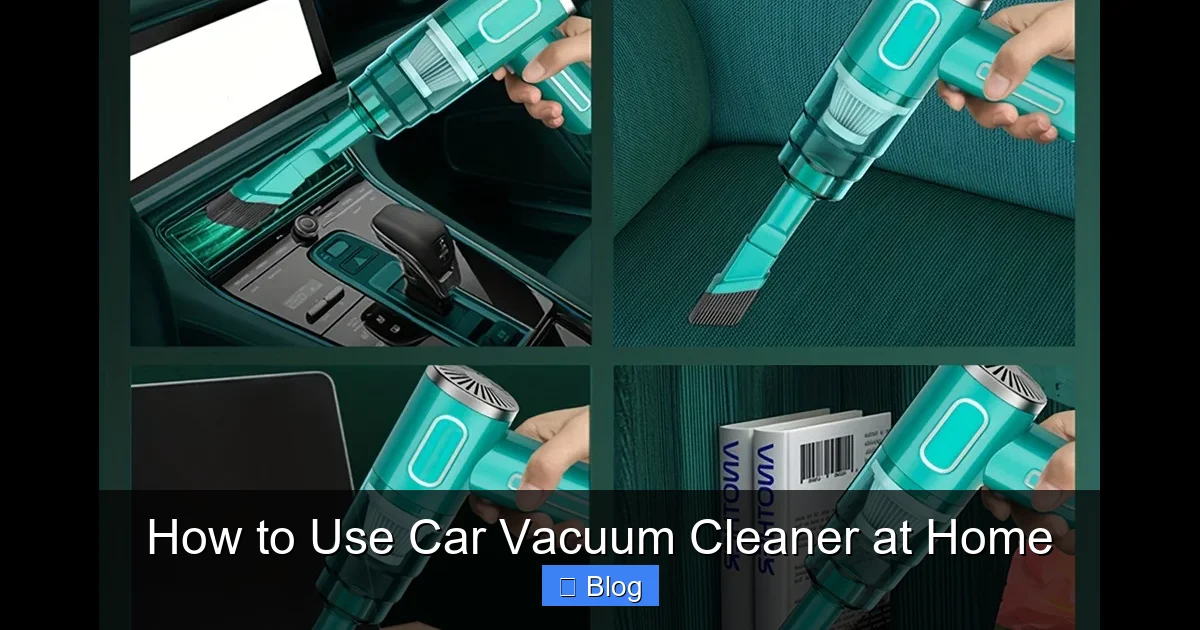
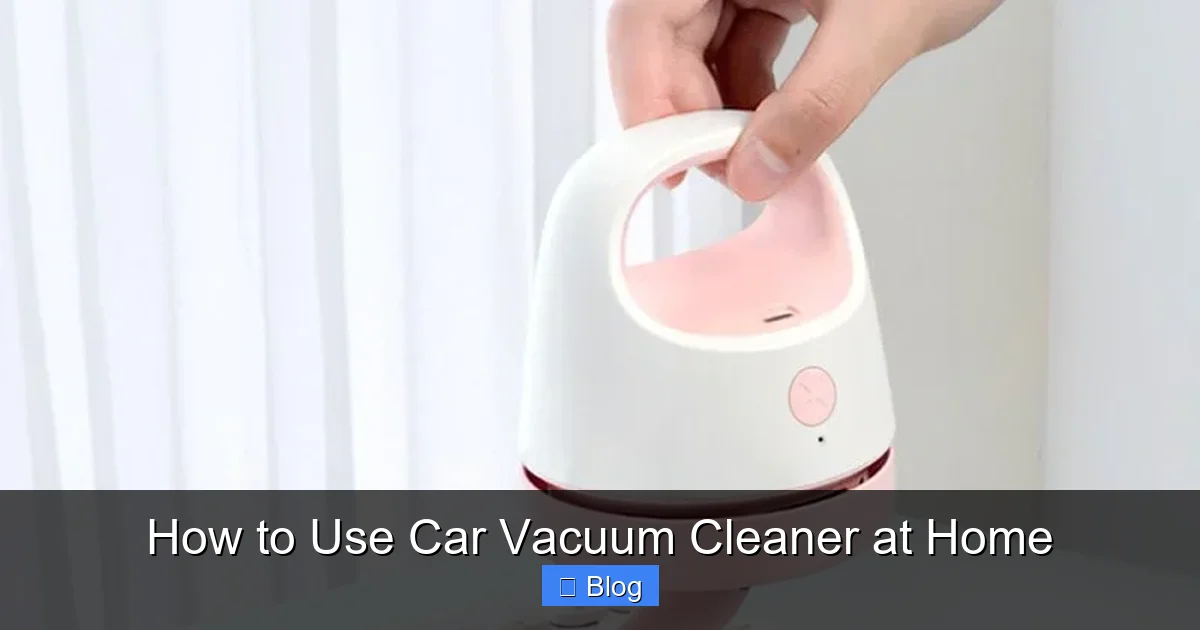
Visual guide about How to Use Car Vacuum Cleaner at Home
Image source: cdn.hepsiglobal.com
Introduction
Have you ever looked at your car’s interior after a long week and thought, “This needs a good clean”? Using a car vacuum cleaner at home is a game-changer. It lets you tackle dirt, crumbs, and pet hair without leaving your driveway. In this guide, you’ll learn how to use a car vacuum cleaner at home step by step. We’ll cover everything from preparation to maintenance. By the end, you’ll have a spotless car and the confidence to keep it that way. Whether you’re a first-time user or just want to improve your routine, these tips will make the process easy and effective.
Car vacuums are portable powerhouses designed for tight spaces. They often come with strong suction and handy attachments. But knowing how to use them right is key. Let’s dive in and get your car shining.
Preparing to Use Your Car Vacuum Cleaner
Before you plug in, set the stage for success. Preparation saves time and prevents frustration. Start by choosing a spot to work. Park your car in a garage or shaded area. This keeps you comfortable and protects the vacuum from direct sun.
Step 1: Unpack and Inspect
Open the box and lay out all parts. Check for the main unit, hose, attachments like the crevice tool and upholstery brush, and any filters. Read the manual quickly. It often has model-specific tips on how to use a car vacuum cleaner at home. If something’s missing, contact the manufacturer right away.
Step 2: Gather Supplies
You’ll need more than just the vacuum. Grab an extension cord if your model’s cord is short. Have trash bags ready for debris. A microfiber cloth helps wipe surfaces after vacuuming. For tough spots, keep a soft brush or compressed air handy.
For example, if you have kids or pets, expect more crumbs or fur. Prep by removing floor mats and seats covers first. This makes vacuuming faster.
Setting Up Your Car Vacuum
Now, let’s get that vacuum ready to roll. Proper setup ensures strong performance. Place the vacuum on a flat surface outside the car. This avoids tipping or straining the cord.
Step 1: Assemble the Attachments
Attach the hose to the vacuum’s inlet. It usually clicks or twists into place. Connect the wand or extension tube if included. Then, snap on the attachment you need. For floors, use the wide brush. For seats, the crevice tool works best.
Step 2: Power It Up
Plug in the vacuum. If it’s cordless, charge the battery fully first. It might take 2-4 hours. Test the suction on your hand or a piece of paper. You should feel a strong pull. Adjust the power setting if your model has variable speeds. Start low for delicate areas like leather seats.
A practical tip: Label your attachments with tape if you have multiple. This speeds up switching during use. Remember, always unplug before changing parts to avoid accidents.
Quick Reference: Vacuuming Steps Overview
| Step | Description | Estimated Time | Tips for Best Results |
|---|---|---|---|
| 1. Prep Interior | Remove trash, mats, and loose items | 5 minutes | Work in good light to spot hidden dirt |
| 2. Vacuum Dashboard | Use crevice tool for vents and buttons | 3-5 minutes | Go gently to avoid scratching surfaces |
| 3. Seats and Upholstery | Brush attachments for fabric; low suction for leather | 10 minutes | Vacuum both sides and under cushions |
| 4. Floor and Mats | Wide nozzle for large areas; shake mats outside | 8-10 minutes | From top to bottom to catch falling debris |
| 5. Trunk or Cargo Area | Extend hose fully; focus on folds | 5 minutes | Empty storage compartments first |
| 6. Final Check | Run hand over surfaces; spot clean if needed | 2 minutes | Use a flashlight for crevices |
Weak Suction
If power drops, check the hose for clogs. Disconnect and shake out debris. Inspect the filter—clean or replace if dirty. For cordless models, recharge the battery. Most issues resolve in under 5 minutes.
Overheating
Your vacuum might shut off if it gets too hot. Unplug and let it cool for 15 minutes. Ensure vents are clear. Avoid using on thick, wet messes—stick to dry dirt.
Attachment Won’t Fit
Lubricate connections with a dry cloth. Push firmly but gently. If broken, replacements are cheap online.
Example: I once had a hose kink from improper storage. Straightening it fixed everything. Regular checks prevent this.
Pro tip: Keep a small toolkit nearby for tweaks. This makes how to use a car vacuum cleaner at home hassle-free.
Maintenance and Storage After Use
Finish strong by caring for your tool. Unplug and empty the dirt canister outside. Tap out the filter or rinse it. Wipe the exterior with a dry cloth. Coil the cord loosely to avoid damage.
Store in a cool, dry spot like a garage shelf. Cover it to protect from dust. Check the manual for seasonal maintenance, like battery checks for cordless types.
By doing this, your vacuum lasts years. It’s an investment in easy cleaning.
Conclusion
There you have it—a complete rundown on how to use a car vacuum cleaner at home. From prep to polish, these steps make detailing simple and fun. Your car will feel brand new, and you’ll save money on professional services. Try it this weekend and see the difference. Regular use keeps things fresh. Happy cleaning!