How to Vacuum Hard to Reach Places in Car
Vacuuming the tight spaces inside your car can be tricky, but with the right tools and approach, you can keep every corner clean. This guide walks you through practical steps to reach under seats, behind knobs, and into air vents using common household items. Whether you’re dealing with pet hair or crumbs, you’ll learn how to tackle even the most stubborn spots efficiently.
Troubleshooting Common Issues
Sometimes, even with the best tools, you run into problems. Here’s how to handle them:
Issue: Vacuum isn’t sucking well in tight spaces
Try attaching a plastic straw to the hose opening. It creates a narrower stream and improves reach without losing much suction.
Issue: Debris keeps falling back out
Shake the vacuum bag or empty the canister after each major area. Full containers lose power quickly.
Issue: Bristles damage leather seats
Switch to a microfiber cloth or soft sponge for leather. Never use metal tools or stiff brushes.
Issue: Dust blows everywhere
Work in sections and keep the vacuum close to the surface. Opening doors or windows during cleaning spreads particles.
Key Takeaways
- Use the right attachments: A crevice tool or mini brush attachment helps access narrow gaps where dirt hides.
- Remove loose debris first: Shake out floor mats and wipe surfaces before vacuuming to improve suction and prevent clogging.
- Work from top to bottom: Start with dashboards and cup holders, then move down to floors and seats to avoid spreading dust.
- Angle your vacuum hose: Tilting the wand allows better control when reaching tight corners like door pockets or console edges.
- Clean regularly: Weekly spot cleaning prevents buildup that makes deep cleaning harder over time.
- Consider portable vacuums: Cordless models give more flexibility for under-seat and upholstery work without cord restrictions.
- Don’t forget the trunk: Trash cans, spare tire wells, and cargo areas collect dust too—include them in your routine.
Quick Answers to Common Questions
Can I use a regular vacuum for my car?
Yes! Most home vacuums work fine, but adding a crevice or brush attachment greatly improves reach and effectiveness.
What if my vacuum has no special attachments?
You can improvise—try taping a straw to the hose or using a rolled-up paper towel tube as a makeshift nozzle.
Should I vacuum wet spills first?
No—only dry vacuum. Wet messes should be blotted and cleaned separately to avoid damaging the vacuum motor.
How often should I do this?
Weekly spot cleaning is ideal. Monthly full cleans keep your car looking professional year-round.
Is it worth buying a car-specific vacuum?
Not necessary unless you vacuum frequently. A lightweight cordless model offers convenience, but standard units get the job done too.
Conclusion
How to Vacuum Hard to Reach Places in Car: A Step-by-Step Guide
Visual guide about How to Vacuum Hard to Reach Places in Car
Image source: thumbs.dreamstime.com
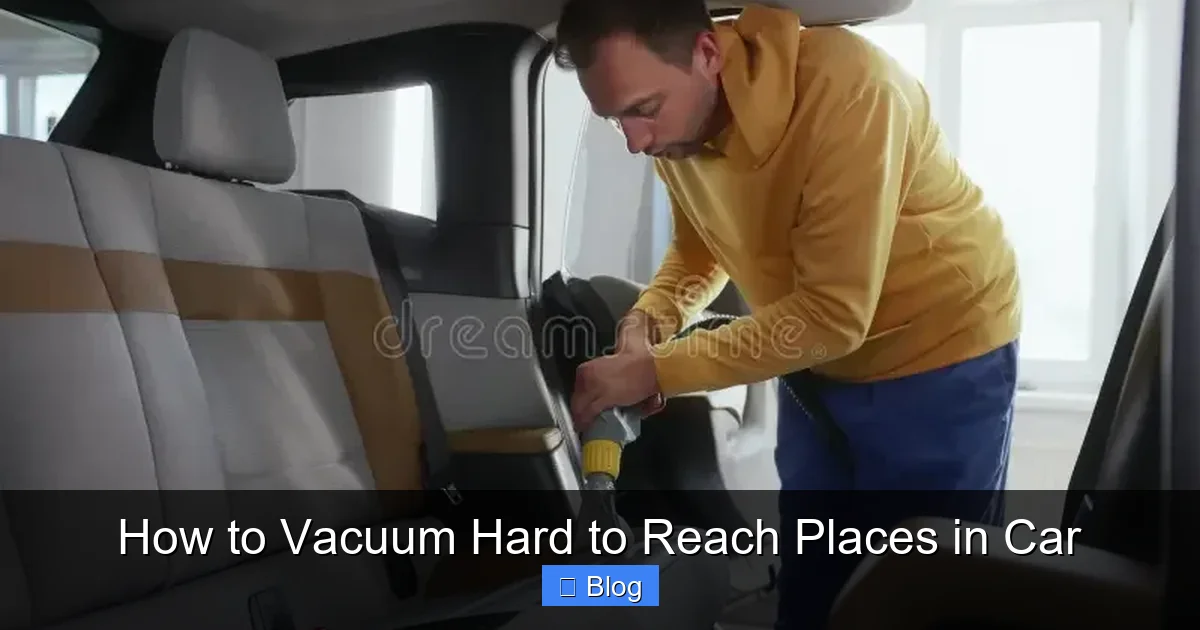
Keeping your car interior clean goes beyond just mopping the floors or wiping down the dashboard. Over time, dust, crumbs, pet hair, and debris accumulate in those sneaky spots—like behind cup holders, under seats, and inside air vent slats. These hard-to-reach areas often go unnoticed until they start affecting air quality, odors, or overall appearance.
This guide will walk you through practical, easy-to-follow steps to vacuum every nook and cranny of your vehicle. You don’t need expensive equipment—just a good vacuum cleaner and a few smart techniques. By following this method, you’ll restore your car’s interior to near-showroom condition without spending hours on the job.
Whether you’re preparing for a road trip, selling your vehicle, or simply love a tidy ride, mastering car vacuuming is a skill worth learning. Let’s get started!
Step 1: Gather Your Tools
Before diving in, make sure you have everything ready. Most standard vacuum cleaners come with interchangeable nozzles that are perfect for automotive use.
Start by checking if your vacuum has:
– A crevice tool (long, thin nozzle for tight spaces)
– A brush attachment (soft bristles for upholstery)
– A hose extension (for deeper reaches)
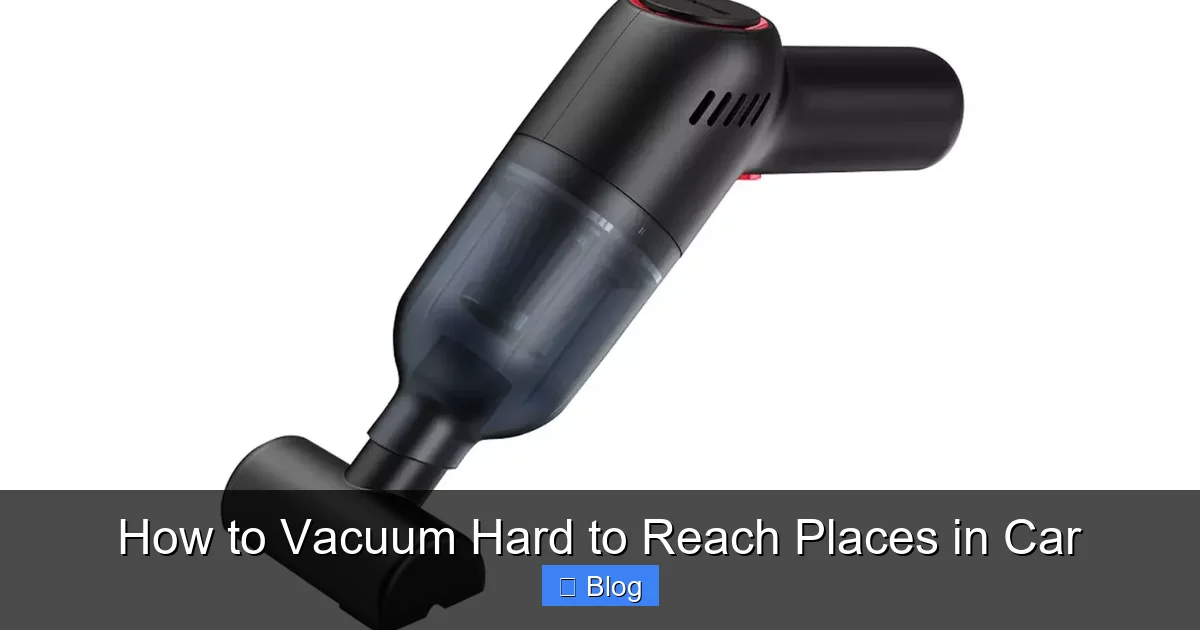
If not, many hardware stores sell universal adapters or replacement heads designed specifically for cars. For extra power, consider a lightweight cordless vacuum—these offer freedom from cords and are especially handy for under-seat cleaning.
Step 2: Clear Surfaces First
You wouldn’t try to vacuum a table full of clutter, right? The same logic applies to your car. Begin by removing loose items from seats, cup holders, and door pockets.
Take out:
– Floor mats (shake them outside first!)
– Litter, wrappers, or forgotten receipts
– Water bottles or snacks
Next, give visible surfaces a quick wipe with a microfiber cloth. This removes surface dust and prevents it from becoming airborne during vacuuming.
Step 3: Tackle the Dashboard and Console
The dashboard is one of the first places dirt accumulates. Use the crevice tool to slide between buttons, around climate controls, and along the edges of the center console.
Pro tip: Turn off your car and remove keys to avoid accidentally pressing buttons while cleaning. Also, be gentle—plasticky panels can scratch if you press too hard.
For sticky residue around vents or buttons, dampen a cotton swab slightly and gently wipe before vacuuming. This traps grime instead of blowing it around.
Step 4: Clean Air Vents and Slats
Air vents are notorious for trapping dust and allergens. Use the narrow end of the crevice tool or wrap a small piece of tape around the hose tip to create a tighter seal.
Gently insert the nozzle into each vent opening and move slowly back and forth. Avoid pushing too far in—you might damage delicate internal fins.
If your vacuum has a turbo setting, use it briefly for stubborn buildup. But remember: high suction can pull fibers into the machine, so monitor closely.
Step 5: Under-Seat Vacuuming
Under the front passenger seat is a hotspot for lost pens, receipts, and dust bunnies. If possible, slide the seat forward or backward slightly to expose the area beneath.
Insert the crevice tool deep into the gap where the seat meets the floor. Move side to side to dislodge debris. For larger items, use a flashlight and tweezers to pick them up manually before vacuuming.
In SUVs or trucks with rear bench seats, flip cushions upward to access the underside. Don’t forget the space behind the driver’s seat—this is where phone chargers and snacks often disappear!
Step 6: Door Pockets and Cup Holders
Door pockets collect coins, gum wrappers, and dirt from shoes. Remove the armrest cover if needed (most pop off with light pressure). Then, run the crevice tool along the bottom edge and corners.
Cup holders are another culprit. Empty them completely and rinse with warm soapy water if they’re removable. For non-removable types, use a bent wire coat hanger or a plastic spatula to scrape out stuck-on residue before vacuuming.
Step 7: Seat Cracks and Upholstery Crevices
Fabric seats develop deep grooves where lint and hair gather. Switch to the brush attachment and gently agitate the material in circular motions. This loosens embedded dirt without damaging fabric.
For leather interiors, use a soft-bristled brush only—never abrasive materials that could strip the finish. Always test on an inconspicuous area first if unsure.
Step 8: Floor Mats and Trunk Area
After shaking out mats, place them on a flat surface outside the car. Vacuum both sides thoroughly, paying attention to textured surfaces where dirt hides.
In the trunk, focus on the spare tire well, under the floor mat, and along the walls. Many people overlook this space—but it’s where emergency kits, old clothes, and spilled liquids often end up.
Quick Reference
Visual guide about How to Vacuum Hard to Reach Places in Car
Image source: img.grouponcdn.com
| Problem Area | Best Tool | Tip |
|---|---|---|
| Behind center console | Crevice tool + flashlight | Wiggle hose while moving forward |
| Air vent slats | Narrow crevice tool | Go slow to avoid bending fins |
| Under front seats | Cordless vacuum + extension | Slide seat back first for access |
| Seat fabric seams | Brush attachment | Use light circular motions |
| Trunk spare tire well | Crevice tool + mirror | Remove any stored items first |
Vacuuming hard-to-reach places in your car doesn’t require special skills—just patience, the right attachments, and a systematic approach. By starting with loose items, targeting high-traffic zones first, and using angled movements, you’ll clear out years of built-up grime efficiently.
Remember: consistency beats intensity. Spending 15 minutes weekly is far better than waiting months for a full deep clean. Over time, these habits will save you money on detailing services and keep your car smelling fresh longer.
With this guide, you now have all the tools and know-how to conquer every corner of your vehicle’s interior. Happy cleaning—and enjoy that spotless ride!