How to Vacuum Your Car Like a Pro
Want a clean, fresh-smelling car that looks showroom-ready? This guide teaches you how to vacuum your car like a pro—efficiently, thoroughly, and without damaging surfaces. Follow our expert steps to tackle every nook and cranny with confidence.
Keeping your car clean isn’t just about appearances—it’s about comfort, hygiene, and preserving your vehicle’s value. A well-maintained interior reduces allergens, prevents odors, and makes every drive more enjoyable. But let’s be honest: most people rush through vacuuming or skip hard-to-reach spots, leaving behind crumbs, dust, and pet hair.
That’s where this guide comes in. Whether you’re prepping for a road trip, selling your car, or just want to feel proud of your ride, learning how to vacuum your car like a pro will save you time and deliver better results. We’ll walk you through every step—from choosing the right tools to tackling tricky areas—so you can achieve a deep, professional-level clean every time.
Key Takeaways
- Start with decluttering: Remove trash, loose items, and personal belongings before vacuuming to access all areas easily.
- Use the right vacuum and attachments: A powerful handheld or portable vacuum with crevice tools and brush nozzles ensures deep cleaning.
- Work top to bottom: Vacuum seats and upper surfaces first, then move to floors and mats to avoid re-soiling cleaned areas.
- Focus on hidden spots: Don’t skip under seats, between cushions, and inside door pockets where dirt accumulates.
- Clean mats separately: Remove floor mats and shake or beat them out before vacuuming both sides for maximum dirt removal.
- Maintain your vacuum: Empty the canister and clean filters regularly to keep suction strong and prevent odors.
- Finish with a wipe-down: After vacuuming, use a microfiber cloth to dust surfaces and restore shine.
Quick Answers to Common Questions
Tip/Question?
How often should I vacuum my car?
For most drivers, vacuuming every 2–4 weeks is ideal. Heavy users (with kids, pets, or frequent food consumption) may need to do it weekly.
Tip/Question?
Can I use a regular household vacuum?
It’s not recommended. Household vacuums are bulky and lack car-specific attachments. A portable or handheld model is far more effective and convenient.
Tip/Question?
What’s the best way to remove pet hair?
Use a rubber-bristled brush or lint roller first to loosen hair, then vacuum with a brush attachment. Some vacuums come with specialized pet hair tools.
Tip/Question?
Should I vacuum when the car is hot or cold?
Always vacuum when the car is cool. Heat can cause dust to cling more tightly to surfaces and may damage sensitive electronics.
Tip/Question?
Do I need to clean my vacuum after use?
Yes! Empty the dustbin, clean the filter, and wipe down attachments. This maintains suction power and prevents odors from building up.
Step 1: Gather Your Tools and Supplies
Before you start, make sure you have everything you need. Having the right equipment on hand prevents interruptions and ensures a thorough job.
Essential Vacuuming Tools
- Portable or handheld vacuum: Ideal for cars due to their compact size and maneuverability. Look for one with strong suction (at least 10–15 air watts) and a long cord or rechargeable battery.
- Crevice tool: Perfect for tight spaces like between seats, under pedals, and along door jambs.
- Brush attachment: Gentle on upholstery and great for lifting dust from fabric seats or dashboard surfaces.
- Extension hose: Helps reach deep into footwells and under seats without straining.
- Microfiber cloths: For wiping down surfaces after vacuuming.
- Trash bag: To collect debris as you go.
- Gloves (optional): Keep your hands clean, especially if you have pets or kids.
Optional but Helpful Add-ons
- Compressed air can: Blows out stubborn debris from vents and crevices before vacuuming.
- Interior detailing brush: Soft-bristled brushes help loosen embedded dirt in carpets and upholstery.
- Odor eliminator spray: Use after vacuuming to freshen the air and neutralize lingering smells.
Step 2: Declutter and Prepare the Interior
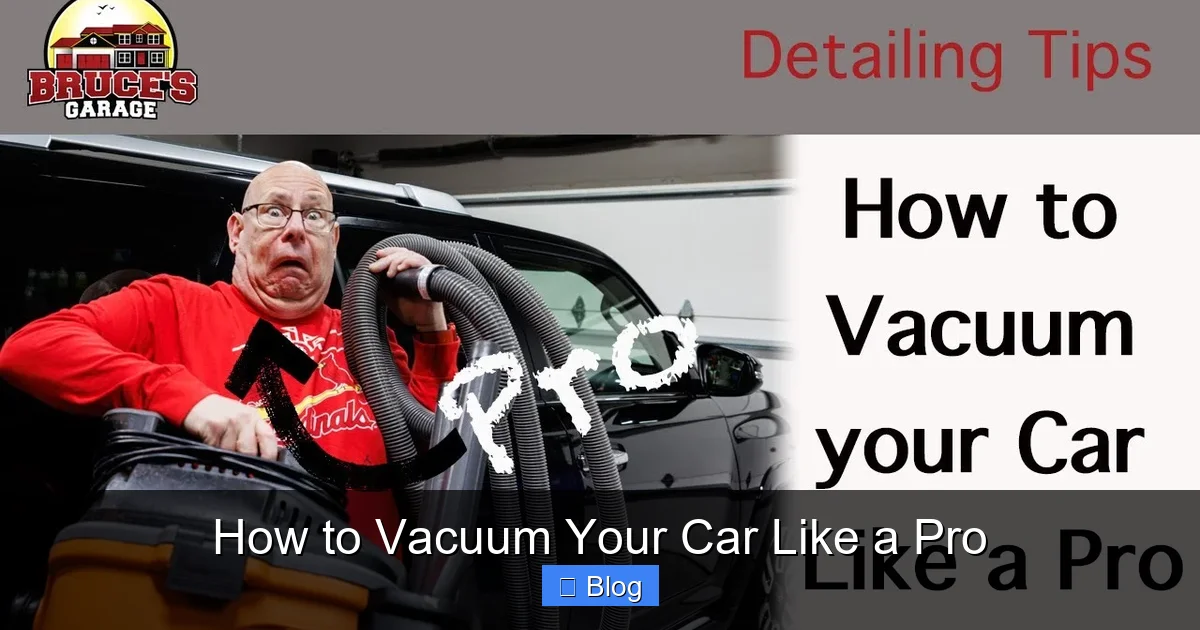
Visual guide about How to Vacuum Your Car Like a Pro
Image source: i.ytimg.com
A clean start leads to a cleaner finish. Begin by removing everything that doesn’t belong.
Clear Out Personal Items
Take out all loose items: water bottles, charging cables, sunglasses, tissues, wrappers, and any forgotten snacks. Place them in a tote or bag so you can sort and return only what’s needed.
Empty Storage Compartments
Open glove boxes, center consoles, door pockets, and seatback pockets. Shake out crumbs and wipe surfaces with a dry cloth. If you find old receipts or trash, toss them immediately.
Remove Floor Mats
Pull out all floor mats—front and back. Shake them vigorously outside or beat them against a wall to dislodge loose dirt. For rubber mats, rinse with water if possible. Let them dry completely before reinstalling.
Step 3: Vacuum from Top to Bottom
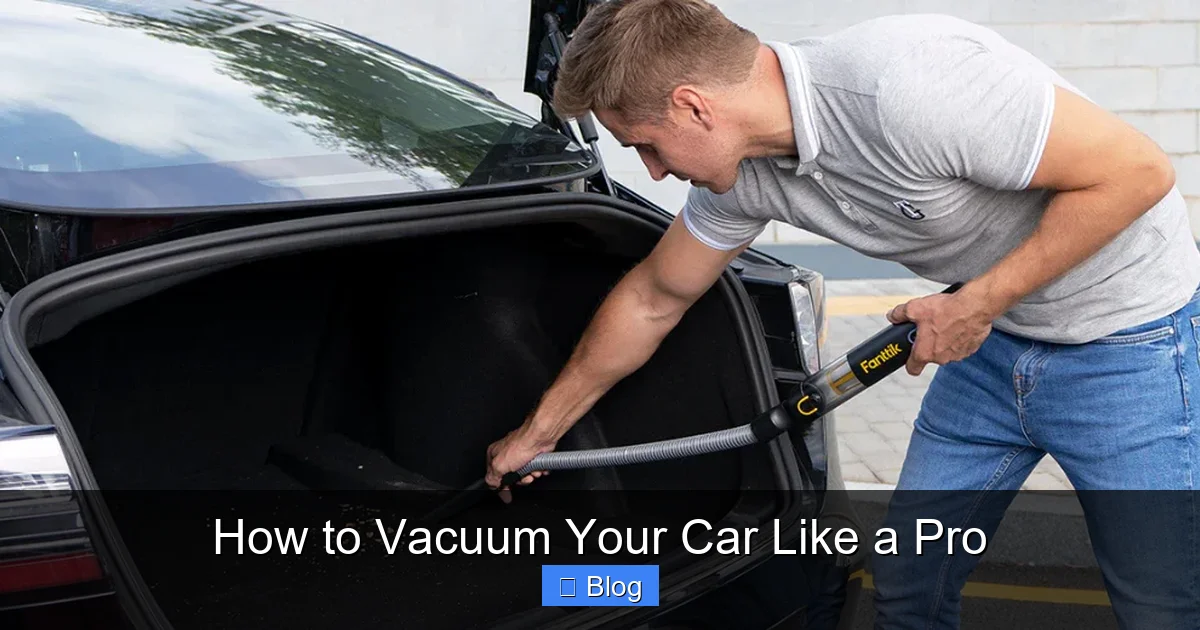
Visual guide about How to Vacuum Your Car Like a Pro
Image source: fanttik.com
Cleaning in the right order prevents redistributing dirt. Always start high and work your way down.
Seats and Upholstery
Begin with the front seats. Use the brush attachment to gently vacuum fabric or leather surfaces. Move in slow, overlapping strokes to lift dust and debris. For leather, avoid excessive moisture and use a soft brush to prevent scratches.
For fabric seats, pay extra attention to seams and crevices where crumbs hide. If you have pet hair, consider using a rubber bristle brush or a lint roller before vacuuming—it helps loosen stubborn strands.
Headrests and Seatbacks
Don’t forget the tops and backs of seats. These areas collect dust and are often overlooked. Use the crevice tool to get into tight corners near the headrest posts.
Dashboard and Console
Use the brush attachment to vacuum the dashboard, steering column, and center console. Be careful around buttons and screens—gentle pressure is key. For air vents, insert the crevice tool vertically and wiggle it slightly to pull out dust buildup.
Door Panels and Pockets
Vacuum the interior door panels, including armrests and window switches. Then use the crevice tool to clean inside door pockets and cup holders. These spots are notorious for collecting crumbs and sticky residue.
Step 4: Tackle the Floors and Footwells
Now it’s time to focus on the most heavily soiled areas—the floors.
Vacuum Carpeted Areas
Start with the driver’s side footwell. Use the main vacuum nozzle with strong suction. Move systematically from front to back, overlapping each pass. Pay special attention to the area under the pedals and behind the front seats.
Repeat for the passenger side and rear footwells. If your car has deep carpeting, consider using a carpet rake or stiff brush to agitate the fibers before vacuuming—this lifts embedded dirt.
Clean Under the Seats
Slide the front seats forward and backward to access hidden zones. Use the crevice tool or extension hose to reach under the seats. This is where dust bunnies, lost coins, and pet hair love to hide.
Re-vacuum Floor Mats
Once the mats are dry, place them back in the car and vacuum both sides. Flip them over to ensure you’re not missing trapped dirt on the underside. For rubber mats, a quick wipe with a damp cloth after vacuuming adds extra freshness.
Step 5: Address Tricky Spots and Details
| Tool | Best For | Pro Tip |
|---|---|---|
| Handheld vacuum | General interior cleaning | Choose one with HEPA filter for allergy sufferers |
| Crevice tool | Tight spaces, under seats, vents | Use short, quick strokes to avoid pushing dirt deeper |
| Brush attachment | Upholstery, dashboards, mats | Rotate brush direction to lift embedded particles |
| Extension hose | Deep reach under seats and in footwells | Combine with crevice tool for maximum reach |
| Microfiber cloth | Post-vacuum dusting and shine | Use dry for dust, slightly damp for smudges |
Professional cleaners don’t skip the small stuff—and neither should you.
Between Seat Cushions
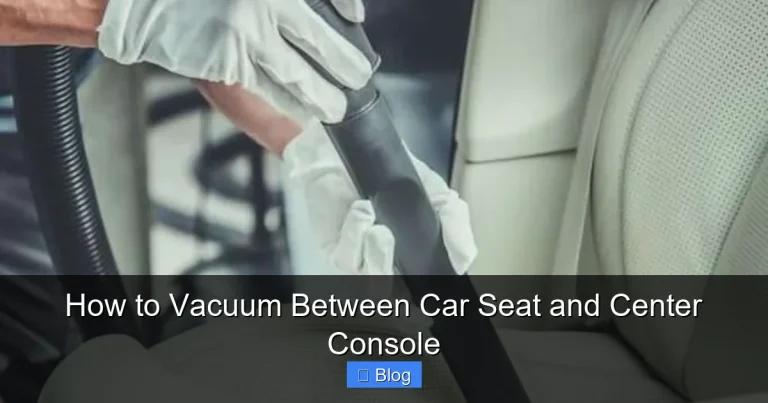
Use the crevice tool to extract debris lodged between seat cushions and the center console. Wiggle the tool gently to loosen compacted dirt.
Seat Tracks and Adjustment Mechanisms
Dust and grime can build up in seat tracks, affecting smooth operation. Vacuum these areas thoroughly. If needed, use a cotton swab dipped in isopropyl alcohol to clean stubborn residue.
Trunk and Cargo Area
Don’t forget the trunk! Remove any items, shake out the cargo mat, and vacuum the carpeted floor and sides. Check under the spare tire compartment if accessible.
Tools and Materials
Here’s a quick reference to help you stay organized during your cleaning session:
Troubleshooting Common Vacuuming Problems
Even pros run into issues. Here’s how to handle them like a champ.
Weak Suction
If your vacuum isn’t picking up dirt, check the filter and canister. A clogged filter or full dustbin drastically reduces performance. Clean or replace filters monthly and empty the canister after each use.
Pet Hair Stuck in Carpets
Regular vacuums struggle with pet hair. Try rubbing a rubber glove or squeegee over the carpet before vacuuming—the static helps lift hairs. Alternatively, use a vacuum specifically designed for pet hair.
Dust Resettling After Vacuuming
This happens when you vacuum too quickly or use a vacuum without a sealed system. Slow down, use overlapping passes, and consider upgrading to a vacuum with a HEPA filter to trap fine particles.
Scratches on Leather or Plastic
Avoid using stiff brushes on delicate surfaces. Stick to soft-bristle attachments and gentle pressure. For leather, follow up with a conditioner to maintain suppleness.
Step 6: Final Touches and Maintenance
You’re almost done! These final steps ensure a polished, long-lasting clean.
Wipe Down Surfaces
Use a microfiber cloth to dust the dashboard, steering wheel, and door handles. This removes any remaining particles and adds a subtle shine.
Reinstall Mats and Items
Place clean, dry floor mats back in position. Return only essential items to storage compartments—avoid clutter buildup.
Freshen the Air
Spray an odor-neutralizing product designed for car interiors. Avoid strong perfumes that mask odors instead of eliminating them.
Maintain Regularly
Vacuum your car every 2–4 weeks, depending on usage. Quick weekly touch-ups (like removing trash and wiping surfaces) prevent deep cleaning from becoming overwhelming.
Conclusion
Vacuuming your car like a pro isn’t about spending hours—it’s about working smart. By following a systematic approach, using the right tools, and paying attention to detail, you can transform your vehicle’s interior from grimy to gleaming in under 30 minutes. Not only will your car look better, but it’ll also feel fresher and last longer.
Remember: consistency is key. Make vacuuming part of your regular car care routine, and you’ll never have to deal with a neglected interior again. So grab your vacuum, clear out the clutter, and start enjoying that clean-car feeling—every single day.