How to Vacuum Your Car at Home
Keeping your car clean doesn’t require a trip to the car wash. With the right tools and a little time, you can vacuum your car at home like a pro. This guide walks you through every step—from prep to finishing touches—so your ride stays spotless and comfortable.
Key Takeaways
- Start with decluttering: Remove trash, personal items, and loose debris before vacuuming to make the process faster and more effective.
- Use the right vacuum attachments: Crevice tools, brush nozzles, and upholstery heads help reach tight spaces and protect delicate surfaces.
- Work top to bottom: Vacuum seats and dashboard first, then move to floors and crevices to avoid re-soiling cleaned areas.
- Don’t forget hidden spots: Check under seats, in door pockets, and between cushions where dirt and crumbs accumulate.
- Maintain your vacuum: Empty the canister and clean filters regularly to ensure strong suction and long-term performance.
- Finish with a wipe-down: After vacuuming, use a microfiber cloth to dust surfaces and restore shine.
- Make it routine: Vacuum your car every 1–2 weeks to prevent buildup and maintain a fresh interior.
Quick Answers to Common Questions
Should I vacuum my car wet or dry?
Always vacuum when the car interior is dry. Moisture can damage your vacuum and promote mold growth. If there’s a spill, clean it first with a cloth, let it dry, then vacuum.
Can I use a regular household vacuum?
Yes! A standard vacuum with a hose and attachments works perfectly. Just make sure it’s clean and has strong suction.
How often should I vacuum my car?
For most drivers, vacuuming every 1–2 weeks is ideal. If you have pets, kids, or eat in the car often, aim for weekly cleanings.
What’s the best way to remove pet hair?
Use a rubber glove or pet hair roller to loosen fur, then vacuum with an upholstery brush. For tough spots, lightly spray with water to reduce static.
Do I need to vacuum the engine bay?
No—this guide focuses on the interior. Engine cleaning requires special tools and safety precautions and should be done separately.
Troubleshooting Common Vacuuming Problems
Even with the best plan, you might run into a few hiccups. Here’s how to handle them.
Weak Suction
If your vacuum isn’t picking up dirt, check the filter and canister. A clogged filter or full dustbin reduces performance. Clean or replace the filter and empty the canister before each use.
Pet Hair Stuck in Carpets
Pet hair can cling to fabric and carpets. Use a rubber glove or a pet hair removal tool to loosen it before vacuuming. You can also lightly spray the area with a fabric freshener to reduce static and make hair easier to lift.
Stuck Debris in Crevices
For coins, paper clips, or other small objects stuck between seats, try using a straightened paperclip or a plastic trim tool to gently pry them out. Avoid using metal tools that could scratch surfaces.
Odors Persist After Cleaning
If your car still smells musty or stale, the issue might be deeper than surface dirt. Consider using an odor eliminator spray or placing an activated charcoal bag in the cabin to absorb lingering smells. For severe cases, check for moisture under carpets or in the HVAC system.
Tips for Maintaining a Clean Car
Vacuuming your car at home is most effective when done regularly. Here are a few habits to keep your vehicle looking great between cleanings:
Visual guide about How to Vacuum Your Car at Home
Image source: autoxip.com
Why Vacuuming Your Car at Home Matters
A clean car isn’t just about looks—it’s about comfort, hygiene, and even resale value. Over time, dust, crumbs, pet hair, and dirt accumulate in your vehicle’s interior, creating an unpleasant environment and potentially triggering allergies. While professional car detailing is an option, it can be expensive and time-consuming. The good news? You can achieve excellent results by vacuuming your car at home with minimal effort and cost.
Visual guide about How to Vacuum Your Car at Home
Image source: bestvacuumguide.org
In this guide, you’ll learn how to vacuum your car thoroughly and efficiently using tools you likely already have. Whether you drive a compact sedan or a spacious SUV, these steps will help you maintain a clean, fresh-smelling interior. We’ll cover everything from preparation and tool selection to advanced techniques for tackling tough messes. By the end, you’ll have a system you can repeat regularly to keep your car in top condition.
What You’ll Need
Before you begin, gather the right tools. You don’t need anything fancy—just a few essentials that make the job easier and more effective.
Essential Tools and Supplies
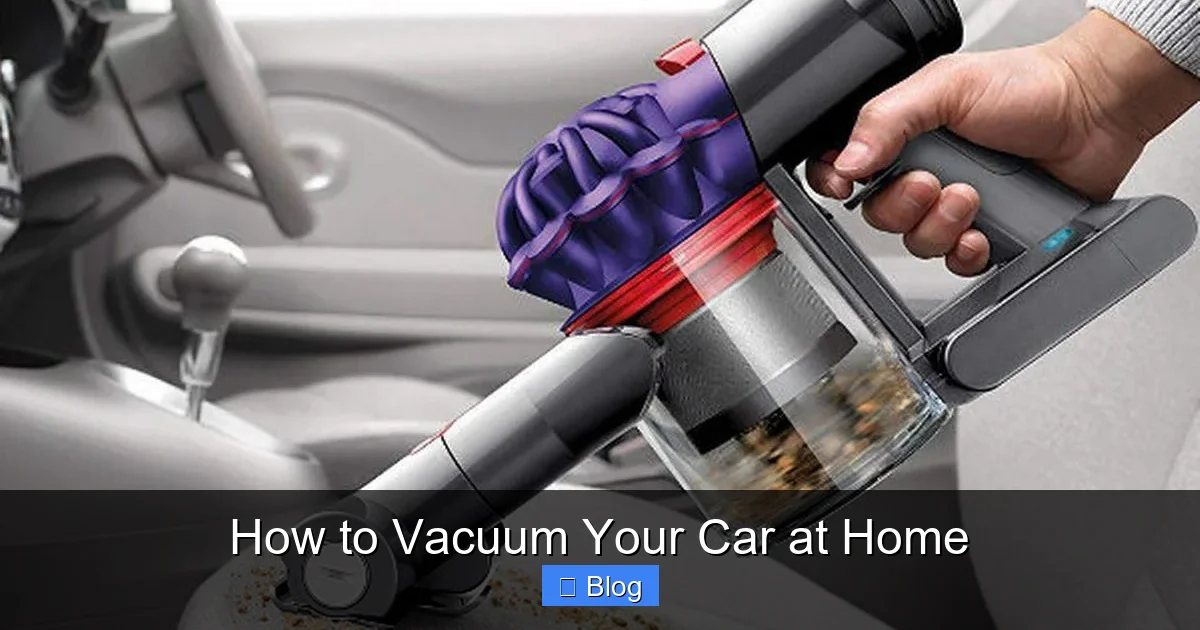
- Vacuum cleaner: A corded or cordless handheld vacuum works best. If you have a home vacuum with a hose, that’s great too.
- Crevice tool: Ideal for tight spaces like between seats and along door panels.
- Upholstery brush attachment: Gentle on fabric seats and carpets; prevents snagging.
- Soft brush nozzle: Useful for dusting dashboards and vents without scratching.
- Microfiber cloths: For wiping down surfaces after vacuuming.
- Trash bag: To collect debris and empty compartments.
- Gloves (optional): Helpful if you’re sensitive to dust or pet hair.
Optional but Helpful Add-ons
- Portable car vacuum: Compact and designed specifically for vehicle use.
- Compressed air can: Great for blowing dust out of vents and crevices before vacuuming.
- Pet hair removal tool: A rubber brush or grooming glove works wonders on fur.
- Odor eliminator spray: Use after cleaning to leave a fresh scent.
Step-by-Step Guide to Vacuuming Your Car
Now that you’re equipped, let’s get started. Follow these steps in order for the best results.
Step 1: Remove All Items from the Car
Begin by taking everything out of your vehicle. This includes trash, water bottles, loose papers, toys, phone chargers, and any personal belongings. Place them in a box or bag so you can sort and return only what you need later. This step is crucial—it gives you full access to every surface and prevents you from missing hidden dirt.
Pro tip: Use this opportunity to declutter. If you find items you no longer use—like old receipts or expired coupons—toss them. A cleaner car starts with fewer distractions.
Step 2: Shake Out Floor Mats
Take out your floor mats and give them a good shake outside. If they’re rubber or all-weather mats, you can even rinse them with a hose and let them dry before replacing them. For fabric mats, tap them firmly or use your hands to loosen embedded dirt.
For deeper cleaning, consider using a stiff brush to scrub rubber mats with soapy water. Let them air dry completely to avoid mold or mildew.
Step 3: Vacuum the Seats
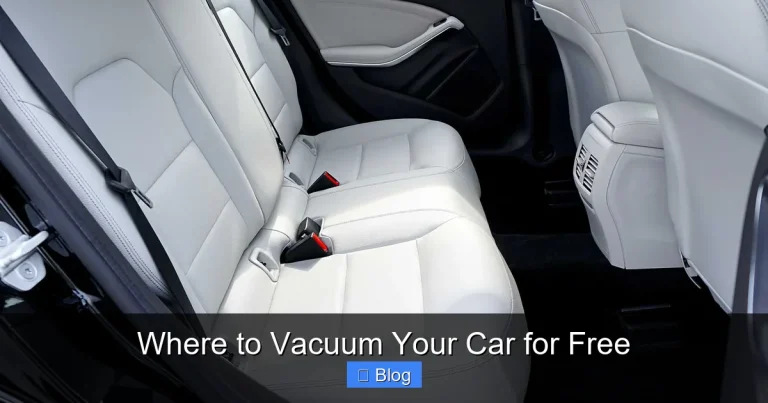
Start with the seats—front and back. Use the upholstery brush attachment to gently vacuum fabric seats. Move in slow, overlapping strokes to lift dirt and debris. For leather seats, switch to a soft brush nozzle to avoid scratching the surface.
Don’t forget the seatbacks, headrests, and the space between the seat and center console. These areas often collect crumbs and dust. If you have leather seats, wipe them down with a damp microfiber cloth after vacuuming to restore shine.
Step 4: Tackle the Floor and Carpets
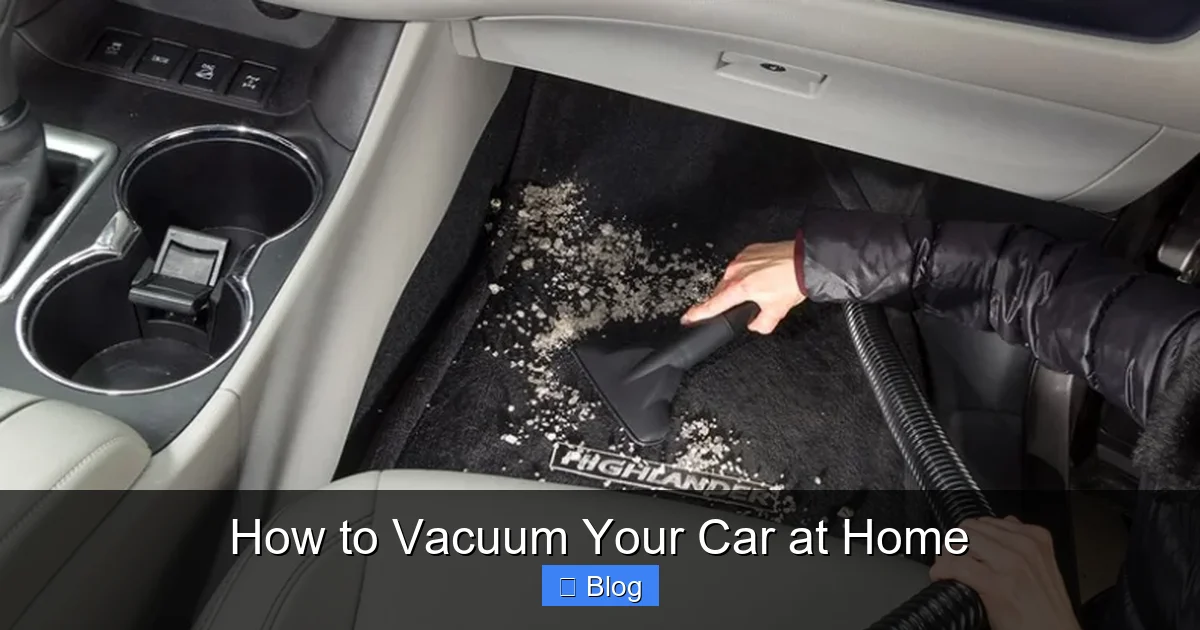
Move to the floor next. Use the main vacuum nozzle or a wide brush attachment to cover large areas quickly. Focus on high-traffic zones like the driver’s footwell and passenger side.
For stubborn dirt or embedded debris, go over the area twice. If your vacuum has adjustable suction, reduce it slightly on delicate carpets to avoid pulling fibers.
Step 5: Clean Hard-to-Reach Areas
This is where the crevice tool shines. Use it to vacuum:
- Between and under seats
- Inside door pockets and cup holders
- Along the edges of the center console
- Under the dashboard
- Around seatbelt buckles
These spots are often overlooked but can harbor a surprising amount of grime. Take your time here—precision matters.
Step 6: Vacuum the Trunk
Open the trunk and remove any stored items. Vacuum the carpeted floor, sides, and under the spare tire cover if accessible. Use the crevice tool to clean along the edges and in corners.
If you frequently carry groceries or sports gear, consider using a trunk liner to make future cleanups easier.
Step 7: Dust and Wipe Down Surfaces
After vacuuming, use a microfiber cloth to wipe down hard surfaces like the dashboard, steering wheel, door panels, and center console. This removes any remaining dust and gives your car a polished look.
For vents, use a soft brush or a cotton swab to dislodge dust, then vacuum it away. Avoid using harsh chemicals—stick to water or a mild interior cleaner.
Quick Reference
| Step | Tool Used | Estimated Time |
|---|---|---|
| Remove items & declutter | Trash bag, storage box | 5–10 minutes |
| Shake out floor mats | Hands, brush (optional) | 3–5 minutes |
| Vacuum seats | Upholstery brush | 8–12 minutes |
| Vacuum floors & carpets | Main nozzle or brush | 10–15 minutes |
| Clean crevices & tight spots | Crevice tool | 7–10 minutes |
| Vacuum trunk | Crevice tool, main nozzle | 5–8 minutes |
| Wipe down surfaces | Microfiber cloth | 5 minutes |
- Use floor mats: All-weather mats protect carpets from mud, snow, and spills.
- Keep a trash bag handy: Designate a small bag or container in your car for wrappers and receipts.
- Limit eating in the car: Crumbs are the #1 cause of interior mess.
- Vacuum weekly: Even a quick 10-minute session prevents buildup.
- Store items neatly: Use organizers for sunglasses, chargers, and tissues.
Conclusion
Vacuuming your car at home is a simple, cost-effective way to maintain a clean and comfortable driving environment. With the right tools and a systematic approach, you can tackle dirt, dust, and debris in under 30 minutes. By following this guide, you’ll not only improve your car’s appearance but also extend the life of its interior materials.
Remember, consistency is key. Make vacuuming part of your regular routine, and your car will always feel fresh and inviting. Whether you’re preparing for a road trip or just want to enjoy a cleaner commute, a little effort goes a long way. So grab your vacuum, clear out the clutter, and give your car the care it deserves.