How to Use Car Vacuum at Home
Keeping your car clean doesn’t have to mean a trip to the car wash. In this guide, you’ll learn how to use a car vacuum at home step by step, from gathering tools to tackling tough spots. With simple tips, you’ll maintain a fresh interior without hassle.
Step 4: Detail the Doors and Hidden Areas
Often overlooked, doors trap dirt. Open them wide. Vacuum pockets with the crevice tool – keys and receipts hide there. Check window sills for pollen. Use the brush for armrests. Inside door panels have seams; run the hose along them.
Tip: In rainy seasons, water spots form. Vacuum dries them out. Example: If you commute daily, lint builds up here. A quick pass keeps it fresh.
Step 5: Final Touches and Inspection
Almost done. Go over everything once more lightly. Turn on interior lights to spot missed areas. Vacuum air vents last – hold the hose near the opening. For ceiling, if accessible, use the brush gently.
Inspect seats for even cleaning. Feel carpets – they should be smooth. If something feels off, revisit that spot. This ensures a thorough job.
Key Takeaways
- Prepare your space: Park in a well-ventilated area and remove loose items to make vacuuming easier and safer.
- Choose the right vacuum: Opt for a portable car vacuum with strong suction and various attachments for best results at home.
- Follow a systematic approach: Start from the top and work down to avoid missing spots and spreading dirt.
- Use attachments wisely: Crevice tools handle tight spaces, while brushes tackle upholstery without damage.
- Maintain your vacuum: Empty the canister after each use and clean filters to ensure long-term performance.
- Troubleshoot common issues: If suction weakens, check for clogs; regular care prevents most problems.
- Make it routine: Vacuum weekly at home to keep allergens low and your car looking new.
Quick Answers to Common Questions
How often should I vacuum my car at home?
Vacuum weekly if you drive daily, or bi-weekly for lighter use. This prevents dirt from settling deep into fabrics.
Can I use a regular home vacuum for my car?
It’s possible, but a portable car vacuum is better due to its lightweight design and attachments tailored for tight spaces.
What if my vacuum clogs during use?
Stop immediately, unplug, and clear the hose with a broom handle or compressed air. Empty the canister to restore suction.
Is it safe to vacuum wet spills?
No, avoid vacuuming liquids – they can damage the motor. Blot with a towel first, then vacuum once dry.
How do I clean pet hair effectively?
Use a rubber brush attachment or sprinkle cornstarch to loosen hair before vacuuming. Go over areas multiple times for best results.
Practical Tips for Effective Car Vacuuming at Home
To level up your routine, try these ideas. They make how to use a car vacuum at home even better.
First, vacuum weekly. It prevents deep dirt buildup. For allergies, use a HEPA filter vacuum. It traps fine particles. If your car smells musty, vacuum with an open window and use odor absorbers.
Seasonal advice: In winter, salt tracks in. Vacuum daily to avoid rust. Summer? Sunscreen lotions leave residue – brush it off first. Store your vacuum in the garage, charged and ready.
Example: Families with kids benefit from seat covers. Vacuum under them monthly. This keeps spills contained. Eco-tip: Choose rechargeable vacuums to save energy at home.
Troubleshooting Common Issues
Problems happen. Here’s how to fix them quickly.
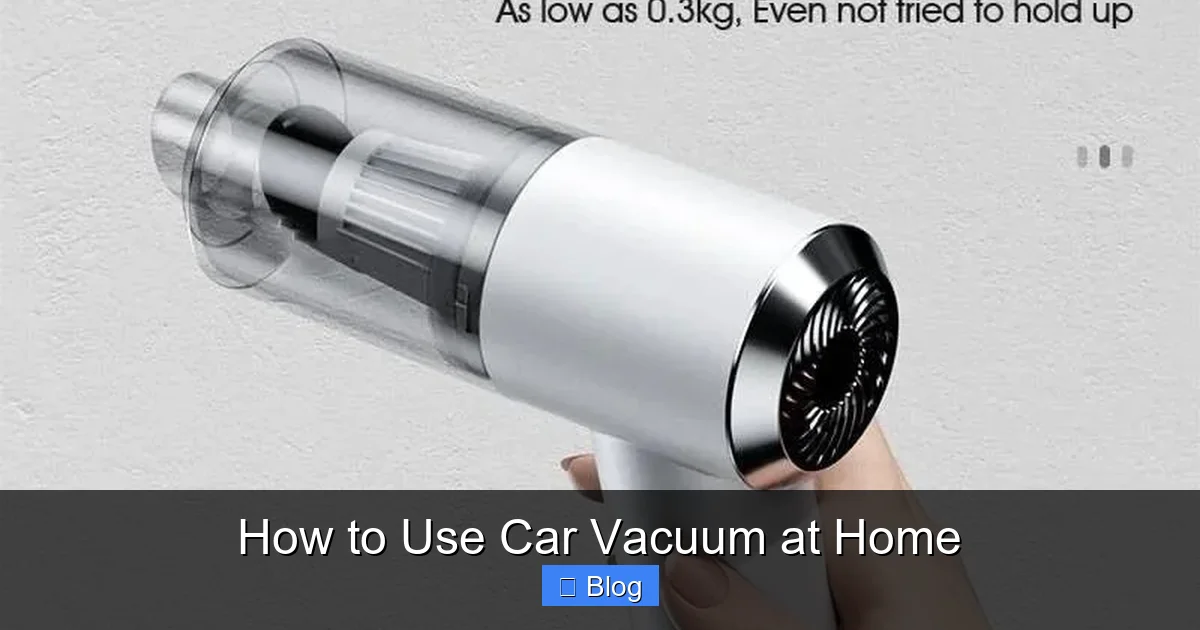
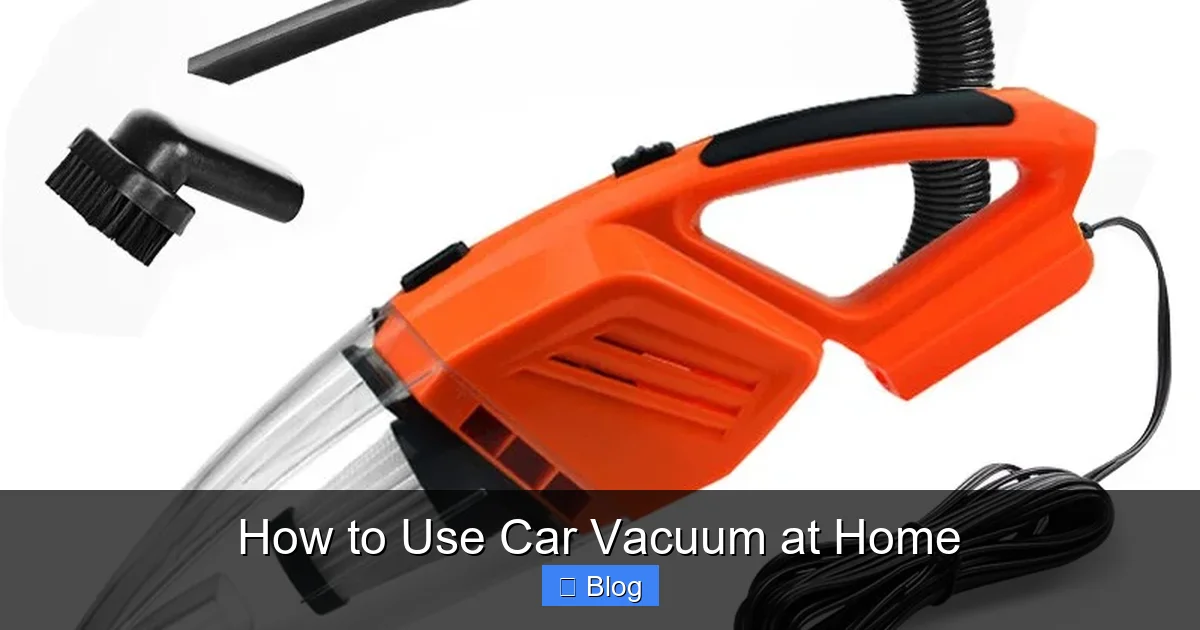
Visual guide about How to Use Car Vacuum at Home
Image source: cdn.shoplazza.com
Introduction
Ever looked at your car’s interior and thought, “This needs a good clean”? You’re not alone. Dust, crumbs, and pet hair can build up fast, making your ride feel grimy. But here’s the good news: you don’t need fancy equipment or a pro service. Learning how to use a car vacuum at home is simple and effective. In this guide, we’ll walk you through everything step by step. You’ll discover how to prepare, clean like a pro, and keep your vacuum in top shape. By the end, your car will sparkle, and you’ll save time and money. Let’s dive in and get that fresh car feeling back.
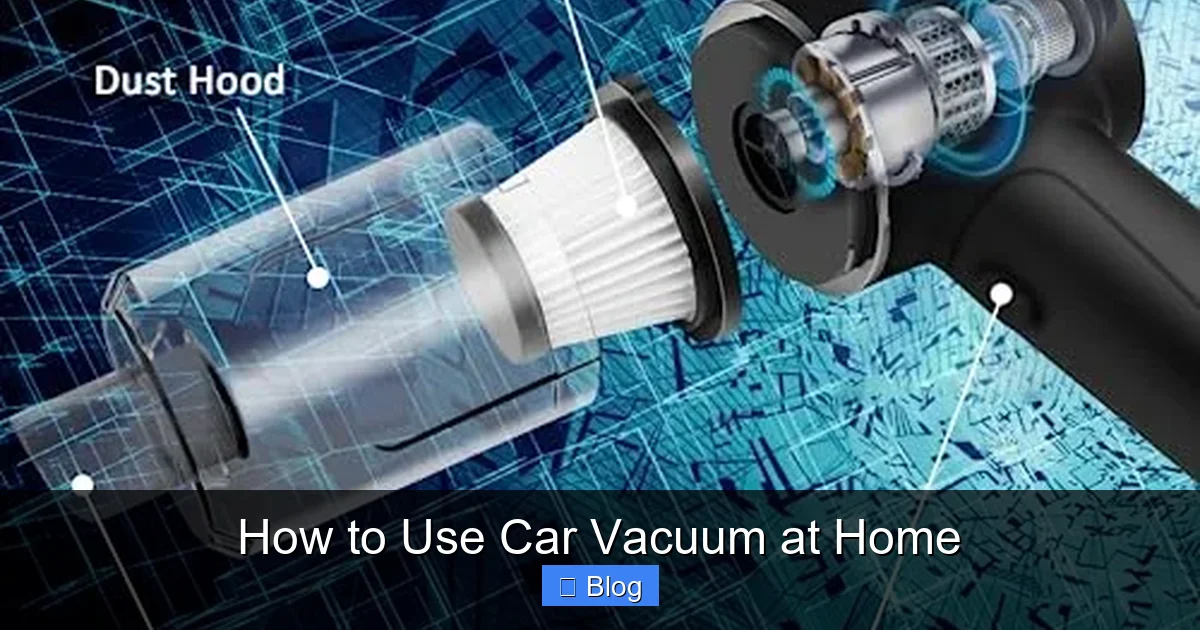
Visual guide about How to Use Car Vacuum at Home
Image source: m.media-amazon.com
Gathering Your Tools and Preparing
Before you start vacuuming, get organized. This sets you up for success and makes the process smoother. Think of it as prepping for a quick workout – the right gear matters.
Select the Perfect Car Vacuum
Pick a vacuum designed for cars. Portable models work great at home. Look for one with at least 80-100 air watts of power. This ensures strong suction for dirt and debris. Battery-powered options give you freedom to move without cords. Popular brands like Black+Decker or Shark offer reliable choices. If you have a garage outlet, a corded model might suit too. Budget? Expect to spend $30-100 for a solid one.
Essential Attachments and Supplies
Don’t forget attachments. A crevice tool reaches between seats. A brush head gently cleans fabric. An upholstery tool handles mats. You’ll also need microfiber cloths for wiping, a trash bag for debris, and maybe a fabric refresher spray. Safety first: wear gloves if you’re dealing with sharp items. Park your car in a shaded, flat spot. Turn off the engine and remove keys. Open all doors for good airflow. This prevents overheating and makes access easy.
Pro tip: If it’s hot outside, wait until evening. Heat can make dust fly more. Now, remove floor mats and shake them outside. Empty ashtrays or cup holders. Loose items like toys or papers go into a bin. This clears the way so your vacuum can focus on the real mess.
Step-by-Step Guide to Vacuuming Your Car
With prep done, it’s time for the main event. Follow these steps in order. Starting from the top prevents dirt from falling onto cleaned areas. Take your time – rushing leads to missed spots. Aim for 20-30 minutes per session.
Step 1: Vacuum the Dashboard and Hard Surfaces
Begin at the top. Use the soft brush attachment. Gently run it over the dashboard. Dust loves vents and buttons. Hold the vacuum hose close but not touching delicate screens. Move to the center console. Crevices here hide crumbs. Insert the crevice tool carefully. For steering wheel, use the brush to avoid scratches.
Example: If you have kids, check under buttons for sticky residues. Vacuum pulls them out easily. Wipe any residue with a damp cloth after. This step keeps your dash looking new and reduces glare from dust.
Step 2: Clean Seats and Upholstery
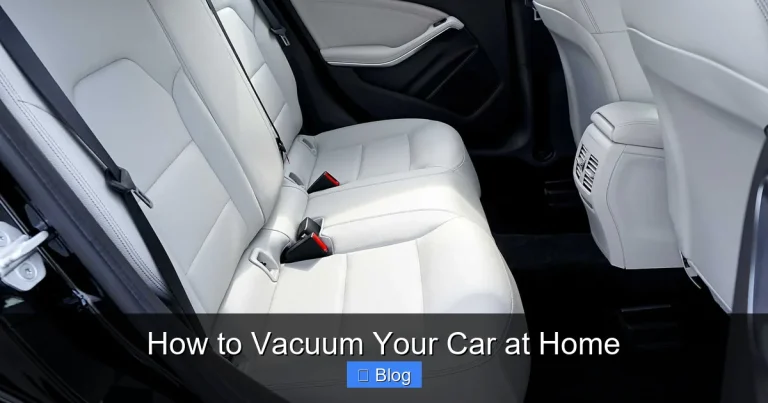
Seats are next. Start with headrests. Remove them if possible for better access. Use the upholstery tool. Go in slow, even strokes. Front to back works best on fabric. For leather, use a soft brush to avoid wear. Lift seat cushions if your model allows. Vacuum underneath for hidden dirt.
Practical tip: If pet hair sticks, sprinkle baking soda first. Let it sit 15 minutes, then vacuum. It loosens hair and deodorizes. Back seats often get the worst – focus on folds and seams. Example: After a road trip, you’ll find sand here. Strong suction grabs it all.
Step 3: Tackle the Floor and Trunk
Floors collect the most mess. Put mats aside. Use the crevice tool along edges and under seats. Then switch to the wide nozzle for open areas. Work from front to back. For carpets, go against the grain first to lift dirt, then with it to smooth.
The trunk is easy to forget. Empty it fully. Vacuum the carpeted areas and spare tire well. If you haul groceries, crumbs hide in corners. Use the hose extension if needed. Replace mats last – give them a good shake and vacuum before putting back.
You’re halfway through now. Feeling good? Let’s reference some key tools to make sure you’re on track.
Tools and Materials Quick Reference
| Tool/Attachment | Purpose | Best Use Case |
|---|---|---|
| Crevice Tool | Reaches narrow spaces | Between seats, door pockets, and vents |
| Soft Brush Attachment | Gently removes dust without scratching | Dashboard, steering wheel, and plastic trim |
| Upholstery Nozzle | Suction for fabric and cushions | Seats, headrests, and backrests |
| Wide Floor Nozzle | Covers large areas quickly | Floor mats, carpets, and trunk flooring |
| Microfiber Cloth | Wipes residue after vacuuming | Hard surfaces like console and doors |
| Extension Hose | Extends reach | Hard-to-access spots like under seats |
| Trash Bag | Collects loose debris | Initial cleanup before vacuuming starts |
Weak Suction
If power drops, check the hose for clogs. Unplug and shake out dirt. Clean the filter – rinse if washable, then dry fully. Battery low? Charge it overnight. Overloaded canister? Empty it right away.
Attachments Not Fitting
Some vacuums have universal fits, but if not, check the manual. Tighten connections firmly. For stuck ones, twist gently. Replace worn parts from the manufacturer.
Scratches on Surfaces
Always use the right attachment. Soft brushes for shiny areas. If a scratch occurs, buff with a cloth. Prevent by going slow. Leather seats? Condition after vacuuming.
Other issues: Overheating means take breaks. Noisy operation? Inspect for loose parts. Regular maintenance avoids most woes. If your vacuum is old, consider upgrading for better car vacuum at home results.
Conclusion
Congratulations! You’ve mastered how to use a car vacuum at home. With these steps, your vehicle stays clean and comfortable. Regular sessions keep allergens down and resale value up. It’s empowering to handle this yourself. Next time dirt builds, grab your vacuum and go. Your car will thank you with that new-car vibe. Happy cleaning!