How to Vacuum a Ac System on a Car
Vacuuming your car’s AC system removes air and moisture, ensuring efficient cooling and preventing damage. This guide walks you through the process step by step, from gathering tools to troubleshooting common issues. Follow these instructions to maintain your vehicle’s AC like a pro and save on repair bills.
Key Takeaways
- Safety first: Always wear protective gear and work in a well-ventilated area to avoid refrigerant exposure.
- Essential tools: A reliable vacuum pump and manifold gauge set are crucial for effective evacuation.
- Time matters: Run the vacuum for at least 30 minutes to thoroughly remove moisture and air.
- Leak check: Monitor vacuum levels to detect any system leaks before recharging.
- Professional help: If you’re unsure, consult a mechanic to avoid voiding warranties or causing damage.
- Maintenance tip: Regular vacuuming extends AC system life and improves fuel efficiency.
Quick Answers to Common Questions
Tip: How long should I vacuum?
For most cars, 30-60 minutes ensures moisture removal. Extend in humid climates for best results.
Question: Can I vacuum without a micron gauge?
Yes, manifold gauges work fine for DIY. But a micron gauge confirms deeper vacuum if you’re precise.
Tip: What’s the best vacuum pump for beginners?
Go for a 2-4 CFM model from Robinair. It’s reliable and pulls to 15 microns easily.
Question: Do I need to remove the receiver-drier?
Only if it’s old or contaminated. Otherwise, vacuuming alone refreshes the system.
Tip: How do I dispose of old refrigerant?
Don’t vent it—take to an auto shop or recycling center. It’s illegal and harmful otherwise.
Introduction
Hey there, car enthusiast! If you’ve noticed your car’s air conditioning blowing warm air or just want to keep your AC system in top shape, learning how to vacuum a AC system on a car is a game-changer. Vacuuming, also known as evacuating the system, removes air, moisture, and contaminants that can reduce efficiency or cause corrosion. In this guide, you’ll learn everything from the basics to detailed steps, so you can tackle this DIY task confidently. By the end, your AC will cool like new, and you’ll save money on shop visits. Let’s dive in!
Why Vacuum Your Car’s AC System?
Before we get to the how-to, it’s important to understand why this step matters. Over time, your car’s AC system can accumulate moisture from humidity or small leaks. This moisture mixes with refrigerant and forms acids that damage components like the compressor. Vacuuming pulls out that junk, creating a clean slate for fresh refrigerant. It’s especially key after repairs, like replacing a hose or the receiver-drier. Skipping it? You risk poor cooling or even total system failure. Trust me, a quick vacuum session now prevents headaches later.
Visual guide about How to Vacuum a Ac System on a Car
Image source: carfromjapan.com
Think of it like this: Your AC is a sealed unit, but air sneaks in during maintenance. A proper vacuum ensures peak performance, better fuel economy, and crisp, cold air on hot days. Ready to roll up your sleeves?
Tools and Materials You’ll Need
To vacuum a AC system on a car effectively, gather the right gear first. Don’t wing it—having everything handy makes the job smooth and safe. Start with basics like safety glasses and gloves to protect against oils and refrigerants.
Visual guide about How to Vacuum a Ac System on a Car
Image source: carfromjapan.com
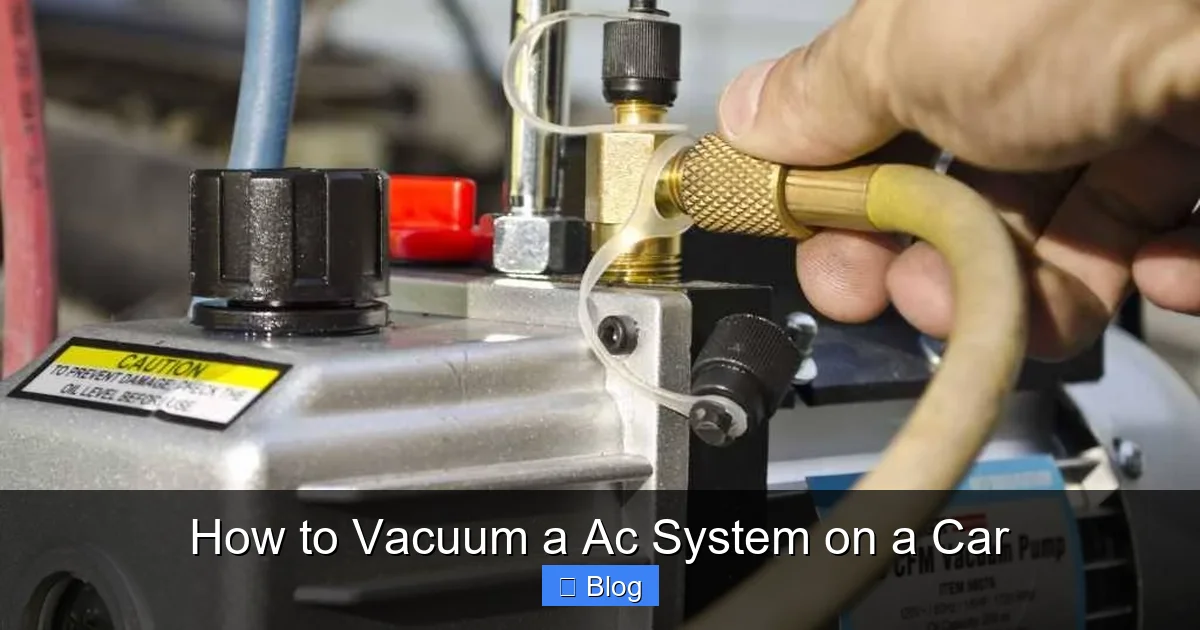
Now, for the core setup: You’ll need a vacuum pump rated for AC work, usually around 15 microns or better. Pair it with a manifold gauge set to monitor pressures. Hoses connect everything, and don’t forget vacuum-rated ones to avoid leaks. If your system uses R-134a refrigerant (common in most cars), ensure compatibility. A thermometer helps check temperatures later, and some folks use a micron gauge for precision—it’s optional but pro-level.
Pro tip: Buy a kit if you’re new; it often includes the pump, gauges, and hoses for under $200. Store them in your garage for future use. Examples? Brands like Robinair or JB Industries offer solid, affordable options that last years.
With these tools, you’re set. Budget about $150-300 total if starting from scratch. Now, let’s move to prep work.
Preparing Your Vehicle and Workspace
Safety and setup come before touching the AC. Park your car in a flat, shaded spot with good ventilation—refrigerants can be harmful if inhaled. Turn off the engine and let it cool completely. Disconnect the battery to avoid electrical surprises, especially if accessing under the hood.
| Tool | Purpose | Tips for Use |
|---|---|---|
| Vacuum Pump | Creates deep vacuum to remove air and moisture | Run at 2-5 CFM; ensure oil is fresh for best pull |
| Manifold Gauge Set | Monitors low and high-side pressures | Blue hose for low side, red for high; zero gauges before starting |
| AC Hoses | Connects pump to system ports | Use color-coded, vacuum-rated hoses; check for cracks |
| Safety Glasses and Gloves | Protects eyes and skin from refrigerant | Wear throughout; have soap nearby for spills |
| Micron Gauge (Optional) | Measures vacuum depth precisely | Aim for under 500 microns; confirms full evacuation |
| Thermometer | Checks system temps post-vacuum | Clip to vents; expect 40-50°F output after recharge |
| Service Ports Caps | Seals system after work | Torque to spec (usually 5-10 ft-lbs) to prevent leaks |
Locating AC Service Ports
Every car differs, but service ports are usually near the compressor or accumulator. Look for low-pressure (larger, blue-capped) and high-pressure (smaller, red-capped) ports on aluminum lines. Consult your owner’s manual or a quick online search for your model—say, “2015 Honda Civic AC ports.” Mark them with tape to avoid mix-ups. Example: On a Ford F-150, the low port is by the firewall.
Inspecting for Leaks or Damage
Before vacuuming, check hoses, fittings, and the compressor for oil residue or cracks—these signal leaks. Use soapy water on connections; bubbles mean trouble. If you spot issues, fix them first or call a pro. This step saves time and refrigerant later.
Practical tip: Take photos of the setup for reference. It helps if you’re doing this solo. Prep time? About 15-20 minutes. You’re now ready for the main event.
Step-by-Step Guide: How to Vacuum the AC System
Alright, hands-on time! Follow these steps carefully to vacuum a AC system on a car without mishaps. The whole process takes 1-2 hours, depending on your setup. Go slow and double-check connections.
Step 1: Connect the Manifold Gauges
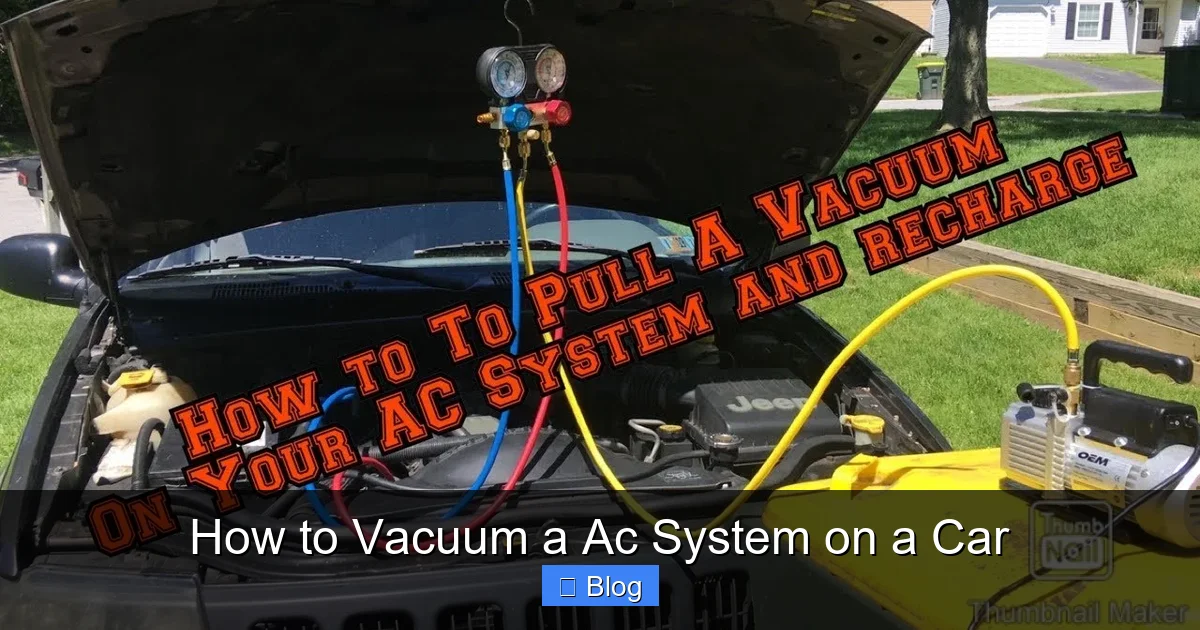
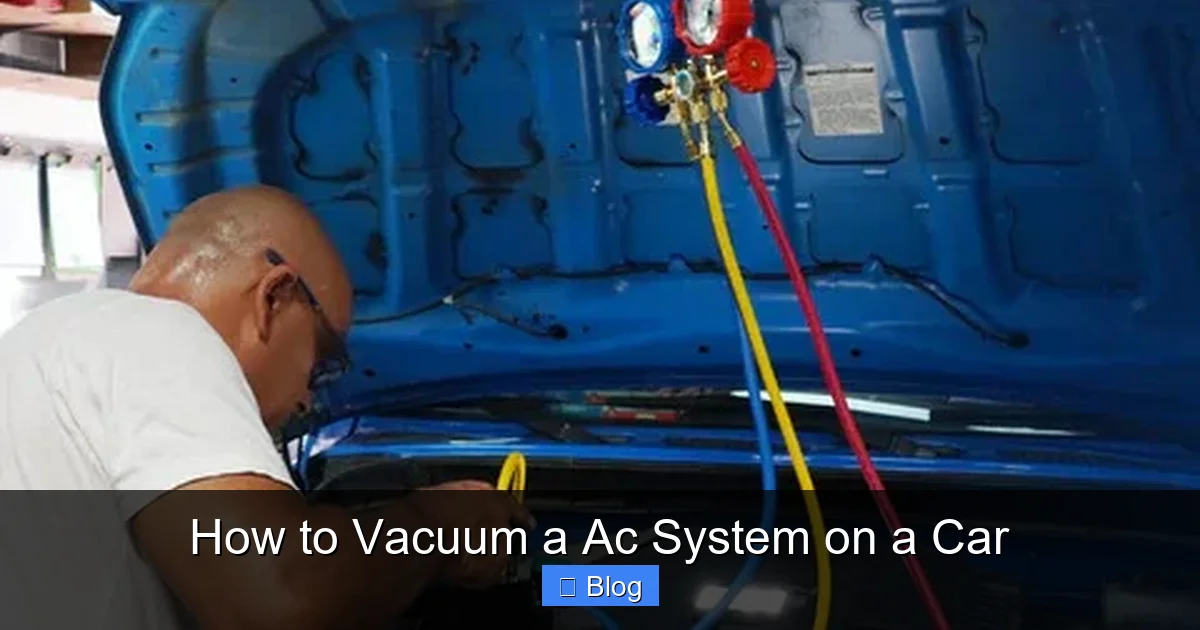
Attach the manifold gauge set to your vacuum pump. The center yellow hose goes to the pump’s inlet. Now, hook the blue hose to the low-pressure port and the red to the high-pressure port on the car. Ensure Schrader valves depress properly— you’ll hear a click. Close both manifold valves tightly.
Example: On a Toyota Camry, the ports are under a plastic cover near the strut tower. Tighten fittings hand-tight plus a quarter turn; overdoing it strips threads.
Step 2: Start the Vacuum Pump
Plug in the vacuum pump and turn it on. Open the manifold valves slowly to let the pump pull vacuum on the entire AC system. You’ll see the gauges drop toward zero or negative pressure. Let it run—no shortcuts here.
Tip: Elevate the car slightly if accessing low ports easily. Listen for unusual noises; a steady hum is good, rattling means check connections.
Step 3: Monitor and Run the Vacuum
Run the pump for a minimum of 30 minutes, ideally 45-60 for thorough evacuation. Watch the gauges: Low side should hold steady vacuum (around -25 to -30 inHg). If it rises, you have a leak—stop and inspect.
For best results, aim for a deep vacuum. Moisture boils off at low pressure, so patience pays. In humid areas, extend to an hour. Pro example: Mechanics often vacuum overnight for rebuilt systems.
Practical advice: Place a fan nearby to circulate air, keeping things cool. Never leave it unattended the first time.
Step 4: Check for Leaks and Hold Vacuum
After running, close the manifold valves and turn off the pump. Watch the gauges for 10-15 minutes. If vacuum holds (no rise over 2 inHg), you’re golden. A slow climb means a small leak—recheck fittings. For precision, use a micron gauge; under 500 microns is ideal.
If it holds, congratulations! The system is evacuated. Disconnect carefully, starting with the car ports to avoid refrigerant pull if any remains.
Troubleshooting Common Issues
Even with care, things can go sideways when learning how to vacuum a AC system on a car. Here’s how to handle hiccups.
Vacuum Won’t Hold
This screams leak. Recheck all connections, hoses, and ports. O-rings might be worn—replace with AC-specific ones. Example: A loose service port cap can cause this; torque it properly. If persistent, pressure-test the system with nitrogen before retrying.
Pump Not Pulling Strong Vacuum
Low oil in the pump? Top it up with vacuum pump oil. Clogged hoses block flow—clean or swap them. In cold weather, warm the pump first. If it’s old, consider an upgrade; cheap pumps struggle below 20 microns.
Gauses Show Weird Readings
Zero them before starting. If the high side doesn’t vacuum equally, a Schrader valve might stick—depress and clean. Uneven pull could mean a blockage; flush lines if needed. Always compare to your car’s specs.
Other tips: If moisture lingers (gauges creep up fast), run longer or add a drier. For electrical glitches, ensure the battery’s connected for any AC clutch tests post-vacuum. If overwhelmed, a shop diagnostic runs $50-100.
Remember, troubleshooting builds skills. Document issues for next time.
After the Vacuum: Recharging and Testing
With the system clean, it’s recharge time—but focus here is vacuum’s role. Connect your refrigerant can to the low-side port via manifold. Follow your car’s capacity (manual lists it, like 24 oz for many sedans). Start the engine, AC on max, and add slowly while monitoring gauges—low side 25-45 psi.
Test drive: Air should blow cold (under 50°F at vents). If not, re-vacuum and check. Seal ports and enjoy!
Maintenance note: Vacuum annually or after any AC work. It keeps things efficient.
Conclusion
There you have it—a full rundown on how to vacuum a AC system on a car. From tools to troubleshooting, you’ve got the know-how to keep your ride cool and reliable. This DIY not only saves cash but boosts your confidence under the hood. If issues persist, pros are there—no shame in that. Drive safe, stay cool, and tackle your next project!