How to Vacuum My Car Ac
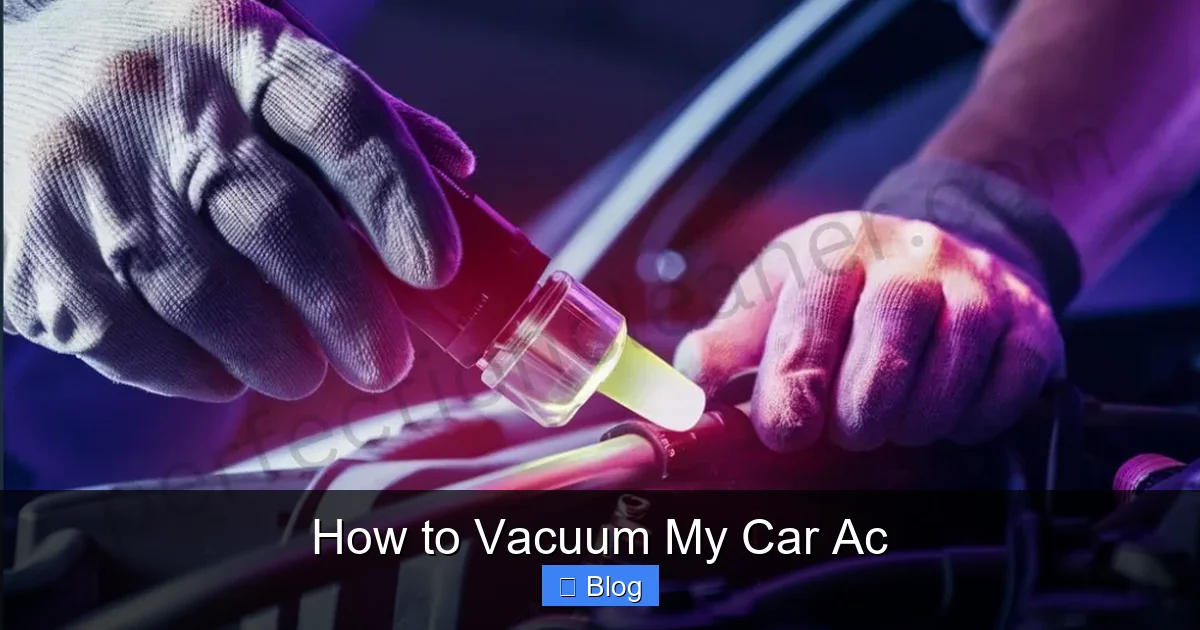
Keeping your car’s AC system clean is essential for fresh, cool air and efficient operation. Vacuuming removes moisture, debris, and contaminants that can reduce airflow and cause odors. With the right tools and a few simple steps, you can restore your AC’s performance in under an hour.
How to Vacuum My Car Ac: A Complete Step-by-Step Guide
Your car’s air conditioning system does more than just blow cold air—it helps remove humidity, filter pollutants, and keep your cabin comfortable. But over time, moisture, dust, and mold can build up inside the AC components. That’s where vacuuming comes in. Vacuuming your car’s AC system flushes out contaminants, removes excess moisture, and prepares the system for a fresh recharge. This not only improves cooling efficiency but also extends the life of your AC compressor and other parts.
In this guide, you’ll learn exactly how to vacuum your car’s AC system safely and effectively—whether you’re doing it yourself or deciding whether to hire a pro. You’ll discover what tools you need, the best timing, and how to avoid common mistakes. By the end, you’ll know when and how to vacuum your car’s AC to enjoy cleaner, cooler, and healthier air on every drive.
Why Vacuum Your Car’s AC?
Before diving into the steps, let’s understand why vacuuming matters. When your AC runs, it circulates refrigerant through coils and evaporators. If moisture gets trapped in these components, it can freeze up the evaporator, reduce cooling power, and even damage the compressor. Over time, dust and mold grow in damp areas, leading to unpleasant odors and poor air quality.
Vacuuming pulls air, moisture, and non-condensable gases from the system using a vacuum pump connected to the low-pressure port. This process creates a deep vacuum that draws out contaminants and dries the internal components. The result? Better airflow, faster cooling, and a fresher-smelling cabin.
When Should You Vacuum Your Car’s AC?
The best time to vacuum your car’s AC is during routine maintenance—ideally once a year, or before long summer drives. Signs you may need vacuuming include:
– Weak or warm airflow from the vents
– Musty or sour odors when the AC runs
– Ice buildup on the evaporator (visible through the dash vents)
– The AC hasn’t been serviced in over a year
If you hear hissing sounds or notice refrigerant leaks, vacuuming alone won’t fix the issue—you’ll need a leak repair first.
Tools and Materials You’ll Need
To vacuum your car’s AC properly, you’ll need specific equipment. Here’s a list of essentials:
– Refrigerant recovery machine with vacuum pump
– AC manifold gauge set (low and high pressure hoses)
– Vacuum hose with quick-connect fittings
– Refrigerant scale (optional but recommended)
– UV dye kit (for leak detection, optional)
– Safety gloves and goggles
– Owner’s manual (to confirm refrigerant type)
Note: Hand-operated vacuum pumps are not recommended—they don’t achieve the deep vacuum needed to remove moisture effectively. A recovery machine with a vacuum pump is the industry standard.
Quick Reference
Here’s a quick overview of the vacuuming process, tools, and key steps:
Step-by-Step Instructions
Step 1: Turn Off the Engine and Prepare the Area
Safety first. Before touching any AC components, turn off the engine and ensure the vehicle is parked on a flat surface. Wear safety gloves and goggles to protect against refrigerant exposure. Open the hood and locate the AC system components—typically near the firewall, behind the grille.
Step 2: Locate the Low-Pressure Service Port
The low-pressure port is usually larger than the high-pressure port and has a black or blue cap. It’s part of the AC suction line and is often near the firewall on the passenger side. Consult your owner’s manual if you’re unsure—different cars place ports in different locations.
Step 3: Attach the Manifold Gauge Set
Connect the blue hose from the manifold gauge set to the low-pressure port. Ensure the quick-connect fitting clicks into place. Then, attach the yellow hose to the high-pressure port (smaller, red cap) and the green hose to the vacuum pump. Never leave the high-pressure port open—it can release pressurized refrigerant.
Step 4: Start the Vacuum Pump
Turn on the vacuum pump and monitor the gauge. You’ll see the pressure drop rapidly as air and moisture are pulled from the system. The goal is to reach a vacuum level of 29 inches Hg (or -29.9 inHg) and hold it steady. This indicates a strong, dry system.
Step 5: Hold the Vacuum for at Least 30 Minutes
Once the desired vacuum is reached, close the valves on the manifold set and continue running the pump for another 30 to 45 minutes. This allows time for residual moisture to condense and be drawn out. Watch the gauge—if it rises quickly, there may be a leak.
Step 6: Shut Off the Pump and Disconnect
After holding the vacuum, turn off the pump. Wait about 5 minutes for pressure to stabilize, then slowly open the low-side valve to equalize pressure before removing the hose. Wipe the port with a clean rag to prevent dirt from entering.
Step 7: Recharge with Refrigerant
Now that the system is dry and sealed, recharge it with the correct refrigerant type—usually R-134a or R-1234yf (in newer models). Use a refrigerant canister with a built-in scale, or a digital recharge kit. Add refrigerant in small increments while monitoring pressure and temperature.
Step 8: Test the System
Start the engine and turn the AC to full blast. Check for cold airflow, proper pressure readings, and no unusual noises. Run it for 10–15 minutes to ensure everything is working smoothly.
Troubleshooting Common Issues
Even with careful preparation, problems can arise. Here’s how to handle them:
– Vacuum gauge rises quickly: Likely a leak. Use UV dye or a leak detector to find it.
– No vacuum forms: Check connections for leaks or blockages.
– Weak cooling after recharge: System may need additional vacuuming or refrigerant.
– Strange noises: Could indicate debris in the compressor or damaged components.
If you encounter repeated issues, consider having a professional inspect the system.
Tips for Success
– Always use the correct refrigerant type for your car—mixing types can damage the system.
– Work in a well-ventilated area to avoid inhaling fumes.
– Don’t overcharge the system—more refrigerant doesn’t mean better cooling.
– Keep your tools clean to prevent contamination.
Conclusion
Vacuuming your car’s AC system is a smart way to maintain performance, improve air quality, and prevent costly repairs. While it requires some specialized tools, the process is straightforward and rewarding. Whether you choose to DIY or visit a trusted mechanic, regular vacuuming ensures your AC runs efficiently and keeps your cabin fresh.
By following this guide, you now know how to vacuum your car’s AC, recognize warning signs, and troubleshoot common issues. Take action today—your next road trip will feel cooler, cleaner, and more enjoyable.
Key Takeaways
- Vacuuming your car AC removes moisture and contaminants that affect cooling performance and air quality.
- You should vacuum your car’s AC at least once a year, or more often if you notice weak airflow or strange smells.
- Use a refrigerant recovery machine with a vacuum pump for safe and effective results—hand pumps aren’t sufficient.
- Follow proper safety steps, including wearing gloves and goggles, and ensuring the engine is off during the process.
- Recharge the system with the correct refrigerant type after vacuuming to maintain optimal performance.
- Check for leaks before recharging to prevent future issues and wasted refrigerant.
- DIY vacuuming works, but professional service ensures accuracy and avoids common mistakes.
Quick Answers to Common Questions
Tip/Question?
Answer: Yes, you can vacuum your car’s AC without removing the refrigerant—modern recovery machines allow you to pull air and moisture directly from the service ports. Just make sure the system is depressurized first.
Tip/Question?
Answer: The ideal vacuum level is 29 inches Hg or lower. If your gauge doesn’t reach this, the pump may be faulty, or there’s likely a leak in the system.
Tip/Question?
Answer: Avoid using hand-operated vacuum pumps—they can’t create the deep vacuum needed to remove moisture effectively. Invest in a proper recovery machine for reliable results.
Tip/Question?
Answer: Always wear safety gloves and goggles when handling AC components. Refrigerants can cause skin irritation and eye damage.
Tip/Question?
Answer: If you smell refrigerant (sweet or oily odor), turn off the engine and check for leaks immediately. Refrigerant is harmful if inhaled and damages the ozone layer.
At a Glance
| Step | Tool/Action | Time Estimate | Purpose |
|---|---|---|---|
| 1 | Locate low-pressure port | 2–3 min | Connect gauges safely |
| 2 | Attach manifold gauges | 5 min | Establish connection points |
| 3 | Start vacuum pump | 10–15 min | Remove air and moisture |
| 4 | Monitor vacuum level | Ongoing | Ensure deep vacuum achieved |
| 5 | Hold vacuum for 30+ minutes | 30+ min | Confirm system integrity |
| 6 | Shut off pump and disconnect | 2 min | Prepare for recharge |