How to Vacuum Side of Car Seats
Cleaning the sides of car seats is often overlooked, but it’s essential for maintaining a hygienic and tidy vehicle. This guide walks you through the tools, techniques, and best practices to vacuum car seat sides thoroughly—even in tight crevices and hard-to-reach areas.
Keeping your car clean isn’t just about appearances—it’s about comfort, hygiene, and preserving your vehicle’s value. While most people focus on vacuuming the seat cushions and floor mats, the sides of car seats are often neglected. These narrow vertical surfaces collect crumbs, dust, pet hair, and even moisture over time. Left unchecked, this buildup can lead to odors, stains, and even mold in humid climates. Learning how to vacuum side of car seats properly ensures a deeper clean and a healthier driving environment.
In this comprehensive guide, you’ll discover the best tools, step-by-step techniques, and pro tips to clean the sides of your car seats like a professional. Whether you drive a compact sedan, an SUV, or a luxury vehicle, these methods work for fabric, leather, and synthetic upholstery. We’ll also cover troubleshooting common issues and how to maintain your car’s interior between deep cleans.
Key Takeaways
- Use the right attachments: A crevice tool and upholstery brush are essential for reaching tight spaces along seat sides.
- Vacuum in sections: Work from top to bottom and side to side to ensure no debris is missed.
- Pre-treat stubborn dirt: For sticky residue or ground-in grime, use a soft brush and mild cleaner before vacuuming.
- Don’t forget under the seats: Debris often falls into side gaps and under seat rails—vacuum these areas too.
- Maintain regularly: Vacuum seat sides every 2–4 weeks to prevent buildup and extend seat life.
- Protect delicate materials: Use low suction on leather or delicate fabrics to avoid damage.
- Empty your vacuum often: A full dustbin reduces suction power and makes cleaning less effective.
Quick Answers to Common Questions
Should I vacuum seat sides when the car is hot?
No, avoid vacuuming in direct sunlight or when the car is hot. Heat can cause cleaning products to dry too quickly, leaving streaks or residue. Clean in the shade or during cooler parts of the day.
Can I use a regular household vacuum?
Yes, but make sure it has the right attachments. A crevice tool and upholstery brush are essential. Avoid vacuums with rotating brushes, as they can snag fabric.
How often should I vacuum car seat sides?
For most drivers, every 2–4 weeks is sufficient. If you have kids, pets, or eat in the car frequently, aim for weekly touch-ups.
Is it safe to vacuum near airbag panels?
Yes, but be gentle. Avoid prying or forcing tools into seams near airbags. Use the crevice tool carefully and never insert metal objects.
What if I don’t have a crevice tool?
You can use a soft brush and a handheld vacuum, or wrap a rubber band around a narrow nozzle to create a makeshift crevice tool. Alternatively, use a detailing brush to loosen dirt before vacuuming.
Tips for Different Seat Materials
Not all car seats are created equal. The material affects how you clean and what tools you use.
Fabric Seats
Fabric is durable but prone to trapping dirt and odors. Use the upholstery brush on medium suction. For stubborn stains, lightly spray a fabric-safe cleaner and let it sit for 2–3 minutes before vacuuming. Avoid over-wetting, as moisture can lead to mildew.
Leather Seats
Leather requires gentle care. Use the soft brush attachment on low suction to prevent scratching. Never use water or harsh chemicals directly on leather. Instead, wipe with a damp microfiber cloth and a leather cleaner. Vacuum regularly to prevent dust buildup, which can dull the finish over time.
Vinyl and Synthetic Materials
These materials are easier to clean but can still collect grime. Use the upholstery brush with moderate suction. For sticky residues, a mild soap solution and cloth work well. Always dry the area thoroughly after cleaning.
Troubleshooting Common Issues
Visual guide about How to Vacuum Side of Car Seats
Image source: thumbs.dreamstime.com
Why Cleaning Car Seat Sides Matters
Visual guide about How to Vacuum Side of Car Seats
Image source: m.media-amazon.com
The sides of car seats—especially near the doors and center console—are high-traffic zones. Passengers brush against them when entering and exiting, food particles fall into the seams, and moisture from wet clothing or umbrellas can seep into the fabric. Over time, this creates a breeding ground for bacteria and allergens.
Ignoring these areas can also lead to permanent staining. For example, spilled coffee or soda that drips down the side of a seat can soak into the padding if not removed quickly. Even small crumbs from snacks can attract pests or develop unpleasant smells. Regular vacuuming prevents these problems and keeps your car feeling fresh.
Tools and Materials You’ll Need
Before you start, gather the right equipment. Using the correct tools makes the job faster, more effective, and safer for your car’s interior.
You’ll need:
- A handheld or upright vacuum with strong suction
- A crevice tool attachment (narrow and flexible)
- An upholstery brush attachment (soft bristles)
- A soft-bristled detailing brush (optional, for pre-cleaning)
- Microfiber cloths
- Mild upholstery cleaner (for sticky residue)
- Compressed air (optional, for electronics near seat sides)
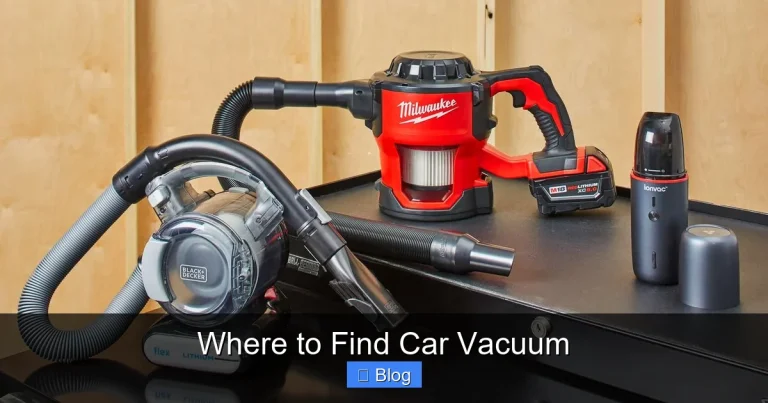
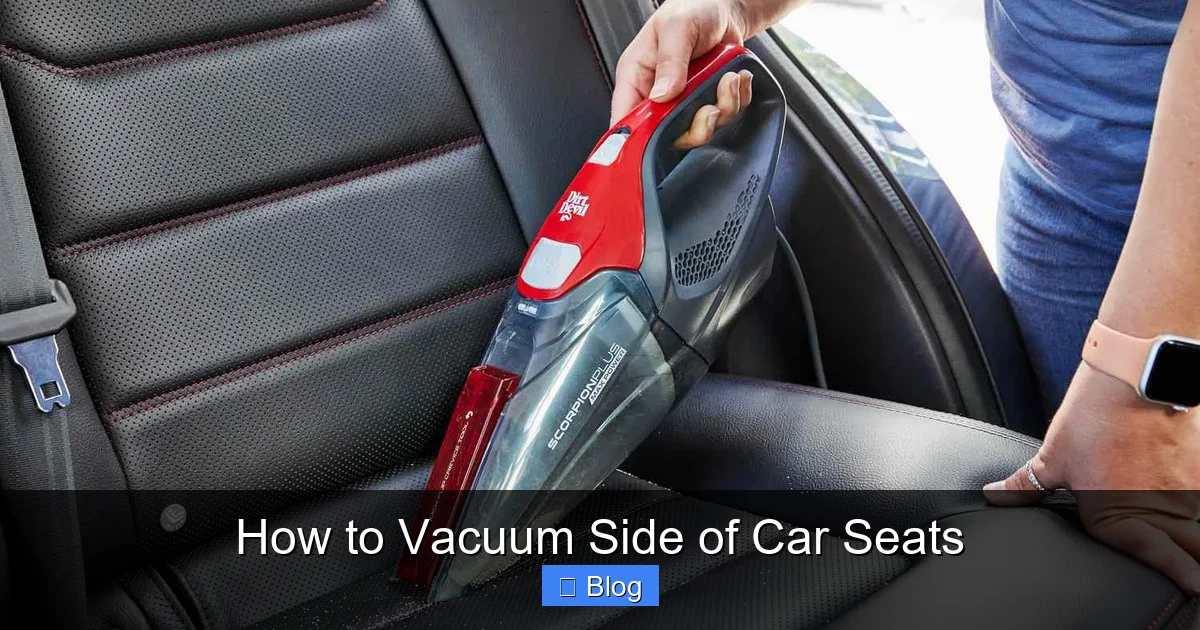
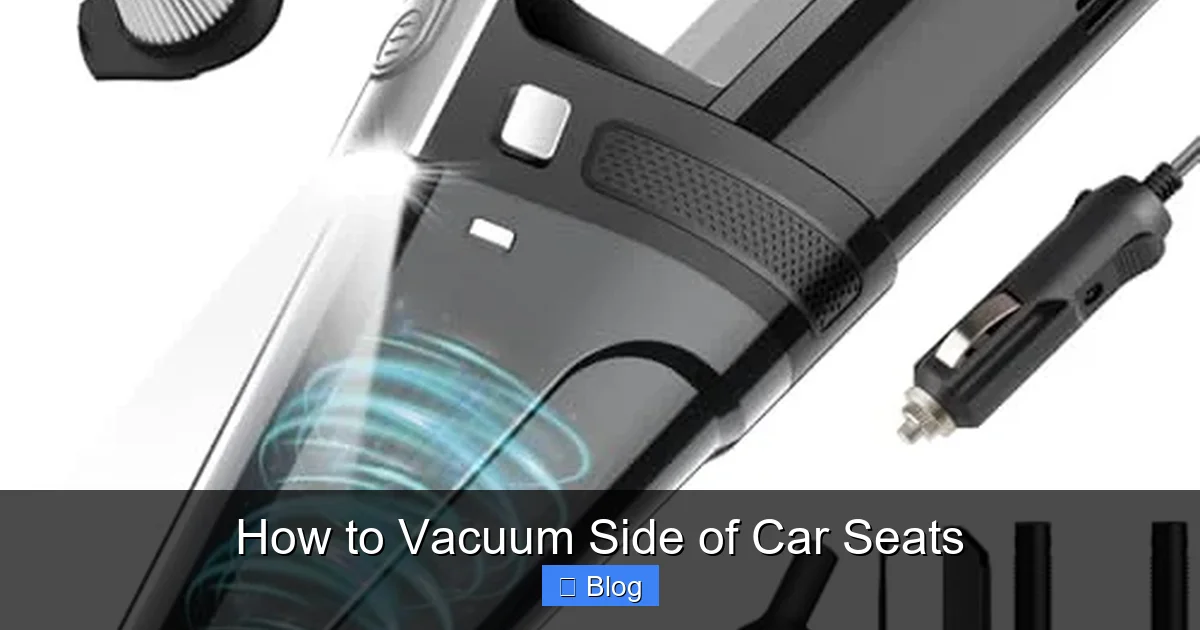
If you don’t have a vacuum with attachments, consider investing in a portable car vacuum. Many models come with crevice tools and brushes designed specifically for automotive use. Cordless options are especially convenient for reaching tight spaces without dragging a hose.
Step-by-Step Guide to Vacuuming Car Seat Sides
Now that you’re prepared, let’s walk through the cleaning process. Follow these steps in order for the best results.
Step 1: Remove Loose Items
Start by clearing the seat area. Take out any personal items like phones, chargers, tissues, or trash. Check between the seat and door panel, under the seat, and in door pockets. This prevents items from falling into crevices or getting sucked into the vacuum.
Step 2: Shake Out Floor Mats
Even though we’re focusing on seat sides, debris often falls onto the floor. Remove and shake out floor mats to dislodge crumbs and dirt. This reduces the chance of recontaminating the seat area during cleaning.
Step 3: Use the Crevice Tool for Tight Spaces
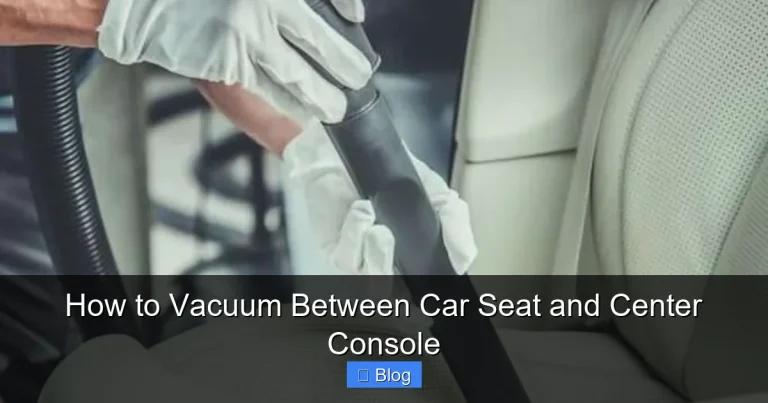
Attach the crevice tool to your vacuum. This narrow nozzle is perfect for reaching into the narrow gaps between the seat side and the door panel, as well as along the base where the seat meets the floor.
Insert the tool gently into these spaces and move it slowly up and down. Don’t force it—some areas have wiring or airbags behind the panels. If you feel resistance, stop and adjust your angle.
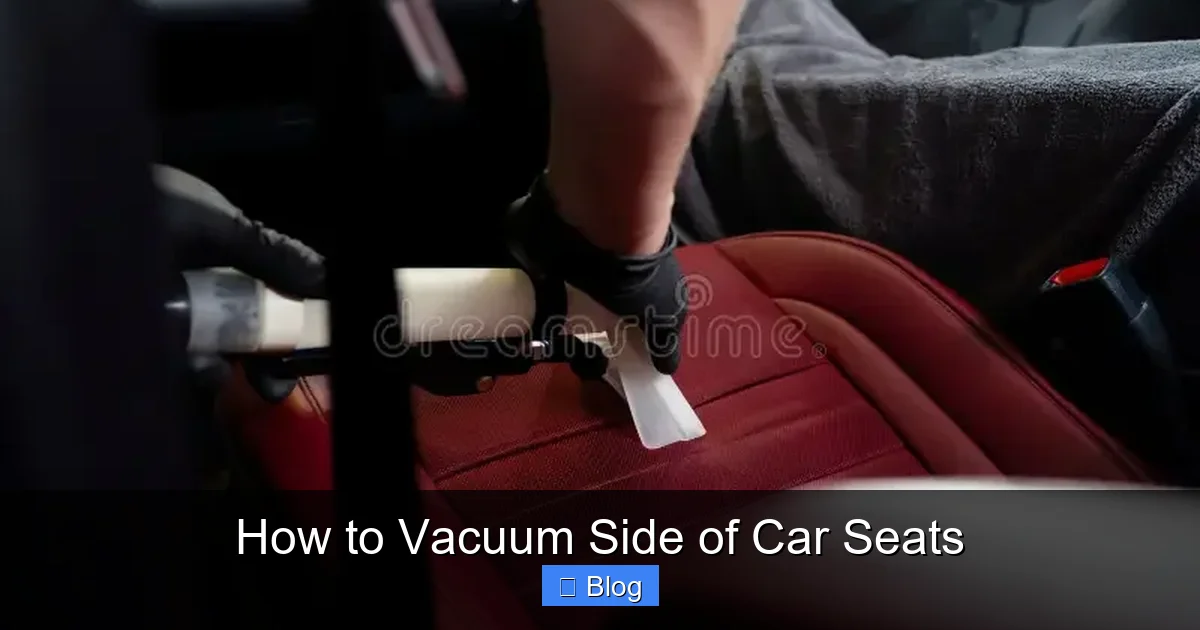
Step 4: Switch to the Upholstery Brush for Broad Surfaces
Once the tight spots are done, switch to the upholstery brush. This attachment has soft bristles that lift dirt without damaging fabric or leather.
Run the brush along the vertical surface of the seat side, starting from the top and working downward. Use gentle, overlapping strokes. Pay special attention to areas near the door handle and armrest, where oils and dirt accumulate.
Step 5: Vacuum Under the Seat
Debris often falls into the gap between the seat and the floor rail. Tilt the seat forward if possible (most modern cars allow this) and vacuum underneath. Use the crevice tool to reach into narrow tracks where dirt collects.
Step 6: Clean Around Seat Controls and Electronics
Many cars have seat adjustment buttons, heating controls, or air vents along the side of the seat. Use a microfiber cloth lightly dampened with water or a mild cleaner to wipe these areas. For dust in small crevices around buttons, use compressed air or a soft brush.
Avoid spraying liquids directly onto electronics. Instead, apply cleaner to the cloth first.
Step 7: Final Pass with the Vacuum
Do one last pass over the entire seat side with the upholstery brush. This ensures all loosened dirt is removed. Check for any missed spots, especially in corners or near stitching.
At a Glance: Vacuuming Steps and Time Estimates
| Step | Tool Needed | Time Estimate |
|---|---|---|
| Remove loose items | None | 2 minutes |
| Shake out floor mats | None | 3 minutes |
| Vacuum tight spaces | Crevice tool | 5 minutes |
| Clean broad surfaces | Upholstery brush | 6 minutes |
| Vacuum under seat | Crevice tool | 4 minutes |
| Clean controls & electronics | Microfiber cloth | 3 minutes |
| Final vacuum pass | Upholstery brush | 3 minutes |
Even with the best techniques, you might run into problems. Here’s how to handle them.
Vacuum Loses Suction
If your vacuum isn’t picking up dirt, check the dustbin or bag. A full container reduces airflow. Also, inspect the hose and attachments for clogs. Clear any blockages and empty the bin before continuing.
Debris Won’t Come Loose
For ground-in dirt, use a soft-bristled detailing brush to agitate the surface before vacuuming. For sticky spills, apply a small amount of upholstery cleaner and let it sit. Never scrub aggressively—this can damage the fabric.
Scratches on Leather
If you notice scratches, you may have used too much suction or a hard brush. Switch to a softer attachment and lower suction setting. For existing scratches, use a leather conditioner to restore the finish.
Moisture Left Behind
Avoid using excessive liquid cleaners. If moisture remains, use a dry microfiber cloth to blot the area. Leave the car doors open (in a safe, dry location) to allow airflow and speed up drying.
Maintaining Clean Seat Sides
Vacuuming doesn’t have to be a monthly chore. With regular maintenance, you can keep seat sides clean with minimal effort.
- Weekly: Use a handheld vacuum to quickly remove crumbs and dust.
- Bi-weekly: Do a full pass with the crevice tool and upholstery brush.
- Monthly: Deep clean with a fabric or leather cleaner as needed.
Consider using seat side protectors or door sill guards to reduce wear and tear. These accessories catch dirt before it reaches the seat and are easy to wipe clean.
Conclusion
Learning how to vacuum side of car seats is a simple but powerful way to improve your vehicle’s cleanliness and comfort. With the right tools and techniques, you can remove hidden dirt, prevent odors, and extend the life of your upholstery. Remember to work in sections, use the correct attachments, and adjust your approach based on seat material.
Regular maintenance makes each cleaning session faster and more effective. By incorporating seat side vacuuming into your routine, you’ll enjoy a fresher, healthier car interior—every time you drive.