How to Vacuum Your Car Ac System
Vacuuming your car’s AC system removes moisture and air, ensuring efficient cooling and preventing damage. This guide walks you through the process using a vacuum pump and manifold gauge set, even if you’re a beginner.
Step 4: Monitor the Vacuum Level
Keep an eye on the gauge readings. Once the system reaches 500 microns, let the pump run for at least 30 minutes. This ensures that any remaining moisture evaporates and is pulled out. Moisture boils at lower temperatures under vacuum, so even small amounts can be removed with time.
If your gauge has a micron scale, watch for stabilization. A steady reading means the system is holding vacuum and no air or moisture is entering. If the vacuum level starts to rise after turning off the pump, there’s likely a leak.
Step 5: Test for Leaks
After the vacuum period, close both valves on the manifold gauge set and turn off the vacuum pump. Wait 10–15 minutes and monitor the gauge. If the vacuum level rises significantly (more than 50–100 microns), there’s a leak in the system.
Use a leak detection kit or soapy water to check connections, hoses, and components. Repair any leaks before proceeding. Common leak points include O-rings, service ports, and the compressor shaft seal.
Step 6: Recharge the System
Once the system holds vacuum, it’s time to recharge with refrigerant. Close the valves on the manifold set, disconnect the yellow hose from the vacuum pump, and connect it to your refrigerant canister. Follow the manufacturer’s instructions for the correct amount of refrigerant—usually listed in your owner’s manual or on a sticker under the hood.
Open the low-pressure valve slowly and let the refrigerant flow into the system. Never open the high-pressure side during recharge unless directed by a professional. Once the correct amount is added, close the valve, disconnect the hoses, and replace the service port caps.
Step 7: Test the AC System
Start your car and turn on the AC to the coldest setting with the fan on high. Feel the air coming from the vents—it should be noticeably cold within a few minutes. If not, there may still be air in the system or another issue.
Listen for unusual noises like hissing or knocking, which could indicate a leak or compressor problem. If the system doesn’t cool properly, recheck your work or consult a technician.
Key Takeaways
- Safety first: Always wear safety goggles and gloves when working with refrigerants and high-pressure systems.
- Use the right tools: A manifold gauge set and vacuum pump are essential for proper evacuation.
- Moisture is the enemy: Water in the AC system can freeze, cause corrosion, and reduce cooling efficiency.
- Pull a deep vacuum: Aim for 500 microns or lower and hold it for at least 30 minutes to ensure all moisture is removed.
- Check for leaks: A rising vacuum reading indicates a leak that must be fixed before recharging.
- Recharge properly: Only add refrigerant after the system holds vacuum and is leak-free.
- Know when to call a pro: If you’re unsure about refrigerant handling or system integrity, consult a certified technician.
Quick Answers to Common Questions
Tip/Question?
Can I vacuum my AC system without a manifold gauge set?
No—you need a manifold gauge set to connect the vacuum pump to both the high and low sides of the system. Skipping this step risks incomplete evacuation and poor performance.
Tip/Question?
How long should I vacuum my car’s AC system?
At least 30 minutes after reaching 500 microns. Larger vehicles may need up to an hour to ensure all moisture is removed.
Tip/Question?
Is it safe to vacuum the AC system with refrigerant still inside?
No. Always recover any remaining refrigerant using proper equipment before vacuuming. Releasing refrigerant into the atmosphere is illegal and harmful to the environment.
Tip/Question?
Can I use a household vacuum cleaner instead of a vacuum pump?
Absolutely not. Household vacuums aren’t designed for refrigerant systems and can’t achieve the deep vacuum needed. They also risk damaging the AC components.
Tip/Question?
Should I add refrigerant immediately after vacuuming?
Yes, but only after confirming the system holds vacuum and is leak-free. Adding refrigerant too soon can trap moisture and reduce efficiency.
Troubleshooting Common Issues
Even with careful work, problems can arise. Here’s how to handle common issues:
Why Vacuuming Your Car AC System Matters
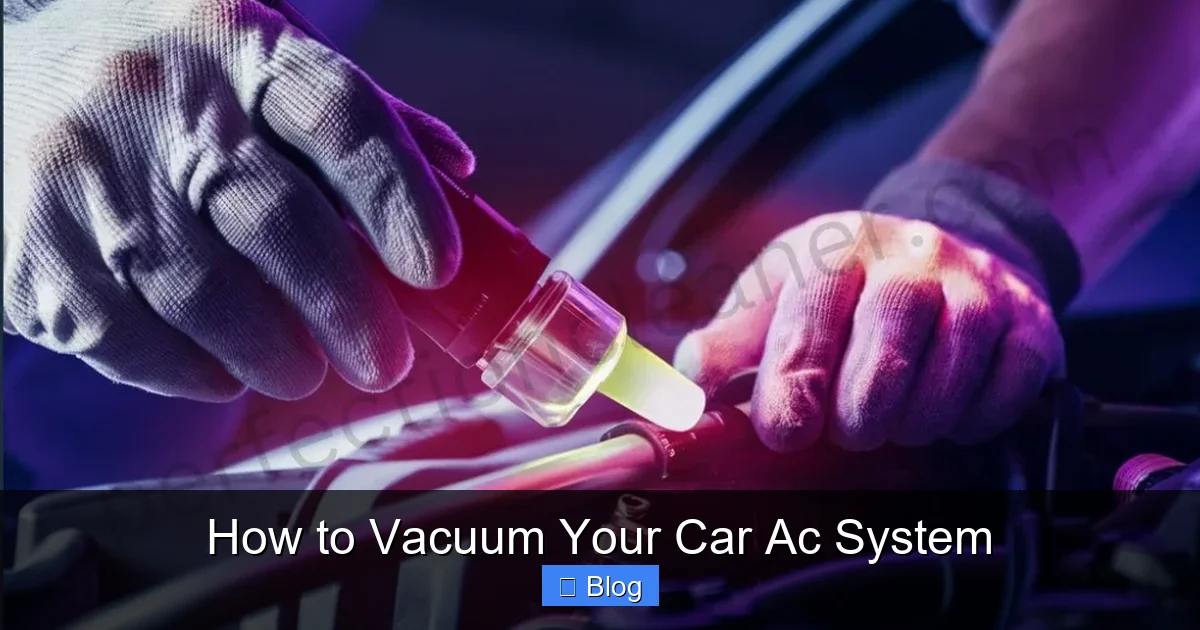
Your car’s air conditioning system relies on refrigerant to cool the air inside your vehicle. But over time, moisture and air can sneak into the system—especially after repairs, leaks, or if the system has been opened. These contaminants don’t just reduce cooling performance; they can cause serious damage. Moisture reacts with refrigerant to form acidic compounds that corrode metal parts, while air increases pressure and reduces efficiency.
Visual guide about How to Vacuum Your Car Ac System
Image source: perfectioncleaner.com
Vacuuming the AC system removes both air and moisture, creating a clean, dry environment for the refrigerant to work properly. It’s a critical step after any AC repair, recharge, or when replacing components like the compressor or evaporator. Skipping this step can lead to poor cooling, strange noises, or even complete system failure.
In this guide, you’ll learn how to vacuum your car’s AC system safely and effectively using basic tools. Whether you’re a DIY enthusiast or just want to understand the process before visiting a mechanic, these steps will help you get the job done right.
Tools and Materials You’ll Need
Before starting, gather the following tools and supplies. Most are available at auto parts stores or online:
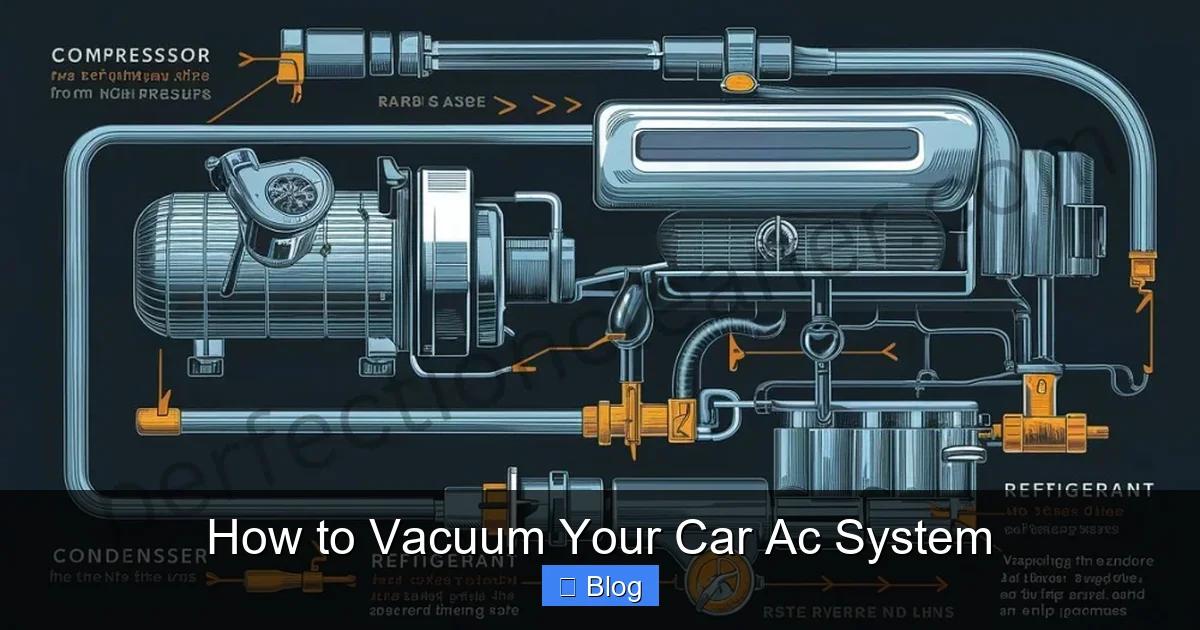
Visual guide about How to Vacuum Your Car Ac System
Image source: perfectioncleaner.com
- Manifold gauge set (low and high-pressure gauges)
- Vacuum pump (manual or electric)
- Refrigerant hoses (typically included with the gauge set)
- Safety goggles and gloves
- Refrigerant (R-134a or R-1234yf, depending on your vehicle)
- Leak detection kit (optional but recommended)
- Owner’s manual or vehicle-specific AC service guide
Make sure your vacuum pump is rated for automotive use and capable of pulling down to at least 500 microns. A digital micron gauge is helpful but not required—many modern manifold sets include one.
Step-by-Step: How to Vacuum Your Car AC System
Step 1: Prepare Your Vehicle and Workspace
Park your car on a flat surface and turn off the engine. Open the hood and locate the AC service ports—usually found near the firewall or compressor. The low-pressure port is typically on the larger aluminum line and has a blue or black cap. The high-pressure port is smaller and has a red cap.
Wear safety goggles and gloves to protect yourself from refrigerant and debris. Work in a well-ventilated area, preferably outdoors or in a garage with the door open. Refrigerant is not flammable, but it can displace oxygen in enclosed spaces.
Step 2: Connect the Manifold Gauge Set
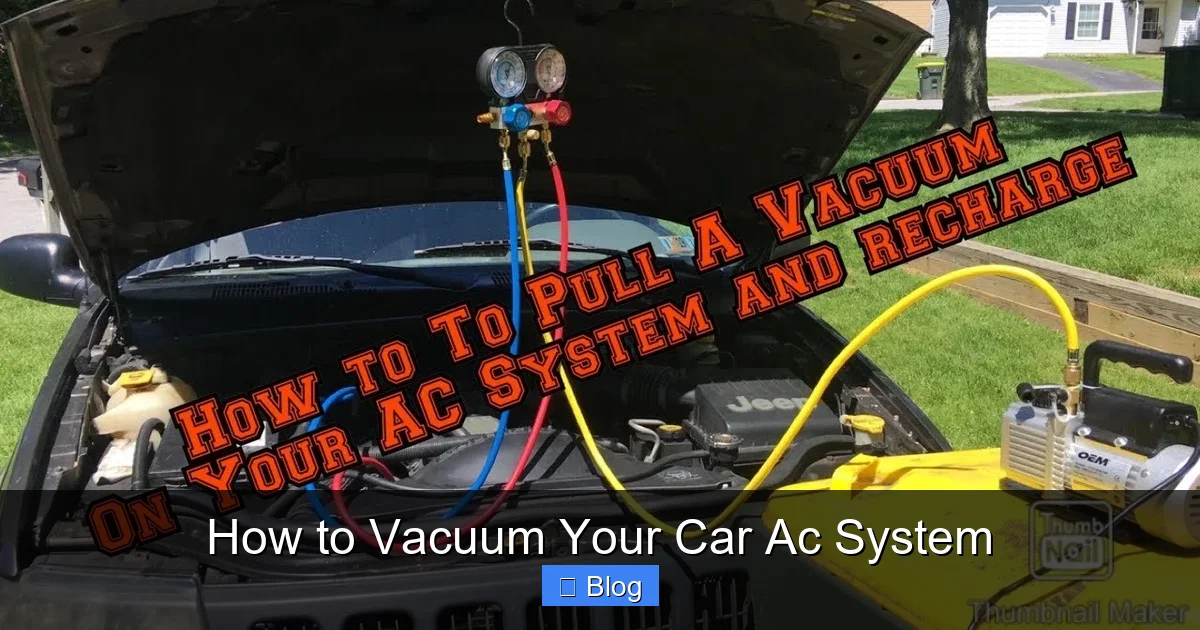
Attach the blue hose from your manifold gauge set to the low-pressure service port. Connect the red hose to the high-pressure port. The yellow hose connects to the vacuum pump. Make sure all connections are tight and secure to prevent leaks.
Open both valves on the manifold gauge set (turn the knobs counterclockwise). This allows the vacuum pump to pull air from both sides of the system simultaneously. If you only vacuum one side, you risk leaving moisture trapped in the other.
Step 3: Start the Vacuum Pump
Turn on the vacuum pump and let it run. Watch the low-pressure gauge—it should begin dropping rapidly, indicating that air is being removed. The goal is to reach a vacuum level of 500 microns or lower. Most automotive systems require this level to ensure all moisture is boiled off and removed.
This process typically takes 30 to 45 minutes, depending on the size of your system and the pump’s capacity. Larger vehicles or systems with more components may take longer. Be patient—rushing this step can leave moisture behind.
Quick reference
| Vehicle Type | Target Vacuum (microns) | Recommended Time (minutes) |
|---|---|---|
| Compact car | 500 or lower | 30–35 |
| Sedan / SUV | 500 or lower | 35–45 |
| Truck / Van | 500 or lower | 45–60 |
- Vacuum won’t hold: Check all hose connections and service port seals. Tighten fittings and retest. If the problem persists, inspect the system for leaks.
- Pump takes too long to reach 500 microns: The system may have excess moisture or a large volume. Extend the vacuum time or consider using a larger pump.
- Refrigerant won’t flow during recharge: The system may still have air or the canister may be empty. Ensure the valve is open and the can is upright.
- AC still not cold after recharge: This could indicate a clogged expansion valve, faulty compressor, or incorrect refrigerant charge. Seek professional help.
Conclusion
Vacuuming your car’s AC system is a crucial maintenance step that ensures long-term performance and prevents costly repairs. By removing moisture and air, you create the ideal environment for refrigerant to cool your car efficiently. With the right tools and a little patience, this process is well within reach for most DIYers.
Remember to always prioritize safety, use quality equipment, and follow your vehicle’s specifications. If you’re ever in doubt, don’t hesitate to consult a certified HVAC technician. A properly evacuated and charged AC system means cooler drives, better air quality, and peace of mind on the road.