What Do Vacuum Hoses Do in a Car?
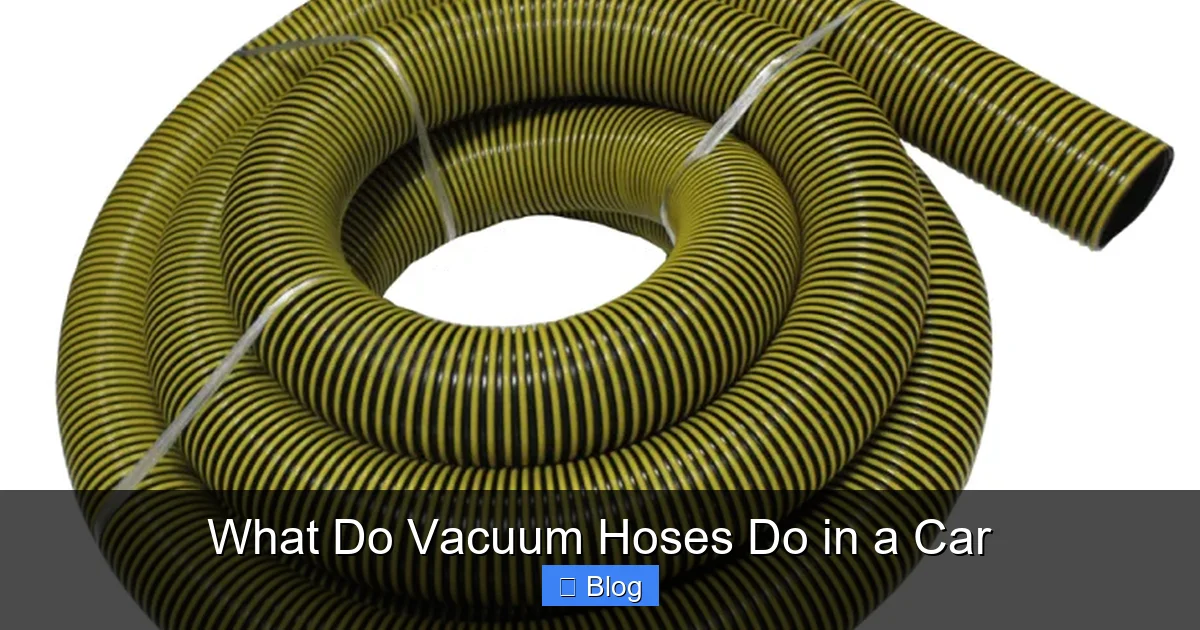
Vacuum hoses in a car are small rubber tubes that carry vacuum pressure from the engine to different components to help them operate properly, so understanding what do vacuum hoses do in a car is key to knowing how systems like brakes, emissions control, and engine functions stay efficient. These hoses act as pathways that use engine vacuum to power or control various parts without needing extra mechanical force.
They are commonly connected to components such as the brake booster, fuel pressure regulator, and emission control systems. By transferring vacuum pressure, these hoses help improve braking performance, maintain proper air-fuel mixture, and reduce harmful emissions. If a hose cracks or leaks, it can disrupt these systems and lead to poor engine performance or warning signs like rough idling.
Regular inspection of vacuum hoses is important because they can wear out over time due to heat and engine conditions. Replacing damaged hoses ensures smoother engine operation and better overall vehicle efficiency.
Key Takeaways
- Vacuum hoses transfer engine vacuum to operate components like the brake booster, PCV system, and EGR valve.
- Cracked, loose, or collapsed hoses can cause poor engine performance, rough idling, and failed emissions tests.
- Regular visual inspections every 6–12 months help prevent unexpected breakdowns.
- Use heat-resistant, fuel-safe rubber or silicone hoses when replacing damaged ones.
- A vacuum gauge can help diagnose weak or inconsistent vacuum levels.
- Label hoses during removal to avoid reinstallation errors.
- Always consult your vehicle’s service manual for routing diagrams and specifications.
Quick Answers to Common Questions
Tip/Question?
Can I use regular rubber hose for vacuum lines?
No—always use fuel-safe, heat-resistant hose rated for vacuum service. Standard rubber can degrade quickly and cause leaks.
Tip/Question?
How often should I check vacuum hoses?
Inspect them every 6–12 months or during routine maintenance like oil changes.
Tip/Question?
What causes vacuum hoses to fail?
Heat, oil exposure, age, and UV damage are the main culprits. Brittle or cracked hoses should be replaced immediately.
Tip/Question?
Can a vacuum leak cause the check engine light to come on?
Yes—unmetered air from a leak can trigger lean fuel mixture codes like P0171 or P0174.
Tip/Question?
Do electric cars have vacuum hoses?
Some do—especially for brake boosters and HVAC systems—but they may use electric vacuum pumps instead of engine vacuum.
What Do Vacuum Hoses Do in a Car?
Vacuum hoses are small but vital components in your car’s engine system. They carry engine vacuum—created by the intake manifold—to various parts that rely on suction to function. From helping you brake smoothly to controlling emissions, these flexible tubes play a behind-the-scenes role in keeping your vehicle running efficiently. Without them, key systems would fail or operate poorly.
In this guide, you’ll learn exactly how vacuum hoses work, where they’re used, how to inspect them, and when to replace them. Whether you’re a DIY mechanic or just curious about your car’s inner workings, understanding vacuum hoses can save you time, money, and frustration down the road.
How Engine Vacuum Works
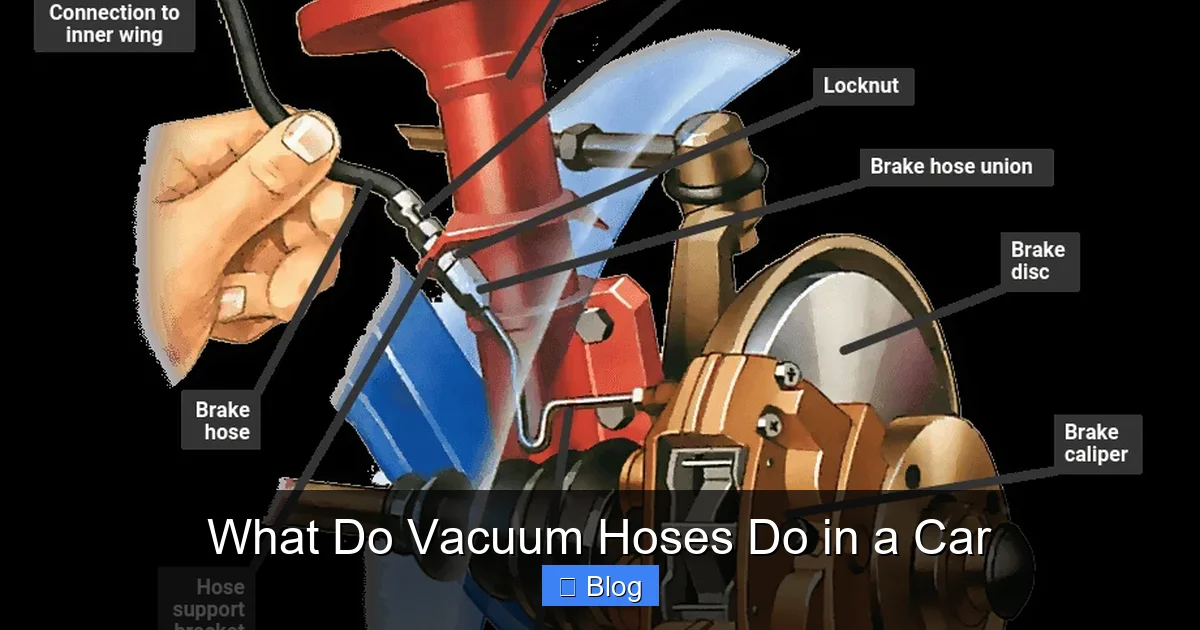
Engine vacuum is created when the pistons move down during the intake stroke, pulling air into the combustion chamber. This creates a partial vacuum in the intake manifold—especially at idle or low throttle. This suction isn’t wasted; it’s harnessed and distributed through a network of small rubber or silicone hoses to power several engine and emission control systems.
Visual guide about What Do Vacuum Hoses Do in a Car
Image source: howacarworks.com
Unlike pressurized air lines, vacuum hoses operate under negative pressure. That means they must stay airtight and flexible to maintain proper suction. Even a tiny leak can disrupt system performance, leading to drivability issues or warning lights on your dashboard.
Common Systems That Use Vacuum
- Brake Booster: Uses vacuum to assist brake pedal pressure, making stopping easier.
- PCV (Positive Crankcase Ventilation): Recirculates blow-by gases back into the intake to reduce emissions.
- EGR (Exhaust Gas Recirculation): Uses vacuum to open the EGR valve and lower combustion temperatures.
- Evaporative Emissions (EVAP) System: Controls fuel vapor storage and purge cycles.
- HVAC Controls: Some older vehicles use vacuum to switch air vents and defrost modes.
- Turbocharger/Wastegate Control: In turbocharged engines, vacuum helps regulate boost pressure.
Signs of Vacuum Hose Problems
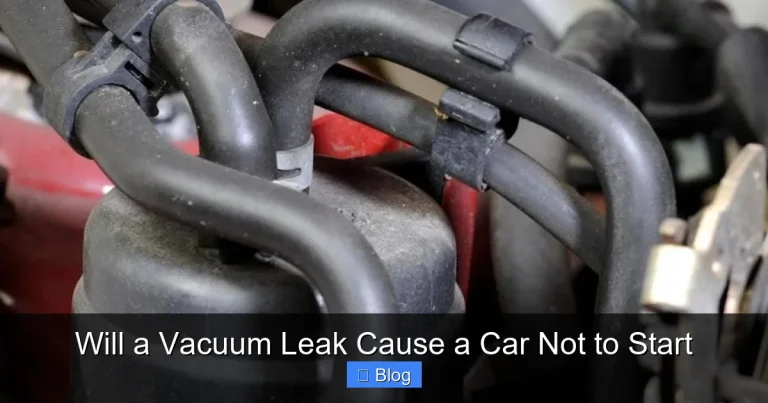
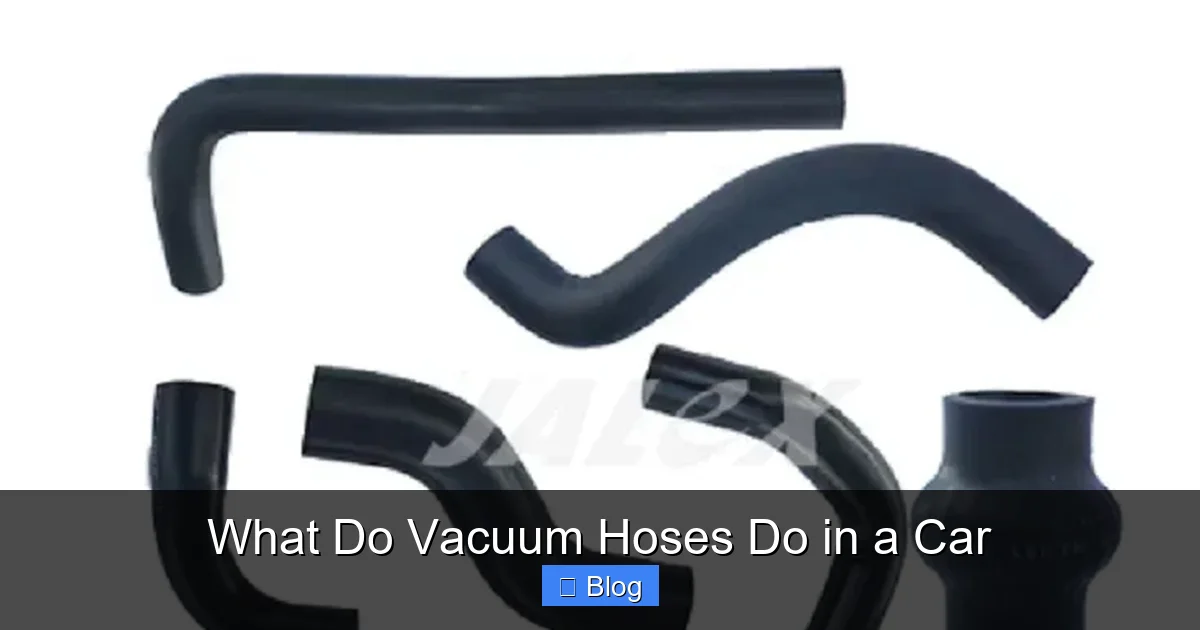
Because vacuum hoses are hidden under the hood, problems often go unnoticed until symptoms appear. Watch for these common warning signs:
Visual guide about What Do Vacuum Hoses Do in a Car
Image source: 5.imimg.com
- Rough Idling: A hissing noise or uneven engine idle can indicate a vacuum leak.
- Hard Braking: If the brake pedal feels stiff, the brake booster may not be getting enough vacuum.
- Check Engine Light: Fault codes like P0171 (system too lean) often point to unmetered air from a leak.
- Hissing Sounds: Listen near the engine for a high-pitched whistle—especially when accelerating or idling.
- Poor Fuel Economy: Leaks can cause the engine to run lean, reducing efficiency.
- Failed Emissions Test: Vacuum leaks disrupt air-fuel ratios, leading to high hydrocarbon readings.
Visual Inspection Tips
Pop the hood and look for hoses that are:
- Brittle or cracked (especially near bends)
- Swollen or soft from oil exposure
- Disconnected or loose at fittings
- Collapsed from age or heat damage
Use a flashlight and gently squeeze each hose. If it feels hard, sticky, or crumbles, it’s time for replacement.
Tools and Materials
Before you begin inspecting or replacing vacuum hoses, gather these tools and supplies:
Step-by-Step: How to Inspect Vacuum Hoses
Regular inspections can catch problems early. Follow these steps every 6–12 months or during oil changes.
| Item | Purpose |
|---|---|
| Flashlight | Illuminate tight spaces under the hood |
| Needle-nose pliers | Remove stubborn hose clamps or fittings |
| Vacuum gauge | Measure vacuum strength and detect leaks |
| Replacement hoses (fuel-safe) | Use silicone or nitrile rubber rated for engine heat |
| Hose clamps (if needed) | Secure hoses on barbed fittings |
| Service manual | Find correct routing and hose sizes |
Step 1: Locate the Vacuum Hoses
Open the hood and look for small-diameter rubber tubes (usually 3/16″ to 5/16″ in diameter). They often run from the intake manifold to components like the brake booster, PCV valve, and charcoal canister. Use your vehicle’s service manual to identify routing paths.
Step 2: Check for Visible Damage
Examine each hose for cracks, splits, or swelling. Pay close attention to bends and connection points. If a hose feels sticky or brittle, it’s likely degraded from heat or oil exposure.
Step 3: Test for Leaks
With the engine off, gently wiggle each hose at its connections. If it comes loose, tighten or replace the clamp. For active testing, start the engine and listen for hissing. You can also use a spray bottle with soapy water—spray lightly around hose connections. Bubbling indicates a leak.
Step 4: Use a Vacuum Gauge (Optional)
Attach a vacuum gauge to a known good port on the intake manifold. Normal readings should be 17–22 inHg at idle. If the needle fluctuates or reads low, suspect a leak or weak pump (in systems with vacuum pumps).
How to Replace Damaged Vacuum Hoses
If you find a damaged hose, don’t delay replacement. Here’s how to do it safely and correctly.
Step 1: Identify the Hose Size and Length
Measure the inner diameter (ID) of the old hose using a caliper or by comparing it to drill bits. Note the length and routing path. Take a photo before disconnecting anything.
Step 2: Label and Remove the Old Hose
Use tape and a marker to label each end of the hose (e.g., “Manifold to PCV”). This prevents confusion during reinstallation. Gently twist and pull the hose off. If it’s stuck, use pliers with a rag to avoid damaging fittings.
Step 3: Install the New Hose
Cut the replacement hose to match the original length. Slide it onto the fittings and secure with clamps if needed. Ensure it’s not kinked or bent sharply, which can restrict flow.
Step 4: Test the Repair
Start the engine and listen for unusual noises. Check that all systems (brakes, HVAC, etc.) function normally. Recheck connections after a short drive.
Troubleshooting Common Issues
Even after replacement, problems may persist. Here’s how to diagnose further:
- Engine still runs rough: Check for additional leaks using a smoke machine or carburetor cleaner (spray near hoses—if RPM increases, there’s a leak).
- Brake pedal still hard: Inspect the check valve in the brake booster line. It should allow air in one direction only.
- Hose keeps collapsing: This indicates excessive vacuum or a blocked line. Verify the component isn’t malfunctioning.
- New hose deteriorates quickly: Ensure it’s rated for engine heat and oil exposure. Avoid standard radiator hose.
Prevention and Maintenance Tips
Extend the life of your vacuum hoses with these simple habits:
- Inspect hoses during every oil change.
- Keep the engine bay clean to reduce oil and grease buildup.
- Replace all hoses at once if multiple are aged—prevents future failures.
- Use zip ties to secure loose hoses away from hot surfaces.
- Store spare hoses in your garage for emergencies.
Conclusion
Vacuum hoses may seem insignificant, but they’re essential for smooth engine operation, safe braking, and clean emissions. By understanding what they do and how to maintain them, you can avoid costly repairs and keep your car running reliably. A few minutes of inspection every few months can make a big difference in performance and longevity.
Don’t wait for a warning light or breakdown—take action today. With the right tools and a little know-how, you can handle vacuum hose maintenance like a pro.