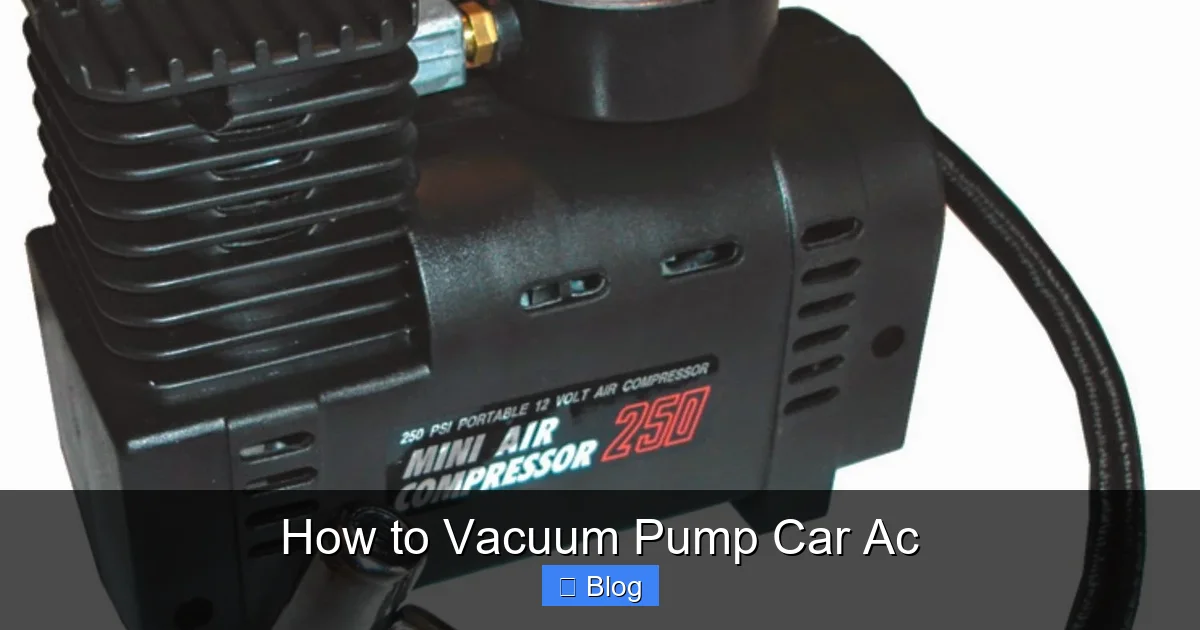
How to Vacuum Pump Car Ac
Vacuum pumping your car’s AC system removes moisture and air, ensuring optimal cooling performance. This guide walks you through the entire process safely and effectively, from prep to testing.
Step 5: Monitor the Vacuum Level
Watch the low-pressure gauge on your manifold set. It should steadily drop and stabilize around 29–30 inHg. If the vacuum level plateaus below 29 inHg, there may be moisture still evaporating inside the system—this is normal and why longer pumping times are sometimes needed.
If the vacuum starts to rise after reaching peak levels, that’s a red flag. It means air is leaking back into the system, likely due to a loose connection or an internal leak. Turn off the pump, check all fittings, and retighten if necessary.
Step 6: Perform a Vacuum Hold Test
After reaching the target vacuum, close both valves on the manifold gauge and turn off the vacuum pump. Wait 5–10 minutes and observe the gauge. If the vacuum holds steady, your system is airtight and ready for refrigerant. If it rises significantly (more than 1–2 inHg), you have a leak that needs repair before proceeding.
This step is critical—don’t skip it. A failed hold test means contaminants could re-enter the system once you add refrigerant.
Step 7: Recharge the AC System
Once the vacuum holds, you can begin recharging. Connect your refrigerant can to the yellow hose using a charging valve or hose adapter. Open the low-side valve slowly and allow the refrigerant to flow into the system. Keep the can upright to avoid introducing liquid refrigerant, which can damage the compressor.
Refer to your vehicle’s service manual for the correct refrigerant type and charge amount (usually listed in ounces or grams). Overcharging can be just as harmful as undercharging.
Key Takeaways
- Always wear safety gear: Protect your eyes and skin when working with refrigerants and vacuum systems.
- Use a manifold gauge set: This tool lets you monitor pressure and control refrigerant flow during evacuation.
- Pump for at least 30 minutes: A proper vacuum removes moisture and non-condensable gases from the AC system.
- Check for leaks after pumping: A rising vacuum indicates a leak that must be fixed before recharging.
- Never skip the vacuum step: Adding refrigerant without evacuating can damage the compressor and reduce efficiency.
- Use a quality vacuum pump: A 3–5 CFM pump is ideal for most automotive AC systems.
- Follow manufacturer guidelines: Always consult your vehicle’s service manual for specific AC procedures.
Quick Answers to Common Questions
Tip/Question?
Can I use a household vacuum cleaner instead of a vacuum pump? No—household vacuums aren’t designed for AC systems and can’t achieve the deep vacuum needed. Always use a dedicated AC vacuum pump.
Tip/Question?
How do I know if my vacuum pump is strong enough? Look for a pump rated at 3–5 CFM (cubic feet per minute). Lower ratings may not pull a deep enough vacuum for automotive use.
Tip/Question?
Should I vacuum with the engine running? No. The engine should be off during vacuuming. Only turn it on when recharging to engage the compressor.
Tip/Question?
What if my AC still doesn’t cool after vacuuming and recharging? There may be a blockage, faulty compressor, or electrical issue. Consider a professional diagnosis.
Tip/Question?
Can I vacuum the system without a manifold gauge? Technically yes, but it’s not recommended. The gauge lets you monitor pressure and detect leaks—skipping it increases the risk of errors.
Troubleshooting Common Issues
Even with careful preparation, problems can arise. Here’s how to handle the most common issues:
- Vacuum won’t build: Check all hose connections and ensure the pump is functioning. A faulty pump or clogged intake filter may be the cause.
- Vacuum rises after pump is off: Indicates a leak. Use a leak detector or soapy water on fittings to locate the source.
- Pump overheats: Most pumps need periodic breaks. Turn it off every 20–30 minutes to cool down.
- Gauge readings fluctuate: Could mean moisture is still boiling off. Extend the vacuum time.
- Refrigerant won’t flow in: Make sure the engine is running and the AC is set to max cool with the fan on high. The compressor must engage to pull refrigerant in.
Safety Tips and Best Practices
Working with car AC systems involves refrigerants under pressure, so safety is paramount. Never open a pressurized system without proper recovery equipment. Always work in a well-ventilated area and avoid inhaling fumes. Dispose of old refrigerant according to local regulations—never vent it to the atmosphere.
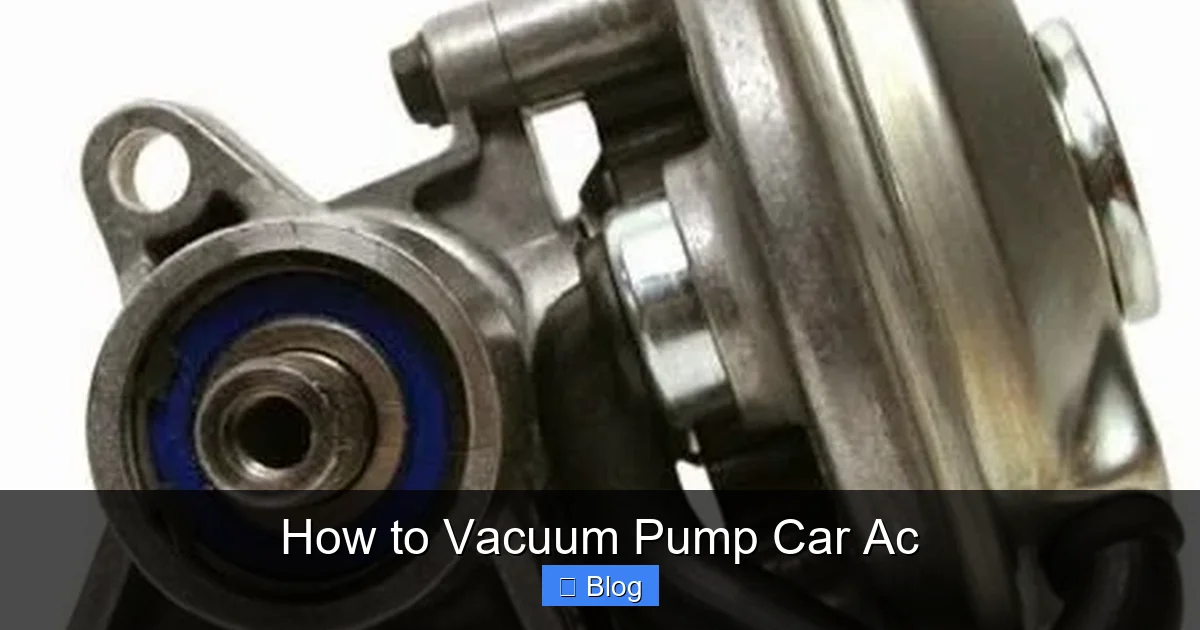
Visual guide about How to Vacuum Pump Car Ac
Image source: 1.bp.blogspot.com
Why Vacuum Pumping Is Essential for Your Car’s AC System
Your car’s air conditioning system relies on a sealed loop of refrigerant to cool the cabin. Over time, moisture, air, and contaminants can enter the system—especially if you’ve opened it for repairs or recharging. These impurities reduce cooling efficiency, cause corrosion, and can even damage the compressor. Vacuum pumping is the only reliable way to remove these unwanted elements before adding fresh refrigerant.
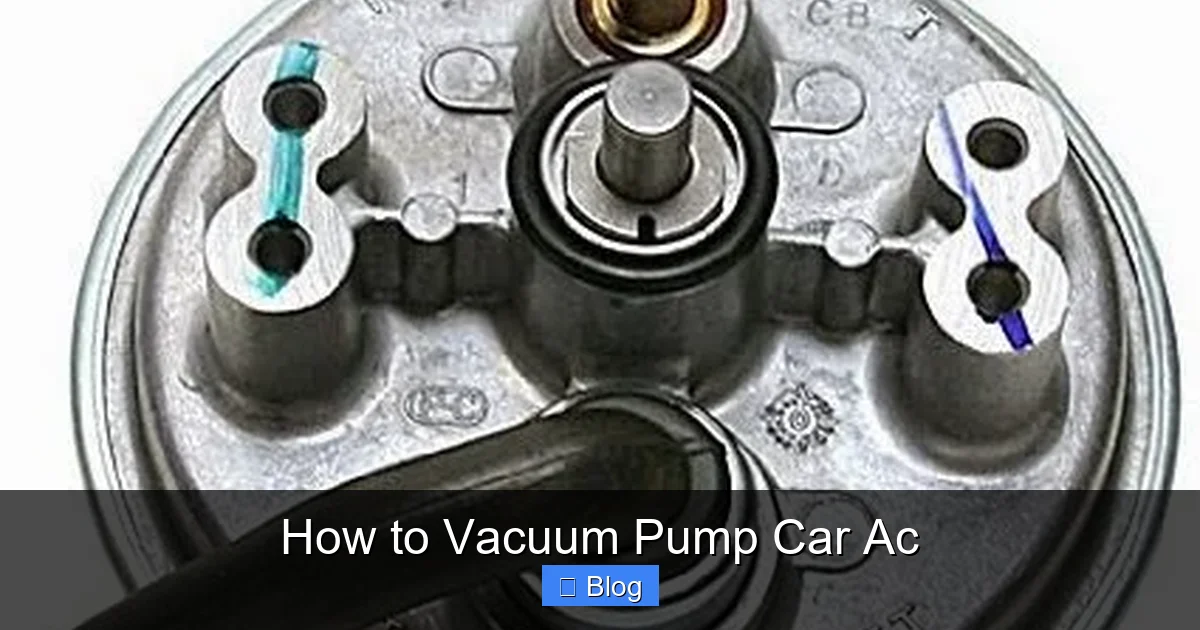
Visual guide about How to Vacuum Pump Car Ac
Image source: 3.bp.blogspot.com
Think of vacuum pumping like drying out a wet sponge before using it again. If you skip this step, you’re essentially trapping moisture and air inside your AC, which leads to poor performance, strange noises, and costly repairs down the road. Whether you’re recharging your AC after a leak repair or performing routine maintenance, vacuuming the system ensures it operates safely and efficiently.
Tools and Materials You’ll Need
Before starting, gather all the necessary tools and materials. Having everything ready saves time and prevents mistakes.
- Vacuum pump (3–5 CFM recommended)
- Manifold gauge set (low and high pressure hoses)
- Refrigerant recovery machine (if removing old refrigerant)
- Refrigerant (check your vehicle’s specs—commonly R-134a or R-1234yf)
- Leak detection kit (optional but helpful)
- Safety goggles and gloves
- Wrench set (for service port connections)
- Digital thermometer (to check vent temperatures later)
- Service manual for your vehicle
Step-by-Step Guide to Vacuum Pumping Your Car’s AC
Step 1: Prepare Your Vehicle and Work Area
Start by parking your car on a level surface and turning off the engine. Make sure the area is well-ventilated—refrigerants can be harmful if inhaled. Open the hood and locate the AC service ports: the low-pressure port (usually on the larger aluminum line near the firewall) and the high-pressure port (on the smaller line closer to the compressor). These ports have unique fittings to prevent cross-connection.
Wear safety goggles and gloves throughout the process. Even though you’re not directly handling refrigerant during vacuuming, accidental leaks can occur.
Step 2: Recover Any Remaining Refrigerant (If Applicable)
If your AC system still contains refrigerant, you must recover it legally and safely using a recovery machine. Most DIYers won’t have this equipment, so if your system is still pressurized, consider visiting a professional shop first. Releasing refrigerant into the atmosphere is illegal in most countries and harmful to the environment.
Once the system is empty (or if it was already open), you can proceed to vacuum pumping.
Step 3: Connect the Manifold Gauge Set
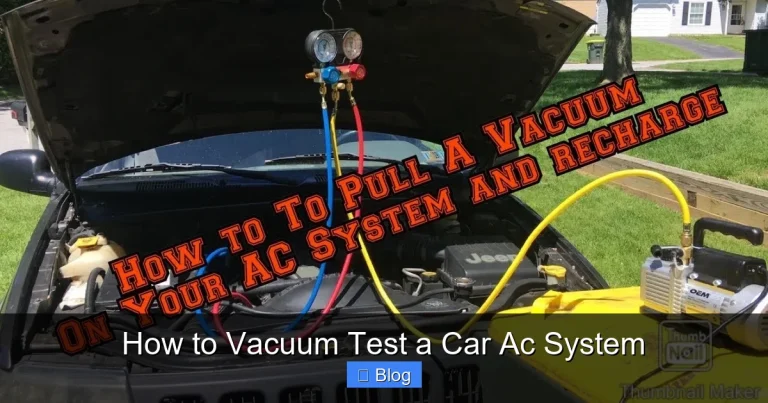
Attach the blue hose from your manifold gauge set to the low-pressure service port and the red hose to the high-pressure port. The yellow hose connects to your vacuum pump. Make sure all connections are tight using the appropriate wrenches—loose fittings can cause leaks and ruin the vacuum.
Double-check that the valves on the manifold gauge are closed before turning on the pump. This prevents refrigerant or air from entering the system prematurely.
Step 4: Start the Vacuum Pump
Turn on the vacuum pump and slowly open both the high and low-side valves on the manifold gauge. This allows the pump to pull a vacuum on the entire AC system. You’ll hear the pump working and see the pressure drop on the gauge.
Let the pump run for at least 30 minutes. For heavily contaminated systems or after major repairs, 45–60 minutes is better. The goal is to reach a deep vacuum—typically between 29 and 30 inches of mercury (inHg)—and hold it.
Quick Reference: Vacuum Pumping Time & Pressure Guide
| System Condition | Target Vacuum (inHg) | Minimum Time |
|---|---|---|
| Routine maintenance / minor recharge | 29–30 | 30 minutes |
| After component replacement (e.g., compressor) | 29–30 | 45 minutes |
| Suspected moisture or contamination | 29–30 | 60 minutes |
| Large leak or open system for >24 hours | 29–30 | 90 minutes |
Use only approved tools and avoid makeshift setups. A quality vacuum pump and manifold gauge set are worth the investment for reliable results. Finally, keep a fire extinguisher nearby and never smoke near refrigerant work.
Conclusion
Vacuum pumping your car’s AC system is a simple yet essential step for maintaining cool, efficient air conditioning. By removing moisture and air, you protect critical components like the compressor and ensure optimal refrigerant performance. With the right tools, a bit of patience, and attention to detail, you can do it safely at home.
Remember: skipping the vacuum step is a common mistake that leads to poor cooling, increased wear, and expensive repairs. Take the time to do it right, and your AC will thank you with years of reliable service.