How to Use Car Vacuum Cleaner
Keeping your car clean doesn’t have to be a hassle. This guide walks you through how to use a car vacuum cleaner step by step, from setup to finishing touches. You’ll learn practical tips to tackle dirt, crumbs, and pet hair, ensuring a spotless ride every time.
How to Use Car Vacuum Cleaner
Is your car starting to look like a mobile snack bar? Crumbs under the seats, dust on the dashboard, and pet hair everywhere? Don’t worry—learning how to use a car vacuum cleaner can turn that mess into a clean, fresh space in no time. In this guide, you’ll discover everything you need to know, from picking the right tool to step-by-step cleaning techniques. Whether you’re a first-time user or just want to improve your routine, these tips will help you keep your vehicle spotless. By the end, you’ll feel confident tackling any car cleanup with ease.
Key Takeaways
- Prepare your space: Clear out trash and move seats for easy access before starting to vacuum.
- Choose the right attachment: Use crevice tools for tight spots and brushes for upholstery to get the best results.
- Vacuum systematically: Start from the top and work down to catch all debris without missing areas.
- Empty regularly: Avoid clogs by emptying the canister after each use for consistent suction power.
- Maintain your vacuum: Clean filters and check hoses to keep your car vacuum cleaner performing like new.
- Safety first: Unplug or turn off the vacuum when changing attachments to prevent accidents.
Quick Answers to Common Questions
Best time to vacuum?
The ideal time is after parking following a trip, when dirt is fresh and easier to remove. Avoid rainy days to prevent moisture buildup in your vacuum.
Handle pet hair easily?
Use a rubber glove or pet hair attachment to loosen fur before vacuuming. This combo pulls up even the stickiest strands without effort.
Prevent clogs?
Empty the canister frequently and avoid sucking up large items like rocks. Check the hose weekly for blockages to keep suction strong.
Clean vents effectively?
Blast compressed air first, then use a crevice tool on low power. This two-step method clears dust without damaging delicate fins.
Make it kid-friendly?
Involve kids by letting them hold the hose for easy spots. Turn it into a game to teach responsibility while keeping the car tidy.
Why Use a Car Vacuum Cleaner?
Before diving into the how-to, let’s talk about why a car vacuum cleaner is a game-changer. Unlike bulky home vacuums, these portable powerhouses are designed for tight spaces and on-the-go cleaning. They suck up dirt, debris, and allergens quickly, improving air quality and preventing wear on your upholstery. Regular use can even extend the life of your car’s interior. Plus, it’s satisfying to see instant results—no more ignoring that pile of leaves from your last hike.
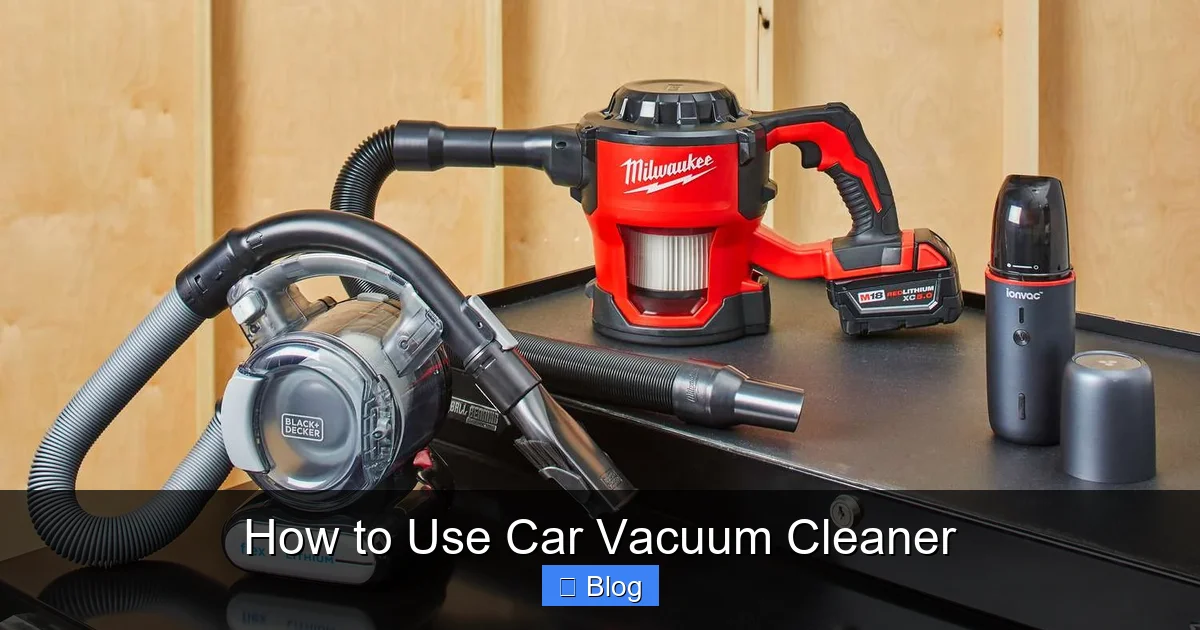
Car vacuums come in corded, cordless, and even handheld models. Choose one with strong suction and multiple attachments for versatility. If you’re new to this, start with a basic model to learn the ropes.
Preparing Your Car for Vacuuming
Good preparation sets the stage for effective cleaning. Rushing in without planning can lead to missed spots or frustration. Take a few minutes to get organized, and you’ll make the whole process smoother.
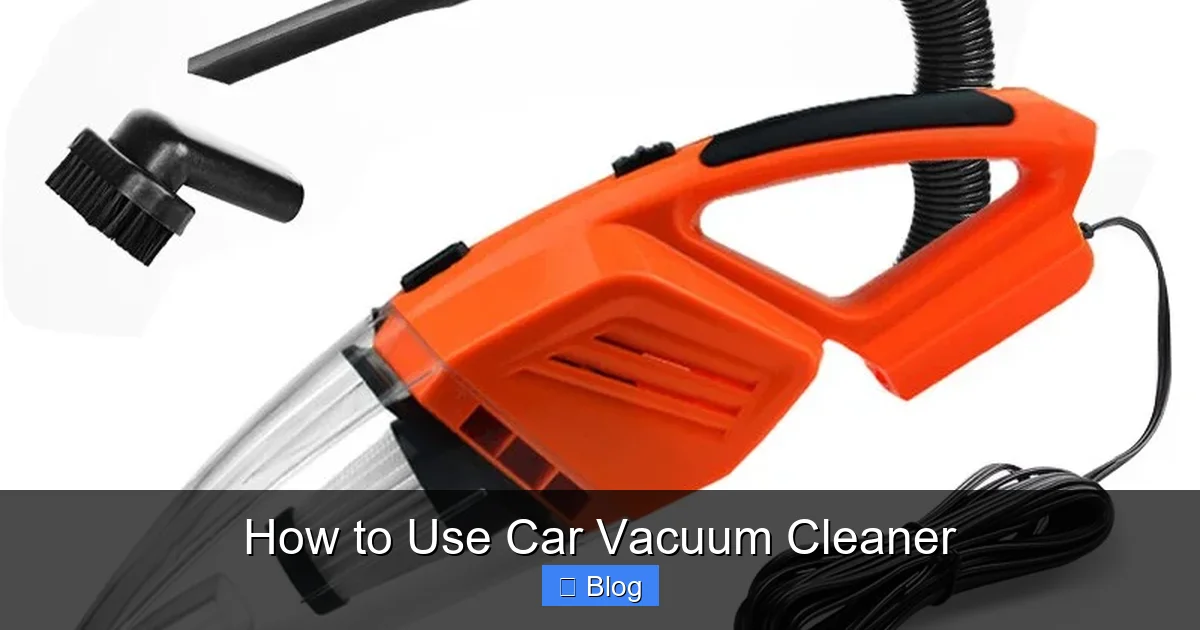
Visual guide about How to Use Car Vacuum Cleaner
Image source: images.nexusapp.co
Step 1: Gather Your Supplies
Start by collecting your car vacuum cleaner and any extras. You’ll need extension cords if it’s corded, or ensure your cordless one is fully charged. Have trash bags ready for larger debris. Pro tip: Park in a shaded spot to avoid overheating your vacuum on hot days.
Step 2: Clear Out Loose Items
Remove floor mats, trash, and any loose objects from the car. Shake out mats outside to dislodge big chunks of dirt. This prevents your vacuum from getting clogged right away. For example, if you’ve got kids’ toys or shopping bags, empty them first to focus on the real grime.
Step 3: Adjust Seats and Access Areas
Slide seats forward and back to reach under them. Recline or fold seats if possible. Open doors and trunk for better airflow. This step is crucial for getting into nooks and crannies without straining.
Understanding Your Car Vacuum Cleaner’s Attachments
Most car vacuums come with handy attachments that make cleaning targeted and efficient. Knowing what each does helps you use them right. For instance, a wide brush is great for mats, while a crevice tool handles door pockets.
Before starting, inspect your vacuum. Check the hose for blockages and ensure the power source is ready. This quick once-over can save time later.
Step-by-Step Guide: How to Use Your Car Vacuum Cleaner
Now for the main event— the actual vacuuming. Follow these steps in order for thorough results. Start with the vacuum off, and always work in a well-ventilated area to avoid inhaling dust.
| Attachment | Purpose | Best For |
|---|---|---|
| Crevice Tool | Narrow nozzle for tight spaces | Door panels, seat crevices, and vents |
| Upholstery Brush | Gentle bristles to lift dirt | Seats, headliners, and fabric surfaces |
| Wide Nozzle | Broad suction for large areas | Floor mats, carpets, and trunk |
| Dusting Brush | Soft brush for delicate cleaning | Dashboard, console, and electronics |
| Pet Hair Tool | Specialized for stubborn fur | Pet owners cleaning upholstery |
| Extension Hose | Reaches far spots | Under seats and rear areas |
Step 1: Power Up and Test
Plug in or turn on your car vacuum cleaner. Listen for the motor and feel the suction by holding your hand over the hose. If it’s weak, check the filter. Test on a small area, like the floor mat, to get a feel for the power. This ensures everything’s working before you commit.
Step 2: Vacuum the Floors and Mats
Begin at the front and move back. Use the wide nozzle for open floor spaces. Go slow, overlapping strokes like mowing a lawn. For mats, lift them out and vacuum both sides. Example: If there’s sand from the beach, multiple passes might be needed to get it all.
Step 3: Clean Under the Seats
This is often the dirtiest spot. Use the crevice tool or extension hose. Reach as far as possible, angling to catch crumbs and dust bunnies. Tip: Shine a flashlight to spot hidden debris. Be gentle to avoid scratching plastic parts.
Step 4: Tackle the Seats and Upholstery
Switch to the upholstery brush. Vacuum seats from top to bottom, focusing on creases. For leather, use a soft attachment to prevent scratches. If you have pets, pay extra attention to where they sit—fur loves to hide there. Practical advice: Vacuum weekly to keep buildup low.
Step 5: Detail the Dashboard and Console
Grab the dusting brush for this delicate area. Work from the center outward, avoiding buttons. Use compressed air first for vents if needed, then vacuum. This step removes dust that can cause allergies or foggy windows.
Step 6: Don’t Forget the Trunk and Exterior Edges
Open the trunk and vacuum the carpet or liner. Use the crevice tool for edges around the door seals. Quick tip: Vacuum door jambs to prevent dirt from tracking in next time you drive.
Maintenance and Troubleshooting for Your Car Vacuum Cleaner
After cleaning, proper care keeps your vacuum ready for next time. Neglect it, and suction drops or parts wear out fast.
Emptying and Cleaning the Canister
Turn off the vacuum and unplug it. Empty the dirt canister into a trash bag outside. Rinse if it’s washable, and let it dry fully. Do this after every use to maintain power.
Common Issues and Fixes
If suction is low, check for clogs in the hose—use a broom handle to clear it gently. Dirty filters? Wash or replace them per the manual. Overheating? Let it cool down and avoid blocking vents. For cordless models, recharge fully between uses. These fixes keep your sessions frustration-free.
For example, if your vacuum makes weird noises, it might be a loose part. Tighten connections or consult the user guide. Regular maintenance, like wiping the exterior, extends its life too.
Advanced Tips for Pro-Level Cleaning
Once you’re comfortable with the basics of how to use a car vacuum cleaner, level up your game. Sprinkle baking soda on seats before vacuuming to neutralize odors—let it sit for 15 minutes first. For tough stains, pre-treat with a fabric cleaner, then vacuum residue.
Seasonal advice: In winter, vacuum salt and mud promptly to avoid corrosion. Summer? Tackle pollen buildup around vents. Always vacuum with the car off to conserve battery if it’s an in-car model.
Store your vacuum in the trunk or garage, coiled neatly to prevent kinks. This habit makes grabbing it for quick cleanups a breeze.
Conclusion
Congratulations—you now know exactly how to use a car vacuum cleaner to keep your ride pristine. From prep to polish, these steps make cleaning simple and effective. Remember, consistency is key; a quick 10-minute session weekly beats a deep clean marathon. Your car will thank you with a fresher feel and longer-lasting interiors. Grab your vacuum and get started today—your spotless drive awaits!