Will a Vacuum Leak Cause a Car Not to Start
A vacuum leak can absolutely cause a car not to start, especially in fuel-injected engines. This guide walks you through identifying symptoms, diagnosing the leak, and fixing it safely. You’ll save time and money by learning to troubleshoot like a pro.
Key Takeaways
- Vacuum leaks disrupt air-fuel mixture: Even small leaks can throw off engine balance, making starting difficult or impossible.
- Rough idle and stalling are common signs: If your engine sputters at idle or dies shortly after starting, suspect a vacuum leak.
- Modern fuel-injected engines are more sensitive: Unlike older carbureted engines, they rely on precise vacuum readings to run properly.
- Common leak sources include hoses, gaskets, and intake manifolds: Check these areas first when diagnosing.
- DIY detection methods work well: Use carb cleaner, soapy water, or a smoke test to find leaks without expensive tools.
- Ignoring leaks can damage sensors: Long-term leaks may harm oxygen sensors or the catalytic converter.
- Prevention is easy with regular maintenance: Inspect vacuum lines during oil changes to catch issues early.
Quick Answers to Common Questions
Tip/Question?
Can I drive with a vacuum leak? It’s not recommended. A severe leak can cause poor performance, stalling, and damage to emissions components.
Tip/Question?
How much does it cost to fix a vacuum leak? DIY repairs cost $10–$50 for hoses and gaskets. Professional diagnosis and repair may run $100–$300.
Tip/Question?
Will a vacuum leak cause poor gas mileage? Yes. A lean mixture forces the ECU to add more fuel, reducing fuel efficiency.
Tip/Question?
Can a vacuum leak cause a misfire? Absolutely. Unmetered air disrupts combustion, leading to misfires, especially at idle.
Tip/Question?
Is it safe to use carb cleaner to find leaks? Yes, but use it sparingly and keep it away from sparks or open flames.
Will a Vacuum Leak Cause a Car Not to Start?
If your car won’t start—especially if it cranks but refuses to fire up—you might be dealing with a vacuum leak. While not the most common cause of a no-start condition, vacuum leaks are a frequent culprit, particularly in modern fuel-injected vehicles. In this guide, you’ll learn exactly how vacuum leaks affect engine operation, how to spot the warning signs, and step-by-step methods to find and fix the problem yourself.
Understanding vacuum is key. Your engine creates suction (vacuum) as the pistons move down during the intake stroke. This vacuum helps pull in the air-fuel mixture and operates components like the brake booster and emissions systems. When a hose cracks, a gasket fails, or a seal breaks, unmetered air sneaks into the system. The engine control unit (ECU) doesn’t account for this extra air, so the air-fuel ratio becomes too lean—meaning too much air, not enough fuel. The result? Hard starts, stalling, or a complete failure to start.
How Vacuum Leaks Affect Engine Starting
A vacuum leak introduces “false air” into the intake manifold. This air bypasses the mass airflow (MAF) sensor, so the ECU doesn’t know it’s there. As a result, the fuel injectors deliver less fuel than needed, creating a lean mixture. A lean mixture doesn’t ignite easily, especially when the engine is cold.
In older carbureted engines, a small vacuum leak might only cause a rough idle. But in modern engines with precise electronic fuel injection, even a tiny leak can prevent the engine from starting. That’s because the ECU relies on accurate sensor data to calculate fuel delivery. When that data is skewed, the engine may not get the right amount of fuel at startup.
Common Symptoms of a Vacuum Leak
Before jumping to conclusions, look for these telltale signs:
Rough or High Idle
After starting, the engine may idle at 1,500–2,500 RPM instead of the normal 600–800 RPM. This happens because the ECU tries to compensate for the lean condition by adding fuel, but it can’t keep up.
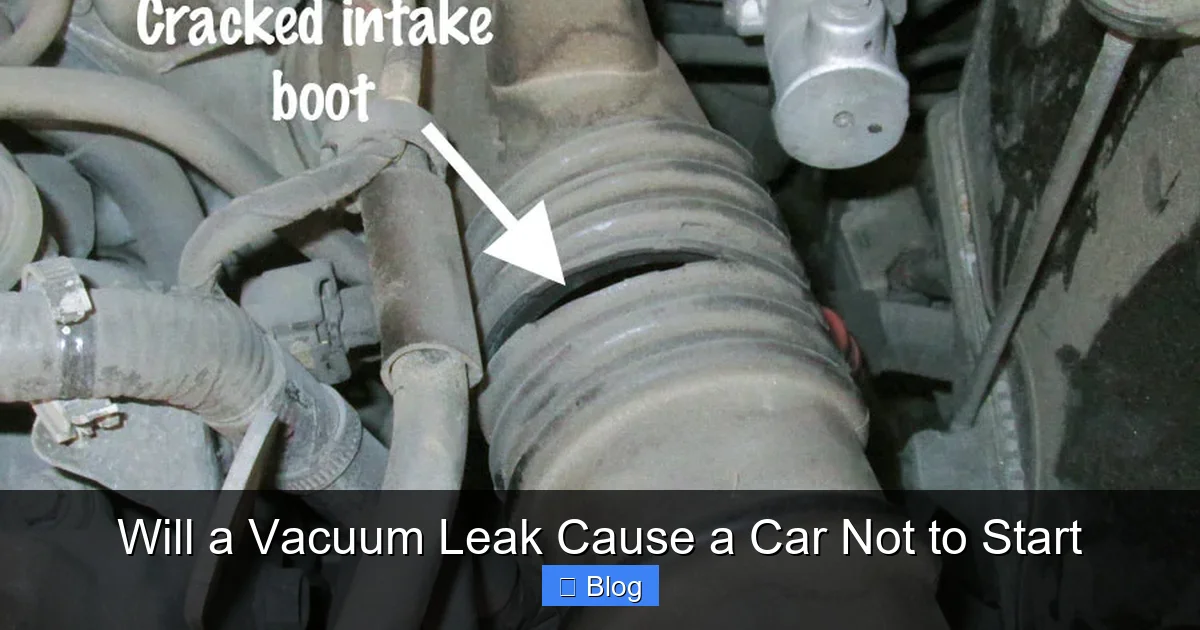
Visual guide about Will a Vacuum Leak Cause a Car Not to Start
Image source: 2carpros.com
Visual guide about Will a Vacuum Leak Cause a Car Not to Start
Image source: samarins.com
Hissing Noise Under the Hood
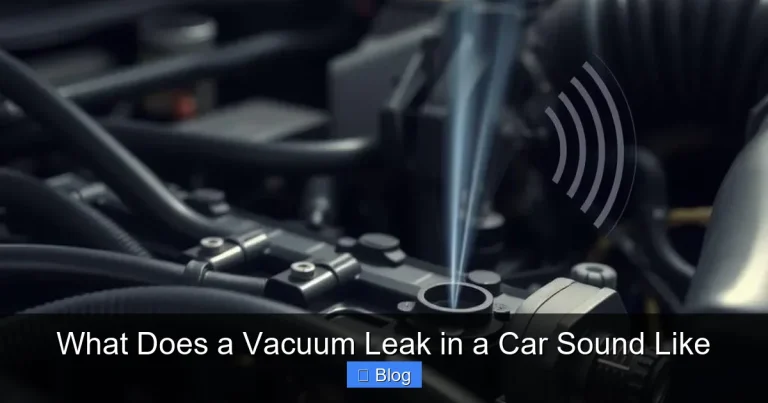
A steady or intermittent hissing sound near the intake manifold or firewall often points to a vacuum leak. Listen carefully with the engine running—use a mechanic’s stethoscope or a long screwdriver (carefully!) to amplify the sound.
Hard Starting or No Start
The engine cranks normally but won’t fire. This is especially common in cold weather when the engine needs a richer fuel mixture. A vacuum leak makes it nearly impossible to achieve that balance.
Check Engine Light
The ECU may detect a lean condition and trigger codes like P0171 (System Too Lean Bank 1) or P0174 (System Too Lean Bank 2). Use an OBD2 scanner to check for these codes.
Stalling After Start
The engine starts briefly but dies within seconds. This happens when the ECU can’t stabilize the air-fuel ratio due to excess unmetered air.
Step-by-Step: How to Diagnose a Vacuum Leak
Don’t guess—diagnose. Here’s how to find a vacuum leak safely and effectively.
Step 1: Visual Inspection
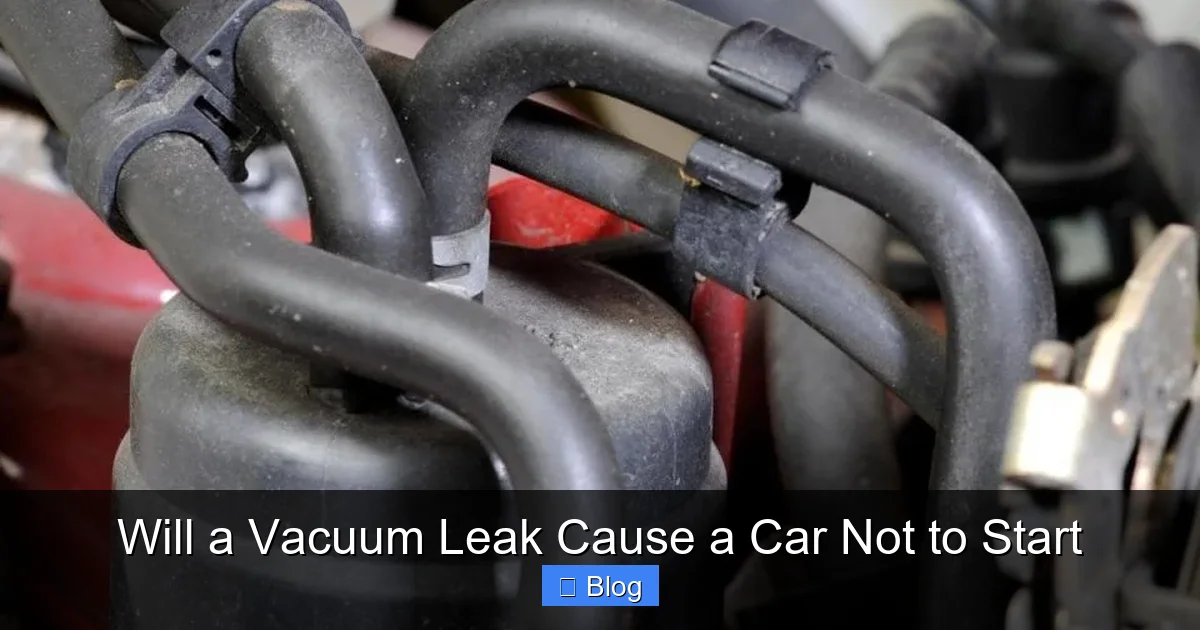
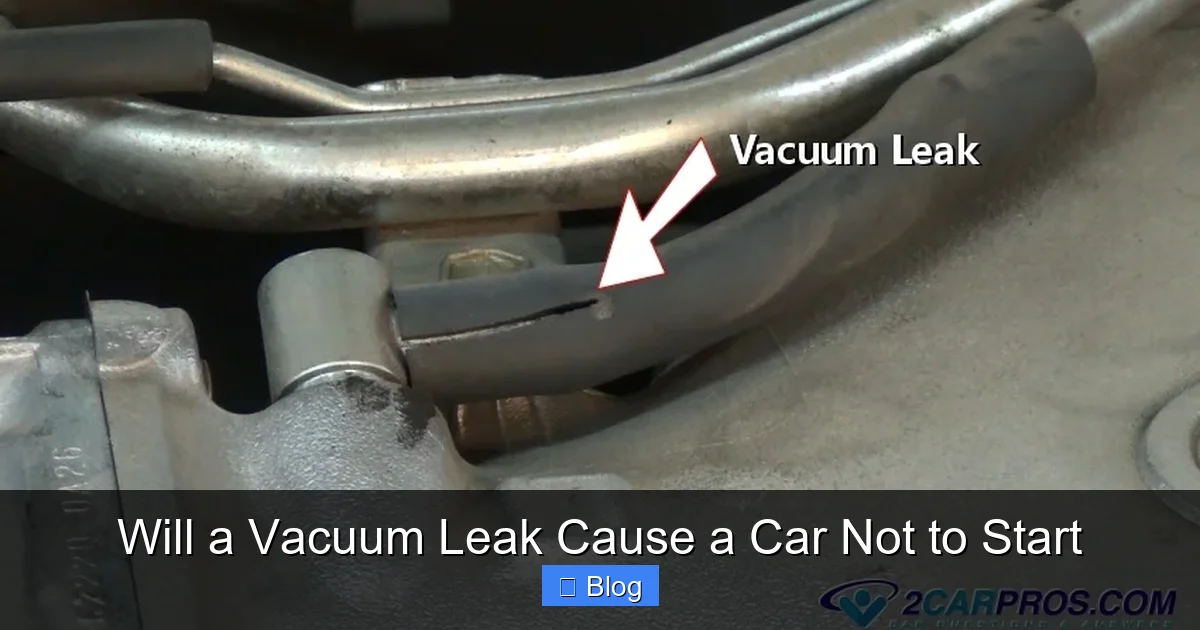
Pop the hood and look for obvious damage. Check all rubber vacuum hoses for cracks, splits, or brittleness. Pay special attention to hoses near heat sources like the exhaust manifold. Also inspect the intake manifold gasket, throttle body gasket, and PCV valve hose.
Step 2: Use Carburetor Cleaner (The “Spray Test”)
With the engine running, spray small amounts of carburetor cleaner around suspected areas (hoses, gaskets, intake manifold). If the engine RPM suddenly increases, you’ve found the leak. The cleaner acts like fuel, temporarily enriching the mixture and revealing the leak location. Caution: Use only a small amount and keep flames away—carb cleaner is highly flammable.
Step 3: Soapy Water Test
For a safer alternative, mix dish soap and water in a spray bottle. Spray it on hoses and connections. Bubbles will form at the leak site. This method works best for larger leaks and is ideal for beginners.
Step 4: Smoke Test (Professional Method)
A smoke machine pumps smoke into the intake system. Leaks appear as smoke escaping from hoses, gaskets, or seals. This is the most accurate method and is often used by mechanics. Some auto parts stores offer free smoke testing.
Step 5: Check the Brake Booster
The brake booster uses engine vacuum to assist braking. A leaking booster diaphragm can cause a vacuum leak. Test it by pressing the brake pedal with the engine off—it should feel firm. Start the engine; the pedal should sink slightly. If it doesn’t, the booster may be leaking.
Common Sources of Vacuum Leaks
Knowing where to look saves time. Focus on these high-risk areas:
Vacuum Hoses
Rubber hoses degrade over time. Heat, oil, and age cause them to crack or harden. Replace any hose that’s brittle, swollen, or cracked. Use OEM or high-quality replacement hoses.
Intake Manifold Gasket
This gasket seals the intake manifold to the engine block. If it fails, air leaks in. Symptoms include rough idle, poor performance, and coolant or oil leaks near the manifold.
Throttle Body Gasket
Located between the throttle body and intake manifold, this gasket can harden and leak. It’s often overlooked but easy to replace.
PCV Valve and Hose
The Positive Crankcase Ventilation (PCV) system recirculates gases. A cracked PCV hose or stuck valve can cause a vacuum leak. Replace the valve every 30,000–50,000 miles.
EGR Valve and Vacuum Lines
The Exhaust Gas Recirculation (EGR) valve uses vacuum to operate. A cracked diaphragm or leaking line can introduce unmetered air.
How to Fix a Vacuum Leak
Once you’ve found the leak, fixing it is usually straightforward.
Replacing Vacuum Hoses
Cut out the damaged section and replace it with a new hose of the same diameter. Use hose clamps if needed. For complex routing, take a photo before disconnecting old hoses.
Replacing Gaskets
Remove the intake manifold or throttle body, clean the mating surfaces, and install a new gasket. Use a torque wrench to tighten bolts to manufacturer specs—over-tightening can warp components.
Sealing Small Cracks
For minor cracks in plastic components, use high-temperature epoxy rated for engines. Avoid silicone sealants unless specified—they can degrade under heat.
Testing After Repair
Start the engine and listen for changes. The idle should smooth out, and the hissing should stop. Take the car for a short drive and monitor for symptoms. Clear any stored trouble codes with an OBD2 scanner.
Troubleshooting Tips
– If the engine starts after spraying carb cleaner but won’t start otherwise, the leak is likely near the intake manifold.
– A leak that only appears under load (e.g., accelerating) may be in a hose that collapses under vacuum.
– Always disconnect the battery before working on fuel or intake systems for safety.
– Label hoses before removal to avoid reinstallation errors.
Preventing Future Vacuum Leaks
An ounce of prevention is worth a pound of cure. Follow these tips:
– Inspect vacuum hoses every 12,000 miles or during oil changes.
– Replace hoses every 5–7 years, even if they look fine.
– Keep the engine bay clean to spot cracks early.
– Use dielectric grease on electrical connectors to prevent corrosion that can mimic sensor issues.
Conclusion
Yes, a vacuum leak can absolutely cause a car not to start—especially in modern engines that depend on precise air-fuel ratios. The good news? Most vacuum leaks are easy to find and fix with basic tools and a little patience. By learning to recognize the symptoms and using simple diagnostic methods like the carb cleaner spray test, you can save hundreds in repair bills and get your car running smoothly again.
Don’t ignore a rough idle or hard start. What seems minor today could lead to bigger problems tomorrow, like damaged oxygen sensors or reduced fuel efficiency. With regular inspection and timely repairs, you’ll keep your engine in top shape and avoid the frustration of a no-start condition.