How to Vacuum Sand Out of Car
Sand in your car can be a real nuisance, especially after a beach trip or desert adventure. This guide walks you through the best methods to remove sand using a vacuum, protecting your interior and saving time. With the right tools and techniques, you can restore your car’s cleanliness quickly and efficiently.
Key Takeaways
- Use a wet/dry vacuum for best results: These vacuums handle fine sand and moisture better than standard household models.
- Start with dry sand removal: Brush or shake out loose sand before vacuuming to prevent clogging and improve efficiency.
- Focus on crevices and under seats: Sand often hides in floor mats, seat tracks, and door pockets—don’t skip these areas.
- Clean the vacuum afterward: Sand is abrasive and can damage vacuum filters and motors if not properly cleaned.
- Prevent future buildup: Use all-weather floor mats and avoid eating sandy snacks in the car.
- Check for moisture: Wet sand can lead to mold or odors—dry the interior thoroughly after cleaning.
- Work in sections: Tackle one area at a time for thorough cleaning and better organization.
Quick Answers to Common Questions
Tip/Question?
Can I use a regular household vacuum for sand?
It’s not recommended. Regular vacuums aren’t designed for fine, abrasive particles like sand and can clog or get damaged quickly. A wet/dry vacuum is a much better choice.
Tip/Question?
How often should I vacuum sand out of my car?
After every sandy trip, especially if you’ve been to the beach or desert. Regular cleaning prevents buildup and protects your interior.
Tip/Question?
Is it safe to vacuum wet sand?
Only if your vacuum is rated for wet use. Most wet/dry vacuums can handle damp sand, but avoid sucking up large amounts of water to prevent motor damage.
Tip/Question?
What if sand gets into the air vents?
Use compressed air to blow it out, then vacuum the dislodged particles. Avoid forcing tools into vents to prevent damage.
Tip/Question?
Can sand damage my car’s interior?
Yes, over time, sand can wear down carpet fibers, scratch plastic surfaces, and contribute to corrosion if it contains salt. Regular cleaning helps prevent long-term damage.
Troubleshooting Common Problems
Vacuum Loses Suction
If your vacuum suddenly loses power, it’s likely clogged with sand. Turn it off immediately and check the hose, filter, and canister. Clear any blockages and clean or replace the filter. Avoid overloading the vacuum—empty it frequently during use.
Sand Remains Stuck in Carpet
For deeply embedded sand, try using a carpet rake or a rubber broom. The static charge helps lift particles to the surface. Follow up with vacuuming. For stubborn spots, a mixture of baking soda and light brushing can help loosen grit before vacuuming.
Wet Sand Causes Odors
If sand was wet, ensure the interior dries completely. Use a fan or leave windows slightly open in a safe, dry area. Place moisture-absorbing products like silica gel packs or activated charcoal to prevent mold and mildew.
Scratches on Interior Surfaces
Avoid dragging the vacuum nozzle across hard surfaces. Use the brush attachment and keep it clean. If sand has scratched leather or plastic, use a interior trim restorer or leather conditioner to minimize visibility.
Preventing Sand Buildup in the Future
Visual guide about How to Vacuum Sand Out of Car
Image source: carsupercare.com
How to Vacuum Sand Out of Car: A Complete Step-by-Step Guide
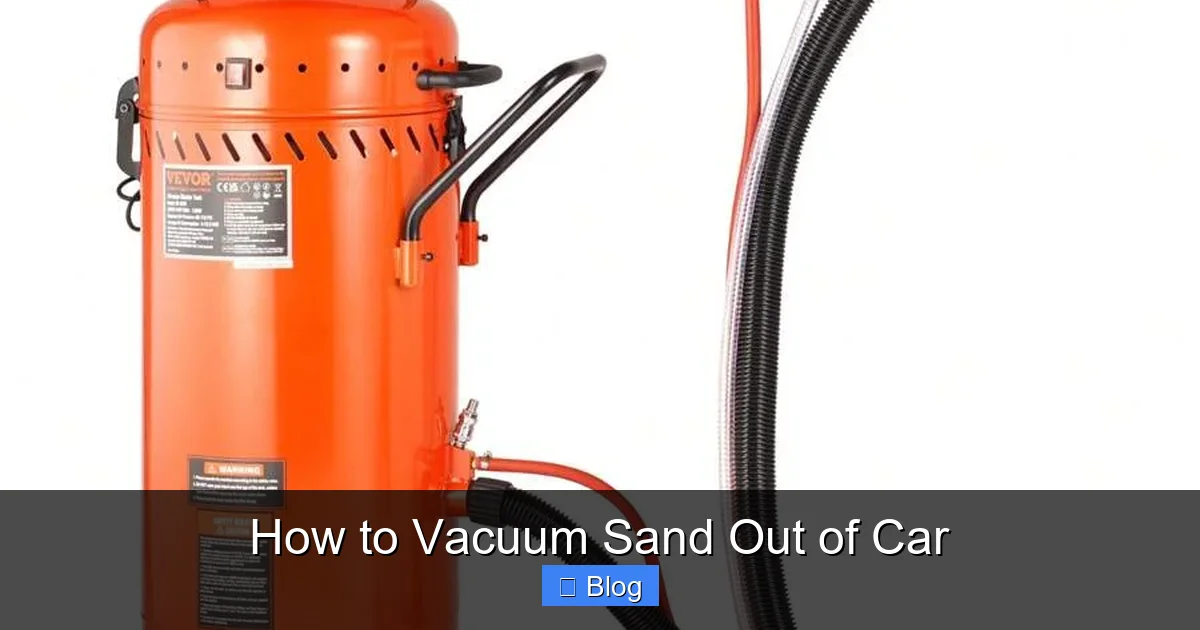
Visual guide about How to Vacuum Sand Out of Car
Image source: img.ltwebstatic.com
Sand in your car is more than just an eyesore—it’s abrasive, hard to remove, and can damage your vehicle’s interior over time. Whether you’ve just returned from a beach vacation or driven through a sandy desert trail, getting rid of that gritty residue is essential. The good news? With the right tools and techniques, you can vacuum sand out of your car quickly and effectively.
In this guide, you’ll learn how to remove sand from every nook and cranny of your vehicle using a vacuum. We’ll cover the best tools, step-by-step methods, and expert tips to ensure your car stays clean, fresh, and sand-free. Whether you’re dealing with dry beach sand or damp desert dust, this guide has you covered.
Why Sand Is Hard to Remove
Sand is made of tiny, sharp particles that easily embed themselves into fabric, carpet fibers, and hard-to-reach areas. Unlike dust or crumbs, sand doesn’t just sit on the surface—it settles deep into floor mats, seat crevices, and even under the dashboard. Wet sand is especially problematic because it clumps and can leave behind moisture, leading to mold or unpleasant odors if not properly dried.
Standard household vacuums often struggle with sand. The fine particles can clog filters, reduce suction power, and even scratch interior surfaces if dragged around. That’s why using the right vacuum and technique is crucial.
Tools and Materials You’ll Need
Before you start, gather the following supplies to make the process smooth and effective:
- Wet/dry vacuum (shop vac): Ideal for handling sand, moisture, and debris. Look for one with at least 4–6 gallons capacity and strong suction.
- Vacuum attachments: Crevice tool, brush nozzle, and upholstery tool for different surfaces.
- Stiff-bristled brush or broom: For loosening sand from carpets and mats.
- Microfiber cloths: To wipe down hard surfaces after vacuuming.
- Plastic scraper or old credit card: Helps dislodge sand from tight spaces like seat tracks.
- Bucket of warm, soapy water (optional): For cleaning floor mats if heavily soiled.
- Air compressor or can of compressed air (optional): Useful for blowing sand out of vents and crevices.
- All-weather floor mats (for future prevention): Consider upgrading to protect your carpets.
Step-by-Step: How to Vacuum Sand Out of Car
Step 1: Prepare Your Vehicle
Start by removing all personal items from the car—bags, toys, snacks, and loose clutter. Take out floor mats, seat covers, and any removable accessories. This gives you full access to all surfaces and prevents sand from being hidden under objects.
If your floor mats are sandy, shake them out thoroughly outside the car. For heavy buildup, rinse them with a hose and let them dry completely before reinstalling.
Step 2: Shake and Brush Loose Sand
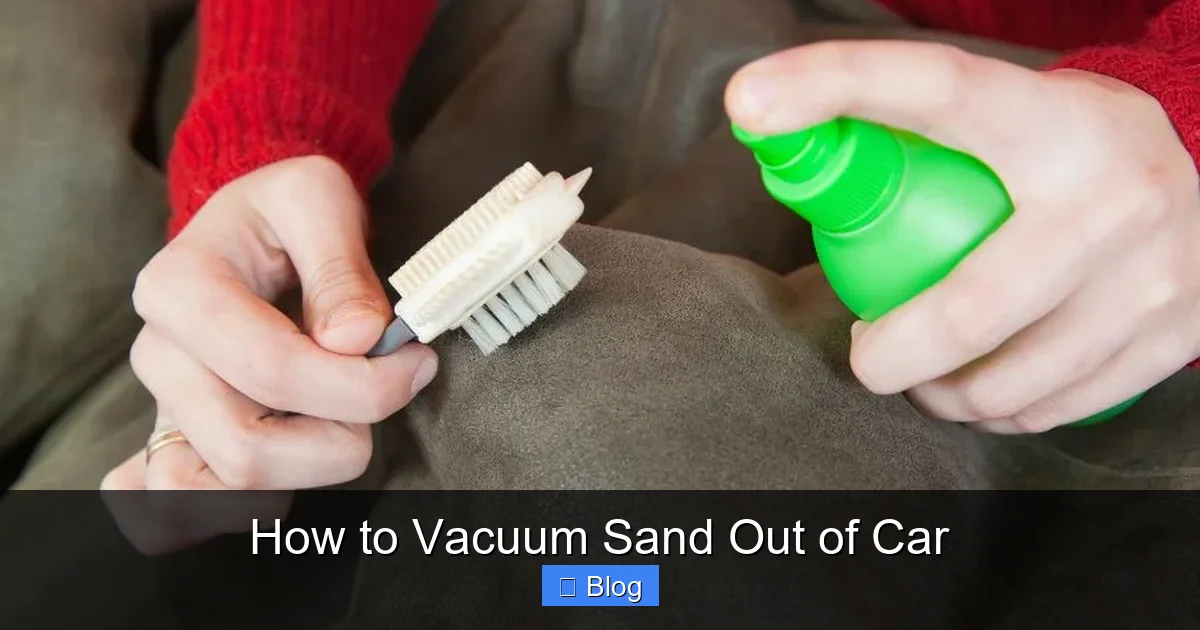
Before turning on the vacuum, use a stiff-bristled brush or small broom to loosen sand from carpets, seats, and floor areas. Brush in one direction to push sand toward the center of the car or toward the door for easier collection.
For seats, use an upholstery brush attachment or a handheld brush to gently agitate fabric and remove embedded particles. Avoid scrubbing too hard, especially on leather, to prevent damage.
Step 3: Vacuum in Sections
Work systematically from the top down and front to back. Start with the dashboard, vents, and door pockets, then move to seats, and finish with the floor.
Use the crevice tool for tight spaces like between seats, under pedals, and around seat tracks. The brush nozzle works well on carpets and fabric seats, while the upholstery tool is gentle on leather and sensitive materials.
Step 4: Focus on High-Sand Areas
Certain spots collect more sand than others. Pay extra attention to:
- Floor mats and carpets: These bear the brunt of sandy shoes. Vacuum both sides if removable.
- Seat crevices and under seats: Sand slips down easily. Use the crevice tool and tilt seats forward if possible.
- Door pockets and cup holders: Wipe with a damp cloth first, then vacuum out residue.
- Trunk and cargo area: Often overlooked, but sand can accumulate here from gear or coolers.
Step 5: Use Compressed Air for Vents and Crevices
If you have an air compressor or canned air, use it to blow sand out of air vents, seat belt retractors, and dashboard seams. Hold the can upright and spray in short bursts to avoid moisture buildup.
After blowing, quickly vacuum the dislodged sand to prevent it from settling elsewhere.
Step 6: Wipe Down Hard Surfaces
Once vacuuming is complete, use a microfiber cloth to wipe down hard surfaces like the dashboard, console, and door panels. This removes any remaining dust or fine sand particles and leaves a clean, polished finish.
For sticky residues or salt from ocean sand, dampen the cloth slightly with water or a mild cleaner.
Step 7: Clean and Maintain Your Vacuum
Sand is highly abrasive and can damage your vacuum’s filter and motor. After use, empty the canister completely and rinse it with water if your model allows. Remove and clean or replace the filter according to the manufacturer’s instructions.
Check the hose and attachments for clogs. If sand has built up, use a long, flexible brush or compressed air to clear it.
Quick Reference: Tools and Time Estimates
| Step | Recommended Tool | Estimated Time |
|---|---|---|
| Remove items & mats | None (manual) | 5–10 minutes |
| Brush loose sand | Stiff-bristled brush | 10–15 minutes |
| Vacuum interior | Wet/dry vacuum with attachments | 20–30 minutes |
| Clean hard surfaces | Microfiber cloth | 10 minutes |
| Clean vacuum | Water, brush, replacement filter | 10–15 minutes |
Once your car is clean, take steps to keep it that way:
- Use all-weather floor mats: These are easier to clean and protect carpets from sand and moisture.
- Keep a small brush in the car: Shake off shoes before entering.
- Limit eating in the car: Crumbs and spills attract sand and make cleanup harder.
- Vacuum regularly: Even small amounts of sand can accumulate over time.
- Store beach gear in sealed bags: Prevent sand from spreading from towels, chairs, or coolers.
Conclusion
Removing sand from your car doesn’t have to be a frustrating chore. With a wet/dry vacuum, the right attachments, and a systematic approach, you can restore your vehicle’s interior to pristine condition. Start by brushing out loose sand, vacuum in sections, and don’t forget to clean your tools afterward.
Remember, prevention is just as important as cleanup. Invest in protective mats and adopt habits that minimize sand entry. By following this guide, you’ll keep your car looking great and extend the life of your interior surfaces.
Whether you’re a frequent beachgoer or just dealing with a one-time sandy adventure, knowing how to vacuum sand out of your car will save you time, effort, and stress. So grab your vacuum, roll up your sleeves, and get cleaning!